19
6-6
ContinuityCheck(Fixed4000range)
#
DANGER
Nevertrytomakemeasurementonacircuitthatisnotdelive.
Do not make measurement with the battery compartment cover
removed.
Keep your fingers and hands behind the barrier during
measurement.
a.SettheFunctionSelectorswitchtothe(
Ω
/
)position.
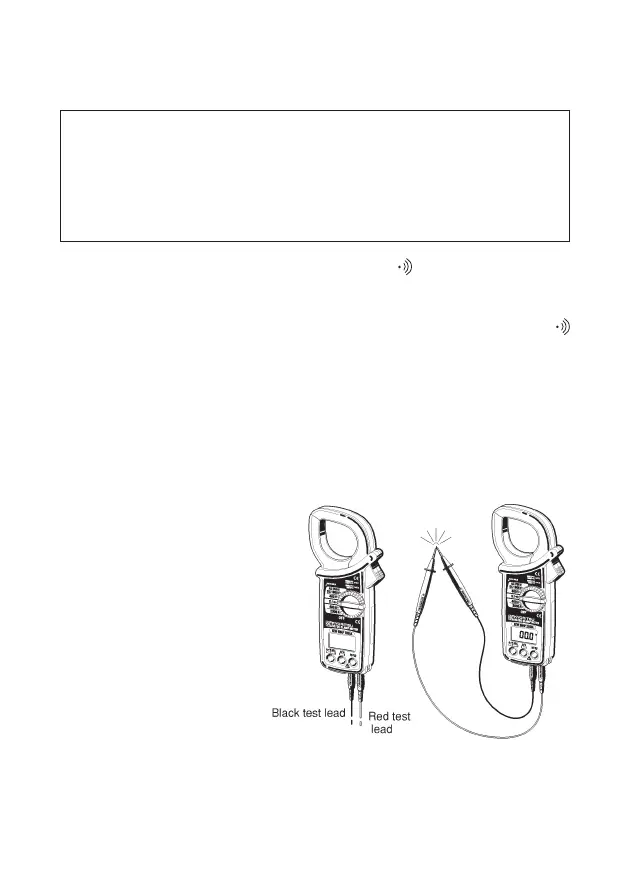
b.Slidetheterminalcovertotheleft.Plugtheredtestleadintothe
V/
Ω
terminalandtheblacktestleadintotheCOMterminal.
c.Pressthemodebuttontoselectthecontinuitycheckmode.The
symbolshouldbeshownonthedisplay
d.Check that the display reads "OL". Then short together the tip of
the test leads and make sure that the display reads "0" and the
buzzerbeeps
e.Connect thetip of the test leads to the circuit under test. The
buzzerbeepswhentheresistanceisabout50norless.
NOTE
◇
When the tip of the
test leads is shorted
together, the display
may read a very small
resistanceinsteadof"0".
This is the resistance
of the test leads, not a
fault.
◇
If one of the test leads
hasabreak,thedisplay
reads"OL".
 Loading...