Page | 10Wireless Essential Weather Station
Detailed Sensor Set Up and Mounting
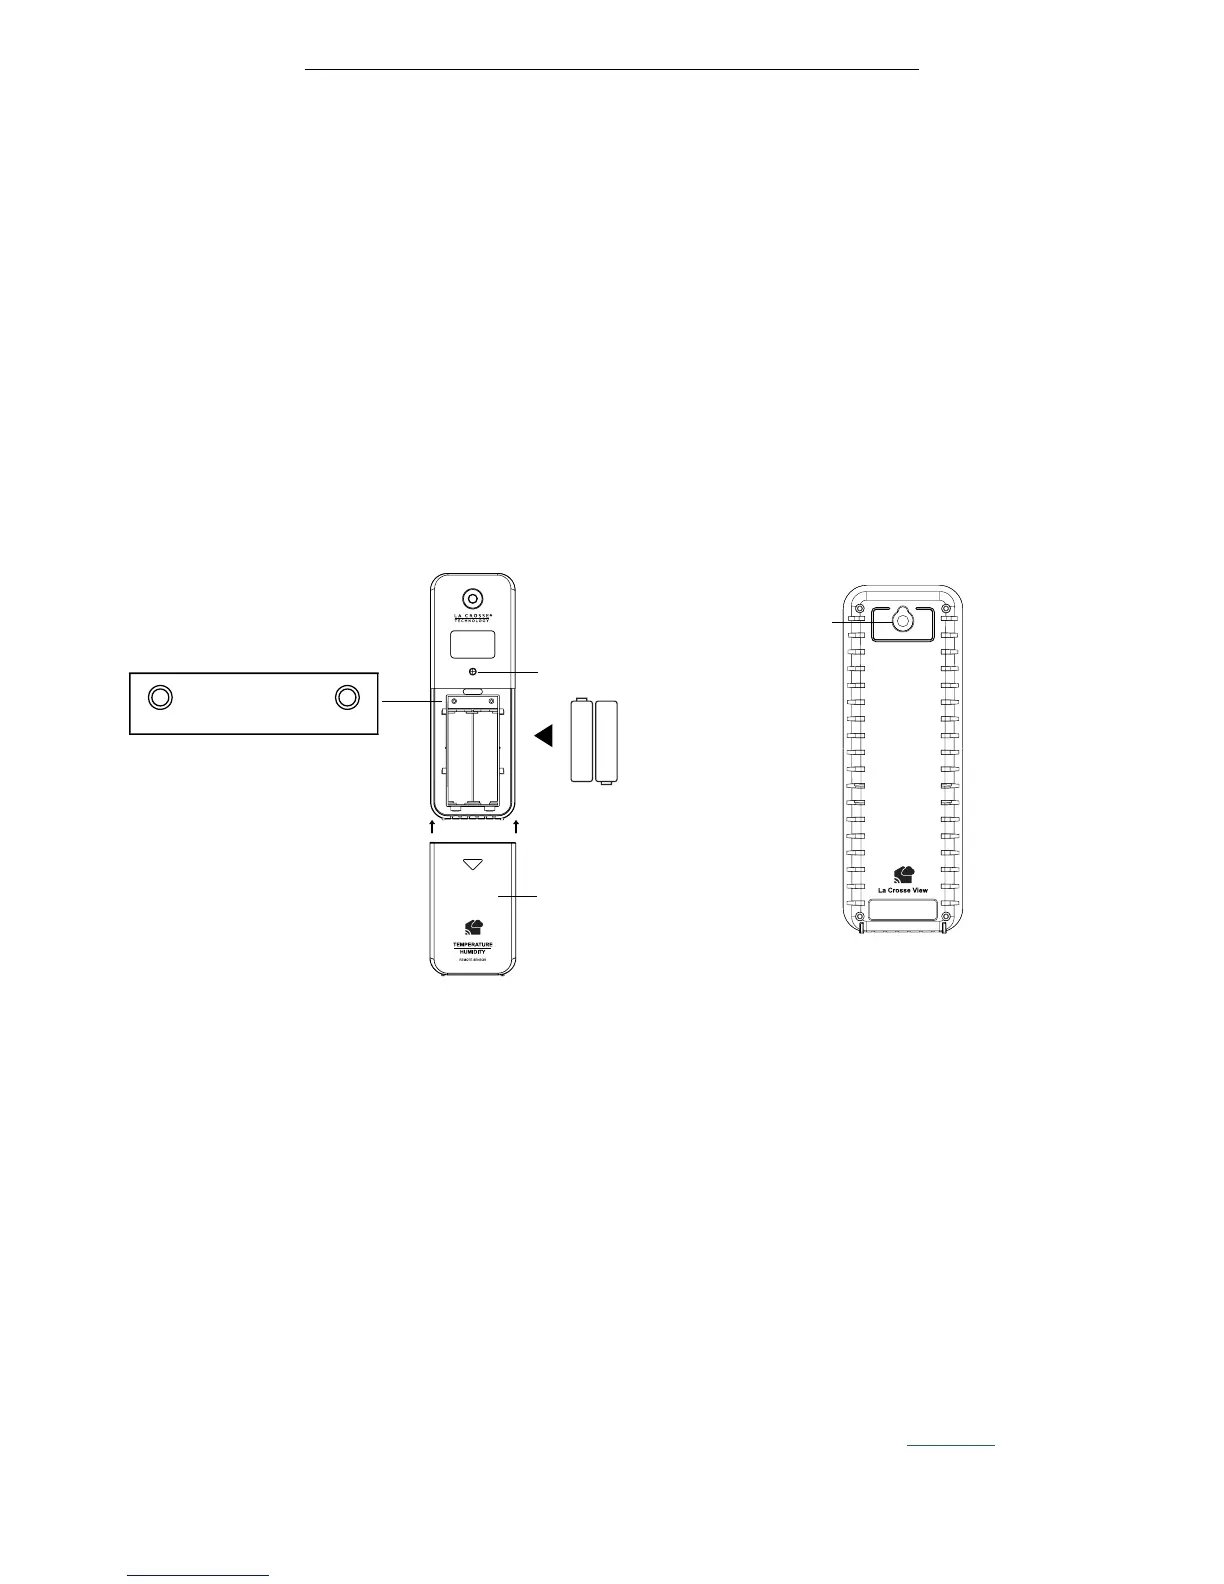
LTV-TH2 Thermo-Hygro Sensor
1. Slide the battery cover o the front of your sensor.
2. Install 2-AA batteries according to polarity and replace battery cover.
Mounting:
1. Use the hole at the top to hang your sensor from the back using a nail.
Or, insert one mounting screw through the front of your sensor.
2. Mount your sensor on a north-facing wall or in any shaded area. Under an eave or deck rail is preferred.
3. The maximum wireless transmission range to the weather station is up to
400 feet (121 meters) in open air, not including walls or floors.
4. Be sure your sensor is mounted vertically, to allow moisture to drain out properly.
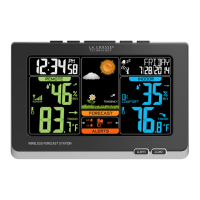
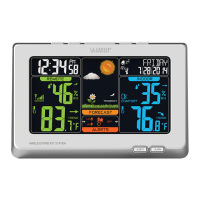
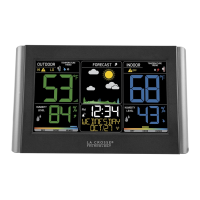
C84343
1. Insert the power cord into a wall outlet then into your station.
Optional: insert 3 AA batteries into your station to maintain time/date in the event of a power outage.
Mounting:
1. Place your station near an outlet. Power cord is required for operation.
2. Use the mounting holes on the back to place your station on a wall.
3. Use the pull down stand on the back of your station to place on a desk or counter.
4. Your station should remain in good Wi-Fi range of your wireless router to use all the
remote monitoring options using the La Crosse View™ app.
For more information on manually setting you weather station see page 20.
LED Light
AA
+
-
AA
+
-
Battery Cover
Hole for
mounting
TX
F/C
Press TX to send a signal
Press F/C to select Fahrenheit or
Celsius display on sensor.
 Loading...