12 13
SETUP
FEATURES
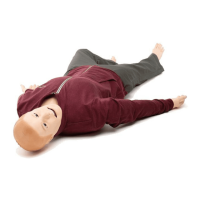
SimMan 3G Clothing
Included with the Patient Simulator:
− Shirt, with side zippers
− Trousers, with full-length side zippers
− Boxer shorts underwear
− Belt
Note: For washing instructions see care labels.
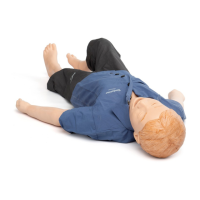
Simulated Removal of the Clothes
To simulate cutting with scissors: unzip the zippers placed alongside
the seams on both sides.
Inserting and Connecting the
Batteries
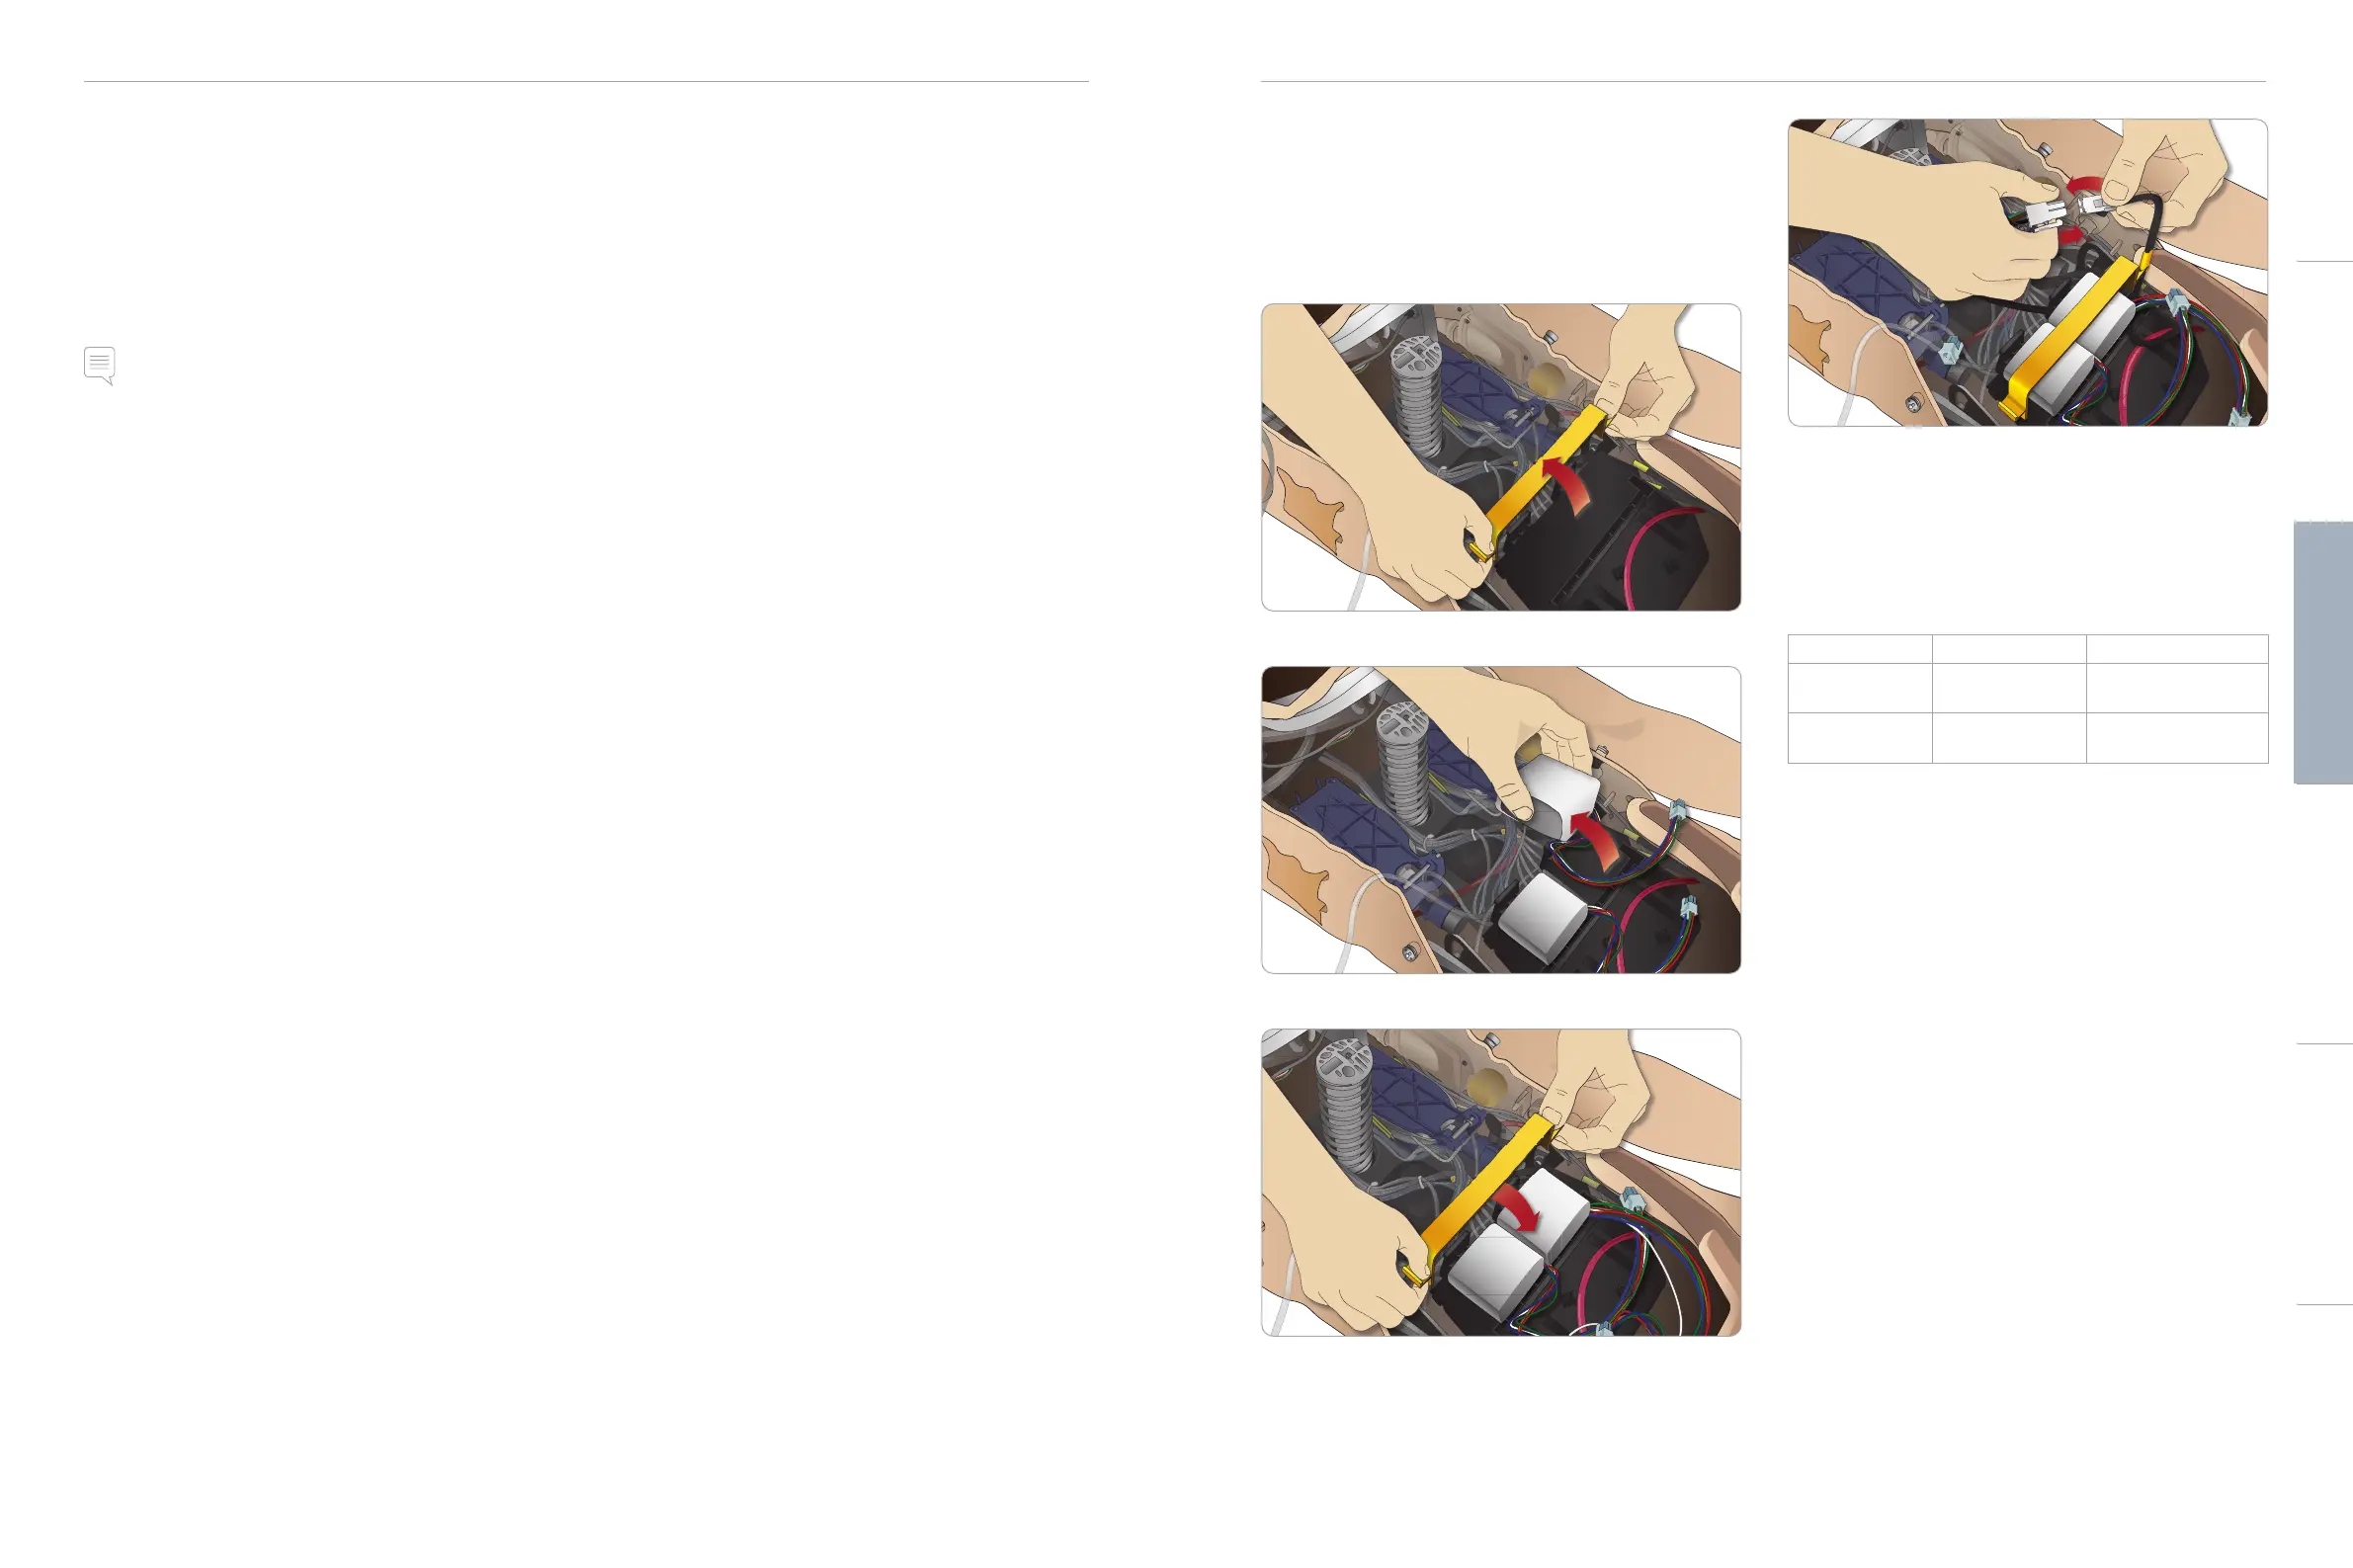
Open the torso as described in steps 1 - 4, Opening the Torso.
To remove the batteries, follow the same procedure in reverse.
1 Release the battery clamp by unhooking the clips on either side.
2 Insert both batteries into the battery tray.
3 Snap the battery clamp back into place over the batteries.
4 Connect the corresponding battery cables from the batteries to
the torso.
After connecting the batteries, connect the Patient Simulator to the
external power supply (12V to 24V) while turned OFF.
The batteries will charge if the Patient Simulator is ON and
connected to an external power supply in the range of (20V - 24V).
Battery - Cable and Tube Descriptions
Name/Label Tube/Cable Color Connector Description
Battery 1 Black harness cable Black rectangular
connector, 6 lead
Battery 2 Black harness cable Black rectangular
connector, 6 lead
Cautions and WarningsFeaturesSetupMaintenanceSpare Parts Troubleshooting