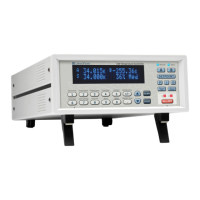
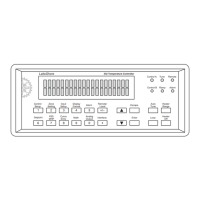
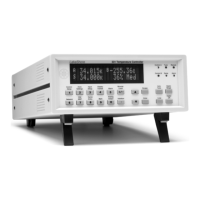
Lake Shore Model 325 Temperature Controller User’s Manual
Installation 3-5
3.4.3 Grounding and Shielding Sensor Leads
The sensor inputs are isolated from earth ground to reduce the amount of earth ground referenced noise that is present on
the measurement leads. Connecting sensor leads to earth ground on the chassis of the instrument or in the cooling system
will defeat that isolation. Grounding leads on more than one sensor prevents the sensor excitation current sources from
operating.
Shielding the sensor lead cable is important to keep external noise from entering the measurement. A shield is most
effective when it is near the measurement potential so the Model 336 offers a shield at measurement common. The shield
of the sensor cable should be connected to the shield pin of the input connector. The shields should not be connected to
earth ground on the instrument chassis. One shield should be connected to the cryostat’s ground as long as it is near earth
ground. Connecting at more than one point will cause a ground loop, which adds noise to the measurement.
NOTE: The shells of the input connectors are at the same potential as the shield pin on the Model 336. Older
Lake Shore controllers are not configured this way.
3.4.4 Sensor Polarity
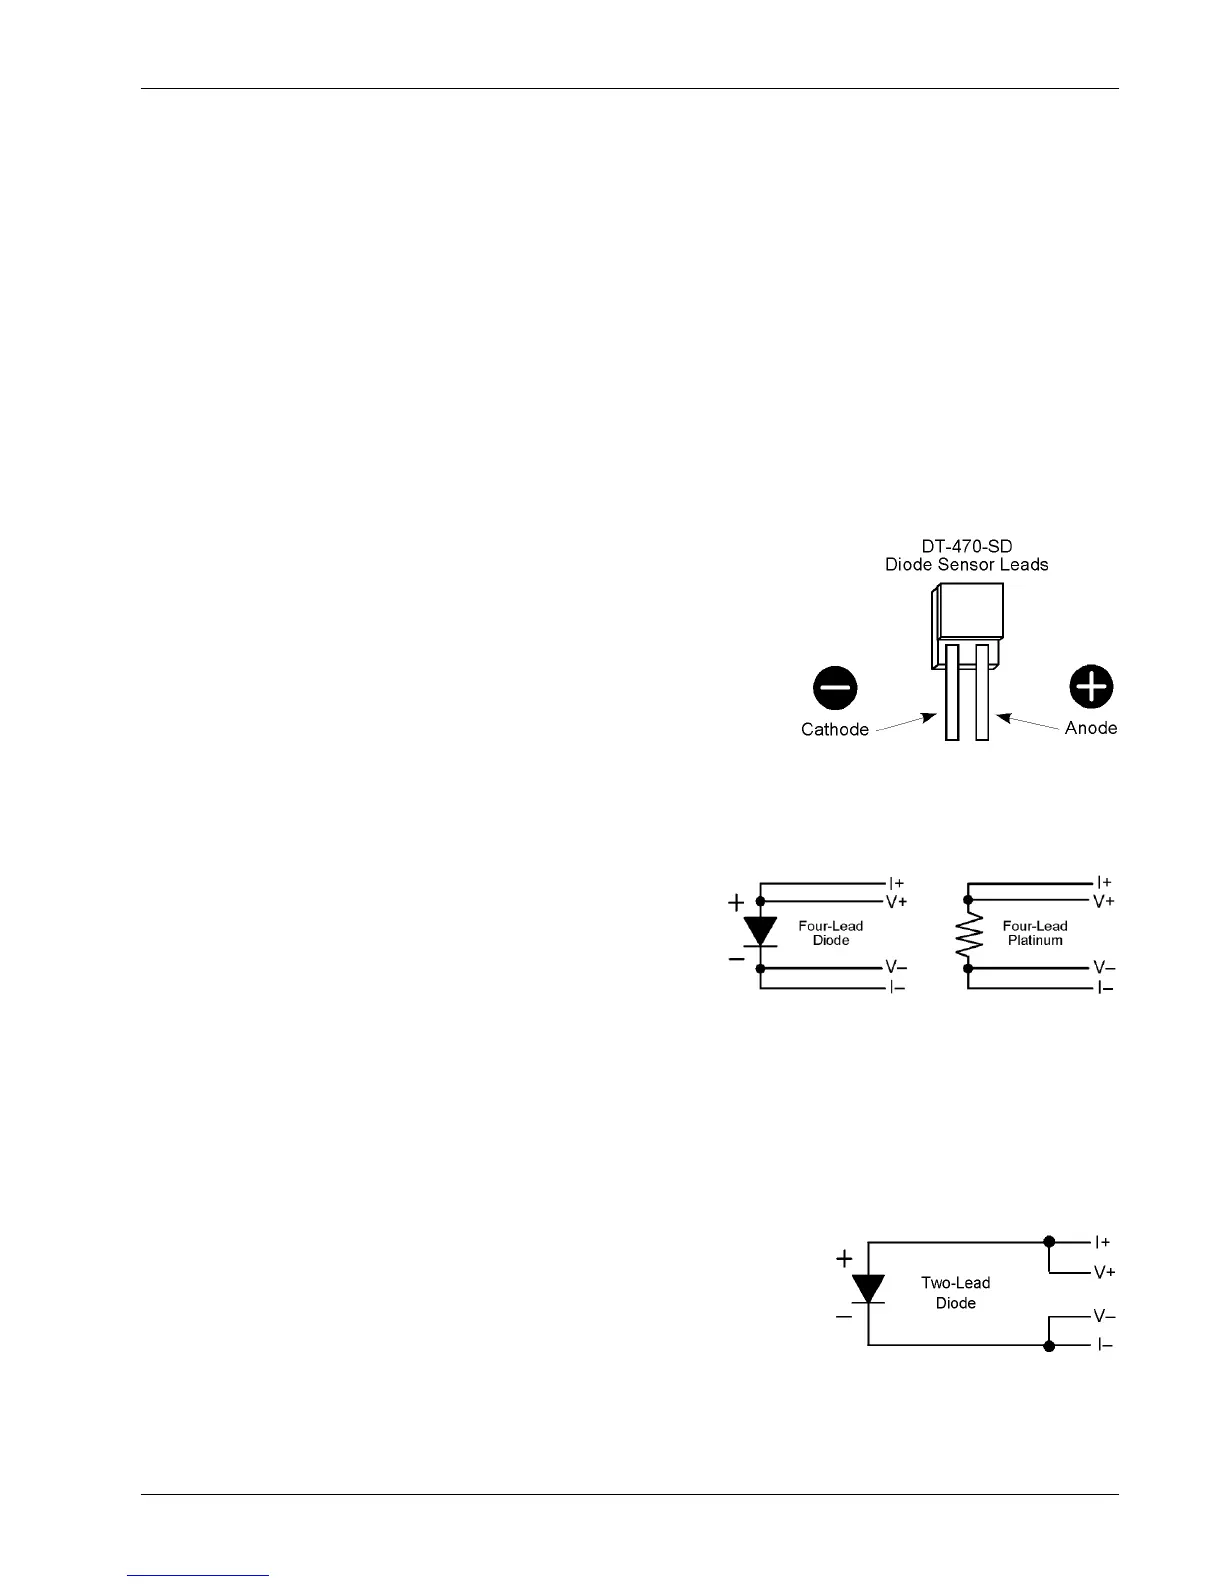
Lake Shore sensors are shipped with instructions that indicate which sensor
leads are which. It is important to follow these instructions for plus and minus
leads (polarity) as well as voltage and current when applicable. Diode sensors
do not operate in the wrong polarity. They look like an open circuit to the
instrument. Two lead resistors can operate with any lead arrangement and the
sensor instructions may not specify. Four-lead resistors can be more dependent
on lead arrangement. Follow any specified lead assignment for four lead
resistors. Mixing leads could give a reading that appears correct but is not the
most accurate.
3.4.5 Four-Lead Sensor Measurement
All sensors, including both two lead and four lead can be measured with a four lead technique. The purpose of a four
lead measurement is to eliminate the effect of lead resistance on the measurement. If it is not taken out, lead resistance is
a direct error when measuring a sensor.
In a four-lead measurement, current leads and voltage leads are run
separately up to the sensor. With separate leads there is little current
in the voltage leads so their resistance does not enter into the
measurement. Resistance in the current leads will not change the
measurement as long as the voltage compliance of the current
source is not reached. When two lead sensors are used in four lead
measurements, the short leads on the sensor have an insignificant resistance.
3.4.6 Two-Lead Sensor Measurement
There are times when crowding in a cryogenic system forces users to read sensors in a two lead configuration because
there are not enough feedthroughs or room for lead wires. If this is the case, plus voltage to plus current and minus
voltage to minus current leads are attached at the back of the instrument or at the vacuum feedthrough.
The error in a resistive measurement is the resistance of the lead wire run with current and voltage together. If the leads
contribute 2 or 3 to a 10 k reading, the error can probably be tolerated. When measuring voltage for diode sensors
the error in voltage can be calculated as the lead resistance times the current,
typically 10 µA. For example: a 10 lead resistance times 10 µA results in a
0.1 mV error in voltage. Given the sensitivity of a silicon diode at 4.2 K the error
in temperature would be only 3 mK. At 77 K the sensitivity of a silicon diode is
lower so the error would be close to 50 mK. Again, this may not be a problem for
every user.


 To Next Page