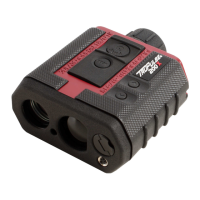
Laser Technology, Inc. TruPulse L2 User’s Manual 1st Edition
Section 6 - System Setting Menu
Page 20
Copyright© 2023, Laser Technology, Inc. All rights reserved.
Section 6 - System Setting Menu
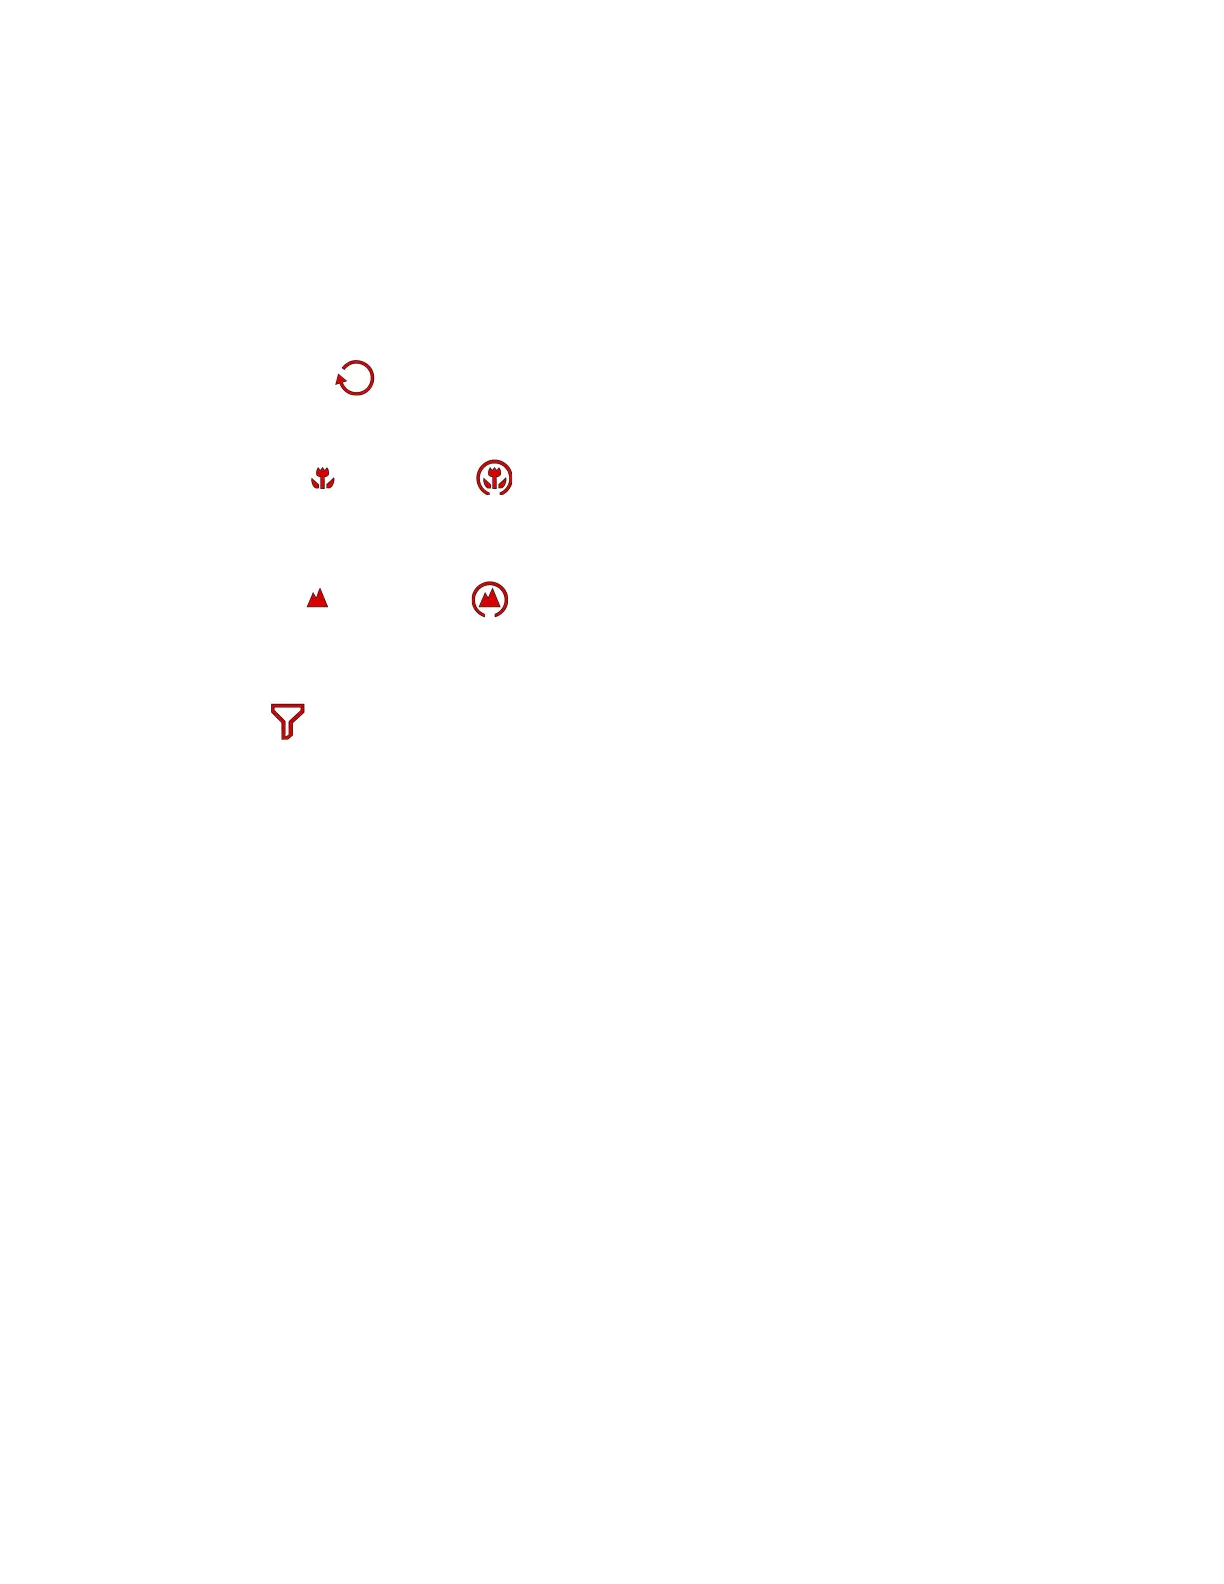
Targeting Modes
The TruPulse L2 has five Target Modes which allow you to select or eliminate targets and to take the most accurate measurements
possible in various field conditions.
The selected Target Mode remains active until you select a different Target Mode.
Each time the TruPulse L2 is powered ON, it returns to the same Target Mode that was last used.
• Std = Standard. There is no icon in display when selected.
Single shot mode.
• Con = Continuous
Press-and-hold the Fire button. Once the target is acquired, the TruPulse L2 can continuously acquire additional targets for a
maximum of 10 seconds. The most recently acquired target appears in the Main Display.
• CLO = Closest or Closest Multi
Press-and-hold Fire button. Once the initial target is acquired, the TruPulse L2 can acquire additional targets.
The Closest Multi indicator denotes that additional targets have been acquired. The closest acquired target always
appears in the Main Display.
• FAr = Farthest or Closest Multi
Press-and-hold Fire button. Once the initial target is acquired, the TruPulse L2 can acquire additional targets. The Farthest
Multi indicator denotes that additional targets have been acquired. The farthest acquired target always appears in the Main
Display.
• FiL = Filter .
In this mode the laser's sensitivity is reduced to only detect pulses returned from a reflector. The mechanical receive foliage
filter must be used in conjunction with this mode. Typical maximum distance is 350 feet to a 3-inch reflector.
1. Press-and-hold Display/Menu button, then press Up or Down Arrow buttons to scroll until the Target Mode option screen is
displayed. The last Mode option chosen will be displayed.
2. Press Display/Menu button to enter option selections, the icon will be display indicating the Target Mode menu. Then press
the Up or Down buttons to scroll though options.
3. Press Fire button to select option.
4. Ready to take measurement with selected Target Mode option.
• The icon of selected mode will be displayed.
• Standard Mode does not have an icon displayed.
5. Repeat steps to change target mode option.
NOTE See Targeting Modes Workflow on Page 21.
Targeting Mode Tip:
In Closest and Farthest Modes, the minimum separation distance between targets is approximately 3 meters (10 ft).