8
LAUNCH
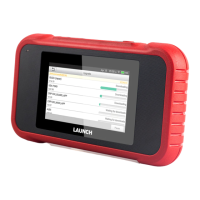
3. Initial Use
3.1 Powering Up The Tool
There are two methods available for powering up the tool:
Via Data Cable: Plug one end of data cable (not included) into the charging port
of the tool, and the other end to the PC.
Via Diagnostic Cable: Insert the diagnostic cable into the vehicle’s DLC port.
When the tool is powered on, the screen will automatically light up.
3.2 Getting Started
If it is the first time you have used this tool, you need to make some system
settings.
1. Press the [POWER] button to turn on the tool. The screen displays a welcome
page. Tap “Start” to go to next step.
2. Choose the desired system language, and tap “Next step”.
3. Choose the time zone of your current location. The system will automatically
congure the time according to the time zone you selected.
4. The system will automatically searching for all available Wi-Fi networks.
Choose the Wi-Fi needed.
5. After the network connection is done, tap “Next step” to congure workshop
information. Input the required information, and tap “Next step” to go to next
step.
*Note: After you congured it, the system will append it on the report every time a
report is successfully generated.
6. Carefully read all terms and conditions of the user agreement, check “Agree
to all the above terms”, and tap “OK” to complete the registration process. It
will automatically jump to the Job Menu.
3.3 Job Menu
It mainly includes the following function modules.
Diagnose Congure the tool to operate as a professional diagnostic tool.