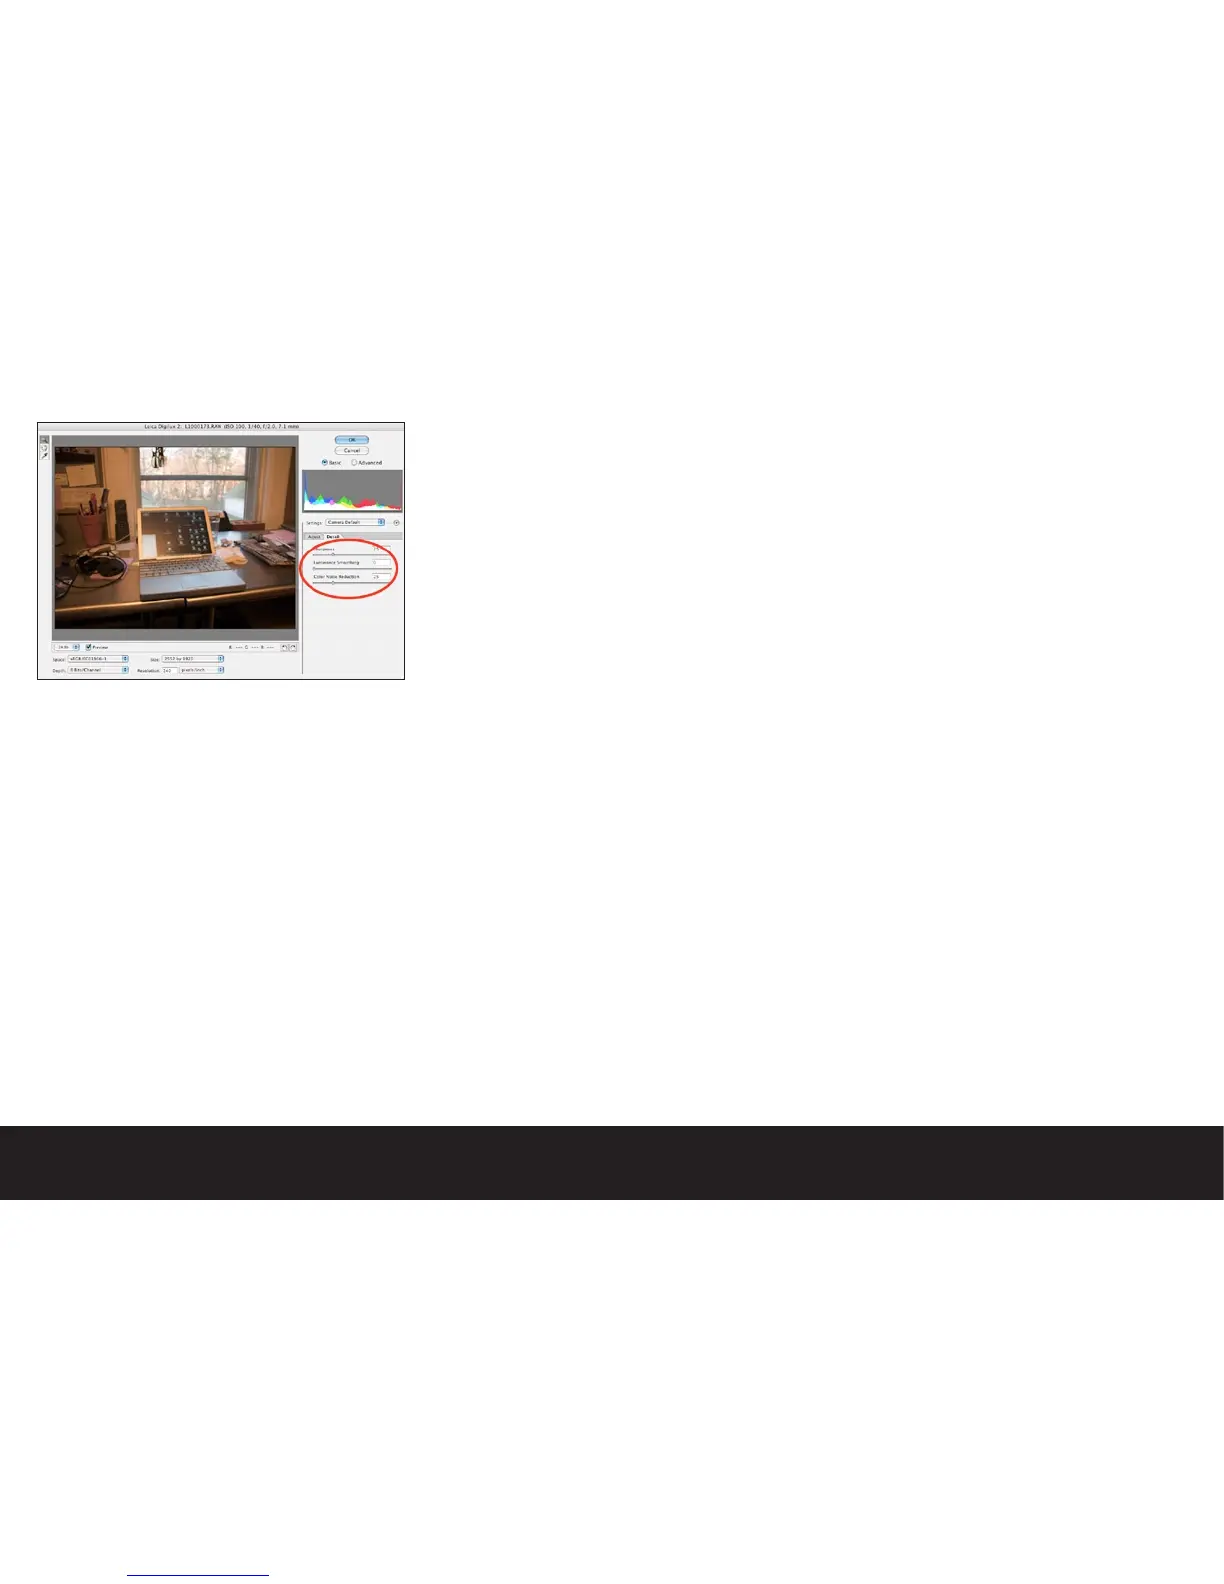
Detail Tab Controls
While JPEG files are sharpened in-camera as they are
processed, raw files are unsharpened. Working with
unsharpened raw files takes some testing to find the
best mix of settings. Under-exposed scenes and night
shots will inherently have more digital noise, and will
begin to break up if too much sharpening is applied.
Outdoor images, and lighter scenes may be sharpened
more aggressively.
Sharpness
The Sharpness slider has a range of 0 to 100 with a de-
fault setting of 50. These numbers mean nothing other
than the relative amount of pixel sharpening that is ap-
plied. 0 represents no sharpening, and 100 represents
maximum sharpening.
Luminance Smoothing
The red, green and blue values of a digital file are seen
by the computer as three gray scale layers of tonal
information.
As the cameras sensor captures images through a
matrix of color filters, the resulting gray scale layers of
the image contain missing information. When sharpen-
ing is applied, this missing information is enhanced. Lu-
minance smoothing slightly blurs and smooths out the
individual tonal transitions while retaining color values.
Use this adjustment sparingly, as the image may end up
looking unnaturally soft.
Color Noise Reduction
As you sharpen images created with single shot CCD
sensors, you begin to see the effects of the color filter
matrix and the effects of the mathematical algorithm
used to process the captured data. The digital artifacts
are enhanced and appear as magenta and green
speckles. This slider will seek out the color-saturated
anomalies, and will de-saturate them resulting in a
smoother, more photographic image.
Storing and Applying Settings across multiple Images
Obviously with all of these controls, the process of
editing raw files can be quite daunting. The good news
is that you may save any or all of these settings as you
find parameters that work consistently for your images.
Settings (saving)
Once you have arrived at the combination of settings
you wish to apply to future images, you may save the
settings by clicking on the arrow button adjacent to the
Settings pop up dialog. Clicking this button will give
you the choice of the following options:
Load Settings- Loads previously saved settings
Save Settings- Saves new presets. When selected you
will be prompted to give the settings a name.
Set Camera Default- This option saves all current pa-
rameters as a camera default. As images from the same
camera type are opened, you could select Camera
Default from the settings menu to apply the same set-
tings to any number of images. It is a good idea to save
the settings as a backup with a meaningful name, as if
the application becomes corrupted, you will lose your
default settings.
Reset Camera Default- This option clears all adjust-
ments and restores an image to the parameters used at
capture. This is an important setting to be aware of, as
you may easily create presets that will degrade image
quality. This is your option to start from scratch.

 Loading...