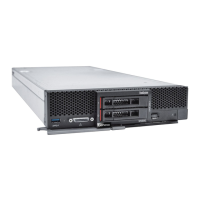
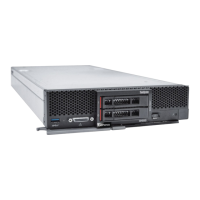
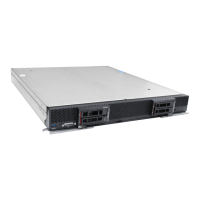
Figure 10. 2.5-inch hot-swap drive removal
Step 1. Press the release latch on the drive to release the drive handle.
Step 2. Pull the release handle to remove the drive from the bay.
If you are instructed to return the component or optional device, follow all packaging instructions, and use
any packaging materials for shipping that are supplied to you.
Install a 2.5-inch hot-swap drive
Use this information to install a 2.5-inch hot-swap drive.
Before you install a 2.5-inch hot-swap drive, complete the following steps:
1. Read “Safety” on page iii and “Installation Guidelines” on page 21 to ensure that you work safely.
The compute node has two 2.5-inch drive bays for installing hot-swap drives. One drive might already be
installed in the compute node. If the compute node is equipped with one drive, you can install an additional
drive. RAID level-0 (striping) can be configured on a compute node with a single drive installed. A minimum of
two disk drives of the same interface type must be installed to implement and manage RAID level-1
(mirroring) arrays. See the Lenovo ThinkSystem SN550 Type 7X16 Setup Guide for more information.
To install a 2.5-inch hot-swap drive, complete the following steps:
Watch the procedure. A video of the installation process is available:
• Youtube: https://www.youtube.com/playlist?list=PLYV5R7hVcs-B4_LYuT9X1MRWBU6UzX9gO
• Youku: http://list.youku.com/albumlist/show/id_50481482
Chapter 3. Hardware replacement procedures 27

 Loading...


