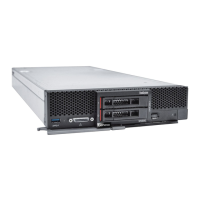
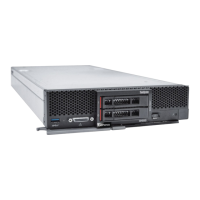
3. Remove the compute node from the chassis (see “Remove the compute node from the chassis” on page
24).
4. Carefully lay the compute node on a flat, static-protective surface with the cover side down, orienting
the compute node with the bezel pointing toward you.
To remove the front handle, complete the following steps:
Watch the procedure. A video of the installation process is available:
• Youtube: https://www.youtube.com/playlist?list=PLYV5R7hVcs-B4_LYuT9X1MRWBU6UzX9gO
• Youku: http://list.youku.com/albumlist/show/id_50481482
Step 1. Locate the screw that attaches the handle to the compute node.
Step 2. Using a T15 Torx screwdriver, remove the screw from the front handle.
Figure 35. Front handle removal
If you are instructed to return the component or optional device, follow all packaging instructions, and use
any packaging materials for shipping that are supplied to you.
Install the front handle
Use this information to install the front handle.
Before you install the front handle:
1. Read “Safety” on page iii and “Installation Guidelines” on page 21 to ensure that you work safely.
To install the front handle, complete the following steps:
Watch the procedure. A video of the installation process is available:
• Youtube: https://www.youtube.com/playlist?list=PLYV5R7hVcs-B4_LYuT9X1MRWBU6UzX9gO
• Youku: http://list.youku.com/albumlist/show/id_50481482
Step 1. Orient the front handle so that the release latch is toward the middle of the compute node.
Step 2. Align the hole in the handle with the hole on the compute node where the handle is installed.
Step 3. Using a T15 Torx screwdriver, install a new screw to secure the handle.
54
ThinkSystem SN550 Compute Node Maintenance Manual

 Loading...


