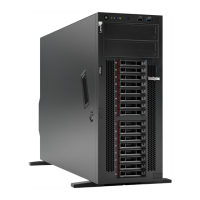
• The drive bays are numbered to indicate the installation order (starting from number “0”). Follow the
installation order when you install a drive. See “Front view” on page 16.
• The drives in a single RAID array must be the same type, same size, and same capacity.
Watch the procedure. A video of the installation and removal process is available:
• YouTube:
https://youtube.com/playlist?list=PLYV5R7hVcs-DoEcxrm2zKNpaKOdZ3f8Qc
• Youku: https://list.youku.com/albumlist/show/id_59636516
Procedure
Step 1. If the drive bay has a drive filler installed, remove it. Keep the drive filler in a safe place for future
use.
Step 2. Install the simple-swap drive.
Figure 66. 3.5-inch simple-swap drive installation
a.
Ensure that the tray handle is in the open position. Align the drive with the guide rails in the
bay; then, gently push the drive into the bay until the drive stops.
b.
Close the tray handle to lock the drive in place.
After you finish
1. Install other drives or drive fillers if necessary.
Note: All the drive bays must be occupied. This means that each bay must have a drive or drive filler
installed.
2. Close the front door; then, use the key to lock the server cover.
3. Check the drive activity LED on the front panel to verify that the drive is operating correctly.
Simple-swap drive
activity LED
Color
Description
Solid on Green
The simple-swap drive is active.
Off
None The simple-swap drive is not active.
4. Use the Lenovo XClarity Provisioning Manager to configure the RAID if necessary. For more information,
see:
110
ThinkSystem ST650 V2 Setup Guide

 Loading...


