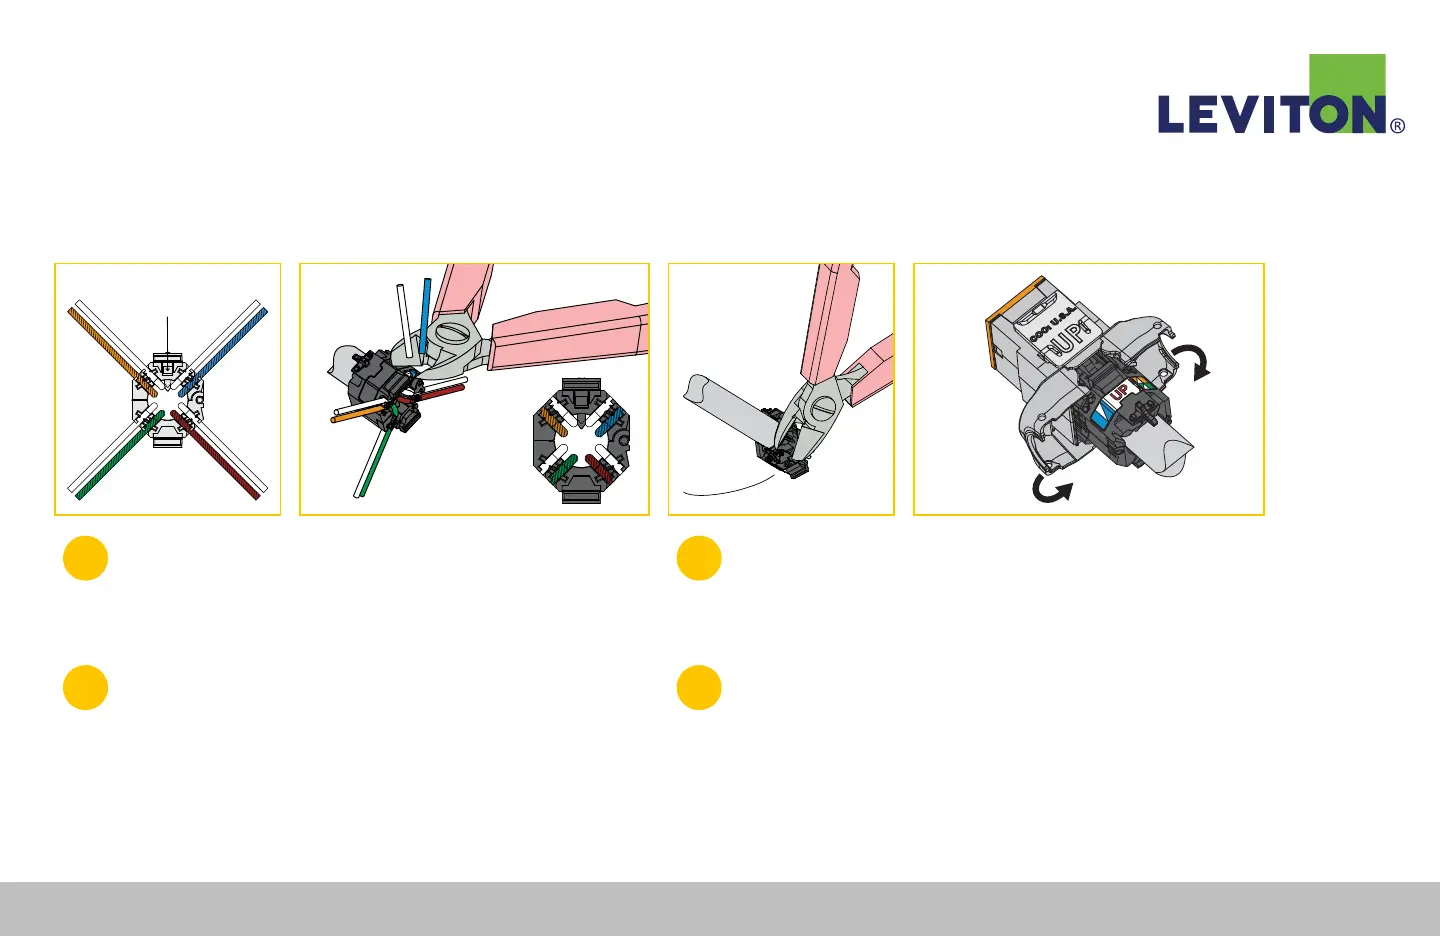
5
Check polarity by making sure the white wire of each pair
will be closest to the guide pinhole in the face of the wire
managers (Figure D).
6
Using a flush cutter, trim all pairs flush with sides of wire manager.
Note: Wire ends must be cut flush: use of snips or side cutter is not recommended
and may cause test failures (Figure E).
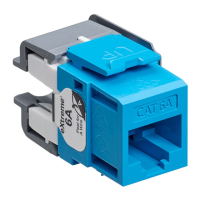
Atlas-X1™ Shielded Connector Termination Instructions Continued
Guide Pin Hole
Figure D Figure E Figure F Figure G
7
Pull drain wire into drain wire capture notch and trim flush
with flush cutter. Use flush cutter to nick edge of foil,
and tear foil o flush with rear of wire manager (Figure F).
8
Align the prepared wire manager with the rear of the connector,
matching “UP” on the wiring label to “UP” molded into the
connector retaining tab (Figure G). Close connector doors
to complete the termination. To rewire, depress the connector
door-release tabs simultaneously.
Leviton Network Solutions
|
(800) 722 2082
|
+1 (425) 486 2222
|
leviton.com/ns 77
Atlas-X1™ Shielded Connector Termination Instructions