32
High Performance Wireless-N Router
Linksys E3000 Chapter 3: Advanced Configuration
User Management
By default the Router creates two users, admin and guest.
The users are listed by User Name and Group.
Create New User To create a new user, click this
button. The User Account screen appears. Proceed to
Create or Edit a User Account, page 32.
Edit To change the settings of a user account, click
Edit, and the User Account screen appears. Proceed to
Create or Edit a User Account, page 32.
Delete To delete a user, click this button.
Group Management
By default the Router creates two user groups, admin and
guest.
The groups are listed by Group Name and Access level.
There are two levels of access, r & w (read-and-write) and
r (read-only).
Create New Group To create a new group of users, click
this button. The Group Account screen appears. Proceed to
Create or Edit a Group Account, page 32.
Edit To change the description or access rights of a group,
click Edit, and the Group Account screen appears. Proceed
to Create or Edit a Group Account, page 32.
Delete To delete a group, click this button.
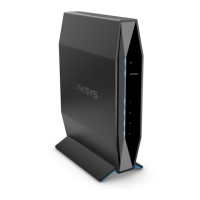
Create or Edit a User Account
User Account
User Account
User Name Create a name for the user.
Full Name Enter the actual name of the user.
Description Enter keywords to describe the user.
Password Enter the password that the user will use for
login
Confirm Password Enter the password again to confirm.
Group Member Select the appropriate user group.
Account Disabled To temporarily disable an account,
select this option.
Click Save Settings to apply your changes, or click Cancel
to clear your changes. Click Close to exit the screen.
On the Administration screen, click Save Settings to
apply your changes, or click Cancel Changes to clear your
changes.
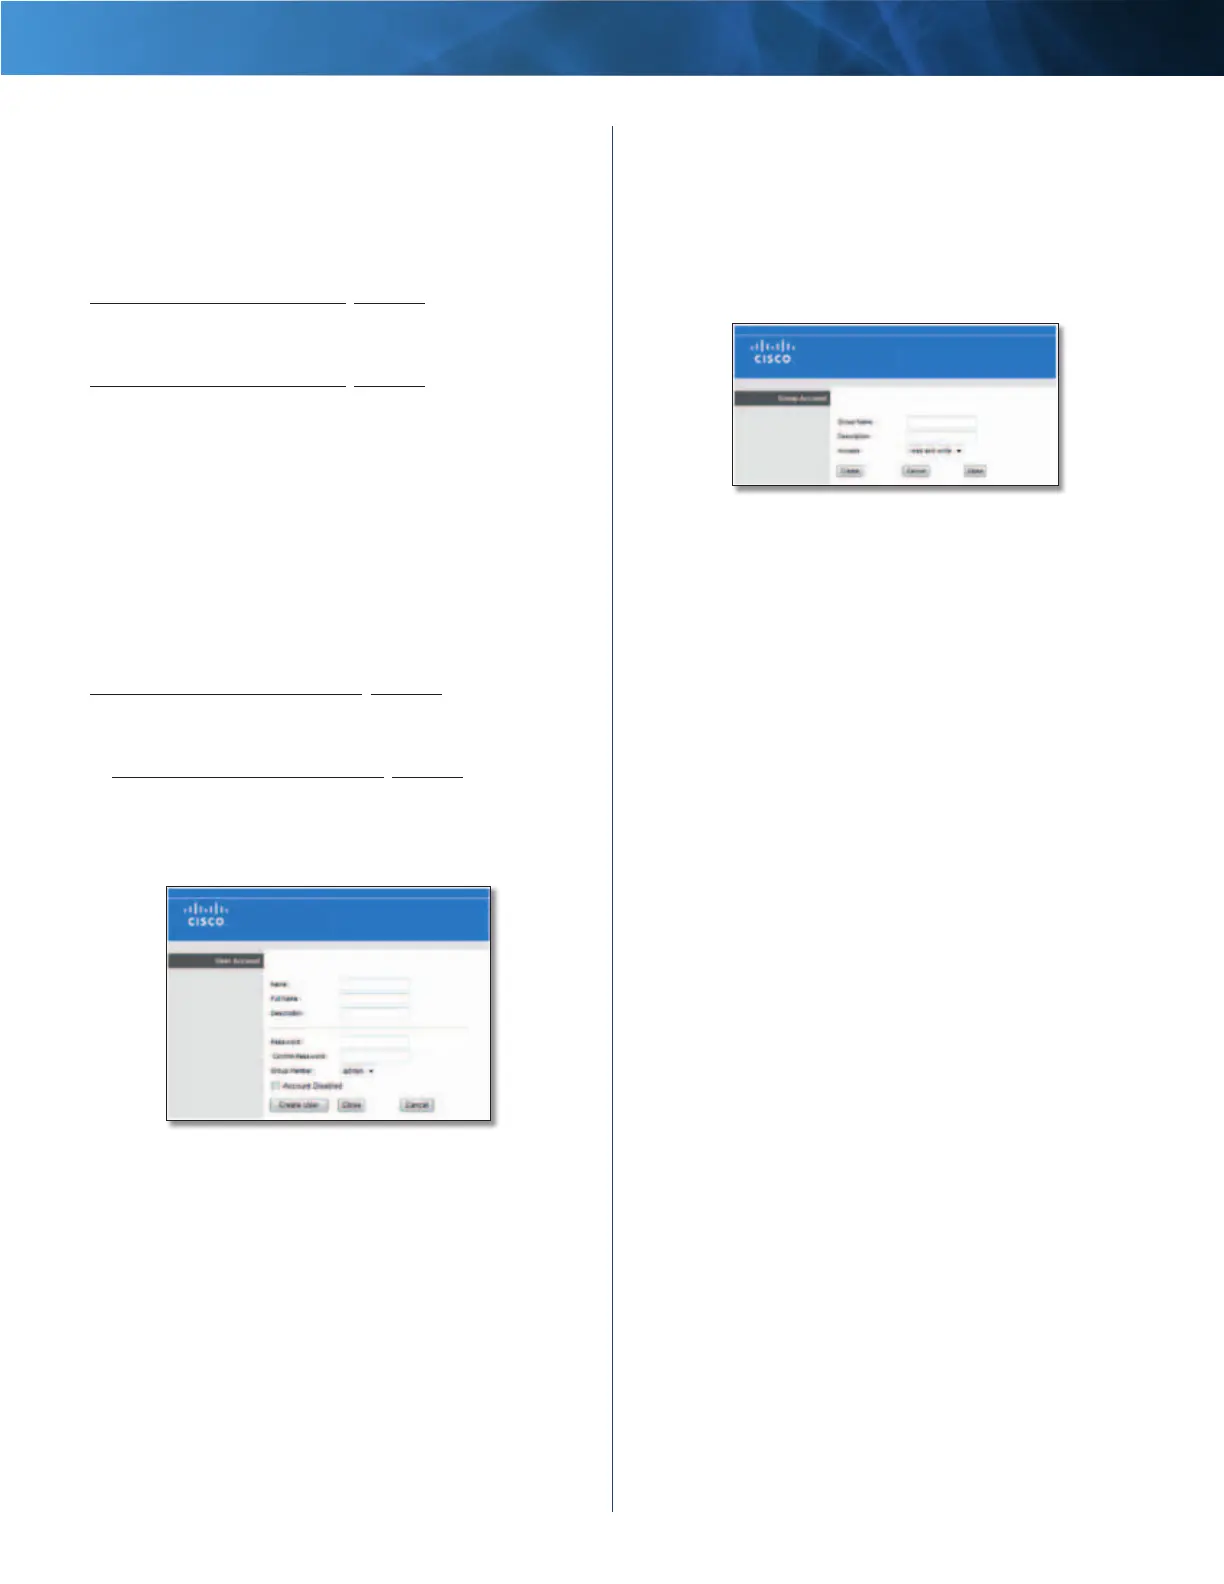
Create or Edit a Group Account
Group Account
Group Account
Group Name Create a name for the group.
Description Enter keywords to describe the group.
Access Select the appropriate level of access, read and
write or read only.
Click Save Settings to apply your changes, or click Cancel
to clear your changes. Click Close to exit the screen.
On the Administration screen, click Save Settings to
apply your changes, or click Cancel Changes to clear your
changes.
Access Restrictions > Internet Access Policy
The Internet Access Policy screen allows you to deny or
allow specific kinds of Internet usage and traffic, such as
Internet access, designated services, and websites during
specific days and times.