19
High Performance Wireless-N Router
Linksys E3000 Chapter 3: Advanced Configuration
Static Routing
A static route is a pre-determined pathway that network
information must travel to reach a specific host or
network. Enter the information described below to set up
a new static route.
Route Entries To set up a static route between the Router
and another network, select a number from the drop-
down list. Click Delete This Entry to delete a static route.
Enter Route Name Enter a name for the Route here,
using a maximum of 25 alphanumeric characters.
Destination LAN IP The Destination LAN IP is the address
of the remote network or host to which you want to assign
a static route.
Subnet Mask The Subnet Mask determines which
portion of a Destination LAN IP address is the network
portion, and which portion is the host portion.
Gateway This is the IP address of the gateway device that
allows for contact between the Router and the remote
network or host.
Interface This interface tells you whether the Destination
IP Address is on the LAN & Wireless (Ethernet and wireless
networks) or the Internet (WAN).
Click Show Routing Table to view the static routes you
have already set up.
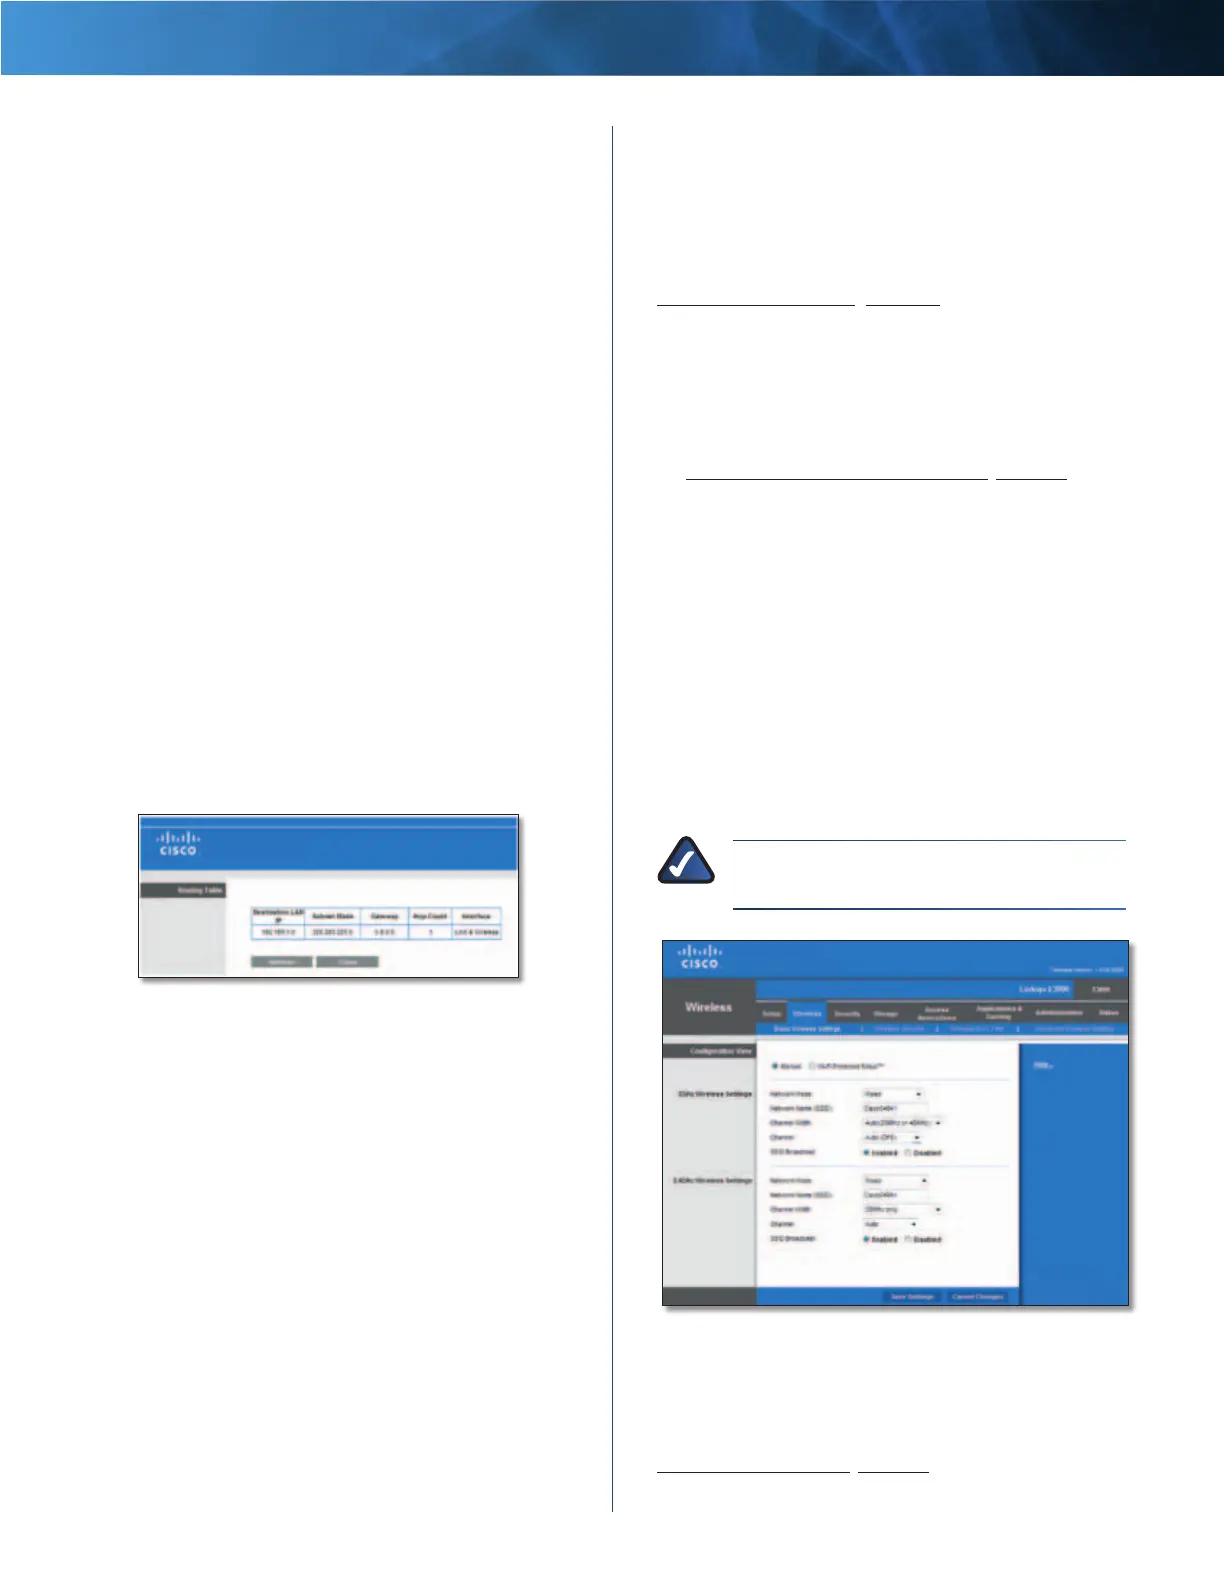
Routing Table
Routing Table
For each route, the Destination LAN IP address, Subnet
Mask, Gateway, and Interface are displayed. Click
Refresh to update the information. Click Close to exit
this screen.
Click Save Settings to apply your changes, or click Cancel
Changes to clear your changes.
Wireless > Basic Wireless Settings
The basic settings for wireless networking are set on this
screen.
There are two ways to configure the Router’s wireless
network(s), manual and Wi-Fi Protected Setup.
Wi-Fi Protected Setup is a feature that makes it easy to set
up your wireless network. If you have client devices, such
as wireless adapters, that support Wi-Fi Protected Setup,
then you can use Wi-Fi Protected Setup.
Simultaneous Networks
For more wireless bandwidth, the Router can create two
simultaneous yet separate Wireless-N networks, one using
the Wireless-N 5 GHz band and one using the Wireless-N
2.4 GHz band. You can use Wi-Fi Protected Setup to
easily configure and connect to both networks (refer to
Wi-Fi Protected Setup, page 21), or you can manually
configure the Router.
If you use manual configuration, then set up each network
with the following:
• Unique Network Name (SSID)
• Wireless security settings (refer to
5 GHz or 2.4 GHz Wireless Security, page 22)
Decide which computers and other wireless devices
should join which network. Wireless-N devices support
both the 5 GHz and 2.4 GHz bands, so they can join either
the 5 GHz or 2.4 GHz network. Wireless-G and Wireless-B
devices support only the 2.4 GHz band, so they should
join the 2.4 GHz network. Wireless-A devices support only
the 5 GHz band, so they should join the 5 GHz network.
For the 5 GHz network, configure all computers and other
wireless devices with the same 5 GHz Network Name
(SSID) and wireless security settings. For the 2.4 GHz
network, configure all computers and other wireless
devices with the same 2.4 GHz Network Name (SSID) and
wireless security settings.
NOTE: Make sure each network uses a unique
Network Name (SSID).
Wireless > Basic Wireless Settings
Configuration View To manually configure your
wireless networks, select Manual. Proceed to the Wireless
Configuration (Manual) section. To use Wi-Fi Protected
Setup, select Wi-Fi Protected Setup. Proceed to
Wi-Fi Protected Setup, page 21.