EtherFast
®
10/100 LAN Card
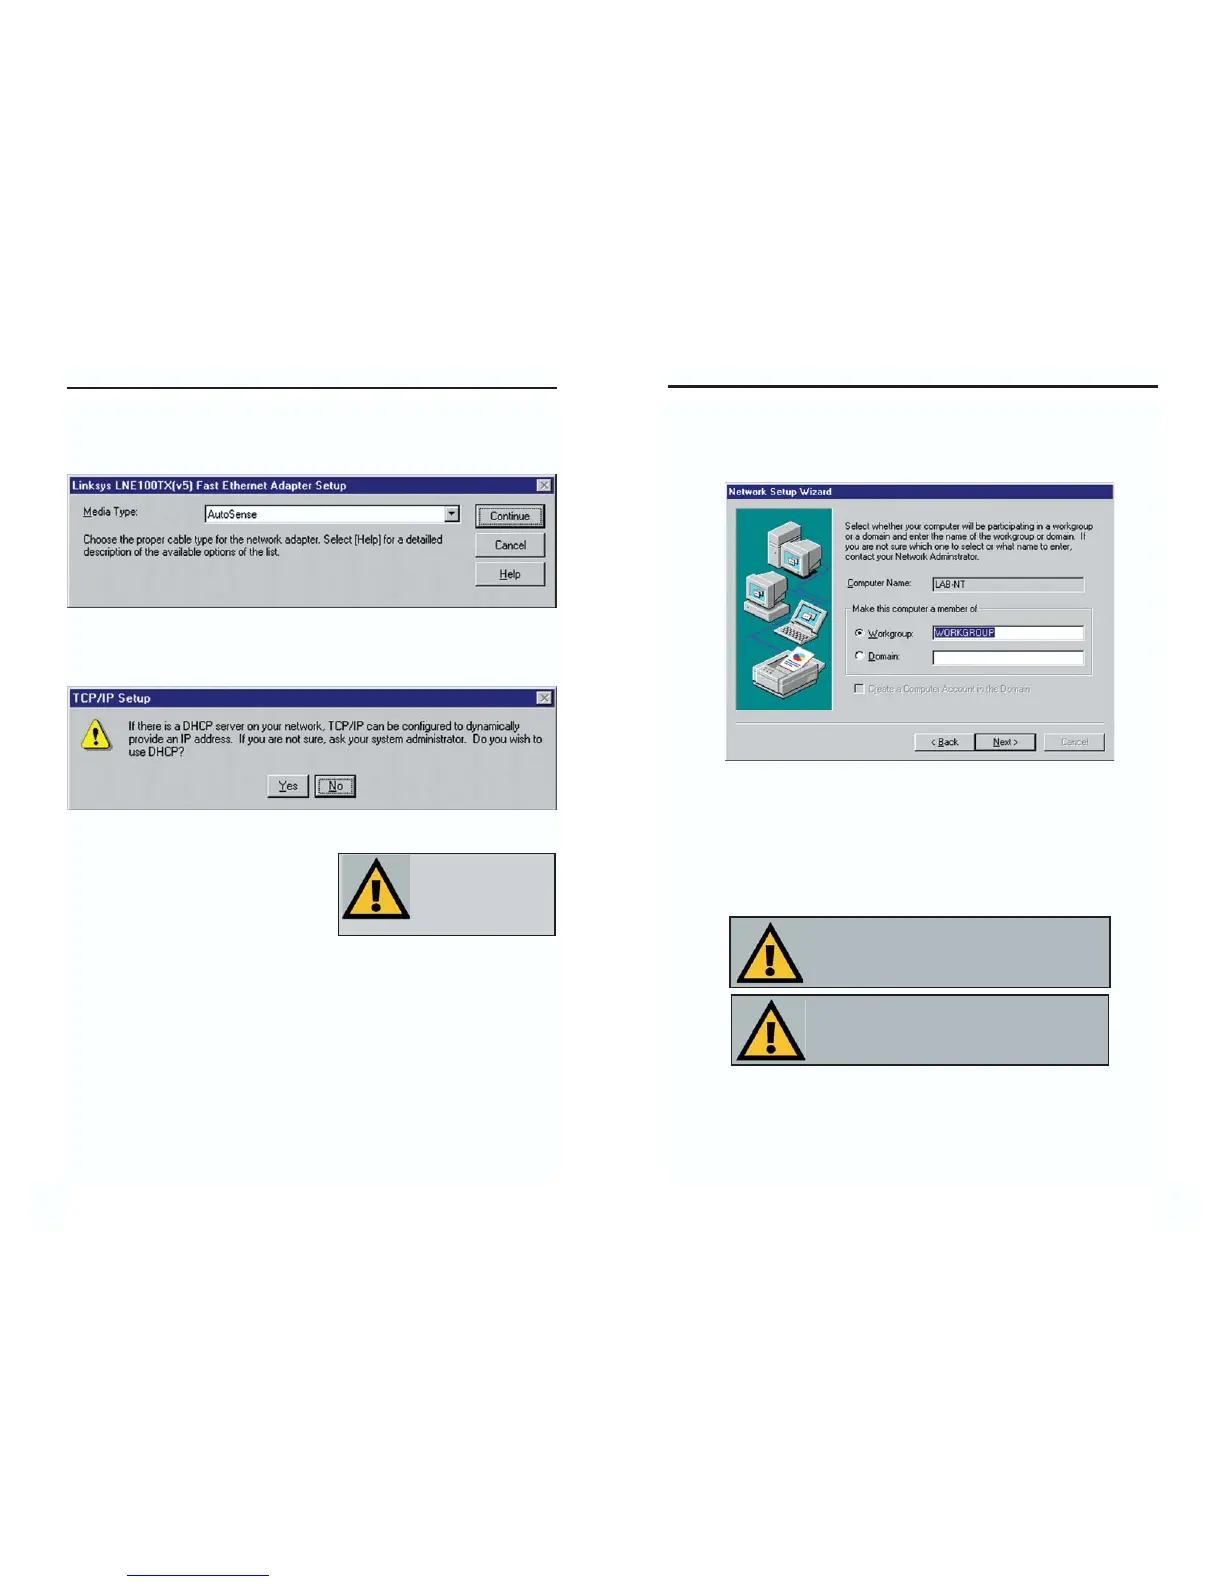
13. When you reach the following screen, choose either Workgroup or
Domain, depending on the type of network you're setting up. (Your
Microsoft documentation explains the difference between Workgroups and
Domains.) Click the Next button to continue.
14. On the next screen, click the Finish to complete installation. When asked
if you want to restart your computer, remove the Setup Utility CD and click
the Ye s button.
15. Once your PC has rebooted and you are logged in, double-click the
Network Neighborhood icon on your desktop. Make sure that you have
access to the network. If you do, your card has been properly installed.
The Windows NT Installation and Setup of the EtherFast
®
10/100 LAN
Card is complete. Do not continue on with the next set of instructions.
They are for NT users who already had their networking configured.
1RWH ,I \RX KDG SUHYLRXVO\ LQVWDOOHG DQ\ 17 VHUYLFH
SDFNV\RX PXVW UHLQVWDOO WKHP 2WKHUZLVH \RX PD\
UHFHLYH1RW (QRXJK6HUYLFH 6WRUDJH6SDFHHUURUV LQ
WKH(YHQW9LHZHU
1RWH,I\RXQHHG WR LQVWDOOWKH7&3,3 3URWRFROFRQ
VXOW \RXU :LQGRZV 17 GRFXPHQWDWLRQ /LQNV\V GRHV
QRWSURYLGHWHFKQLFDOVXSSRUWIRU7&3,3 FRQILJXUDWLRQ
RUWURXEOHVKRRWLQJ
4241
10. NT will ask you to choose a media type for the 10/100 LAN card. Choose
AutoSense. You can change these settings later if needed. Click the
Continue button.
11. You may be asked if there if a DHCP Server on your network. Verify if
there is, and whether you wish to use DHCP. Click the Ye s or No button
on the following screen, accordingly.
12. NT will copy the necessary network drivers to your PC. When the copying
is complete, you will see a list of
installed bindings. These binding are
appropriate to the card you are
installing. Click the Next button to go
through these two screens.
1RWH )RU LQIRUPDWLRQ
DQG KHOS RQ ELQGLQJV
VHUYLFHV DQG SURWRFROV
FKHFN\RXU:LQGRZV17
GRFXPHQWDWLRQ
Instant EtherFast
®
Series
 Loading...