71
Appendix C: Configuring IPSec between a Windows 2000 or XP Computer and the Router
How to Establish a Secure IPSec Tunnel
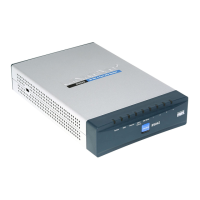
4-Port Gigabit Security Router with VPN
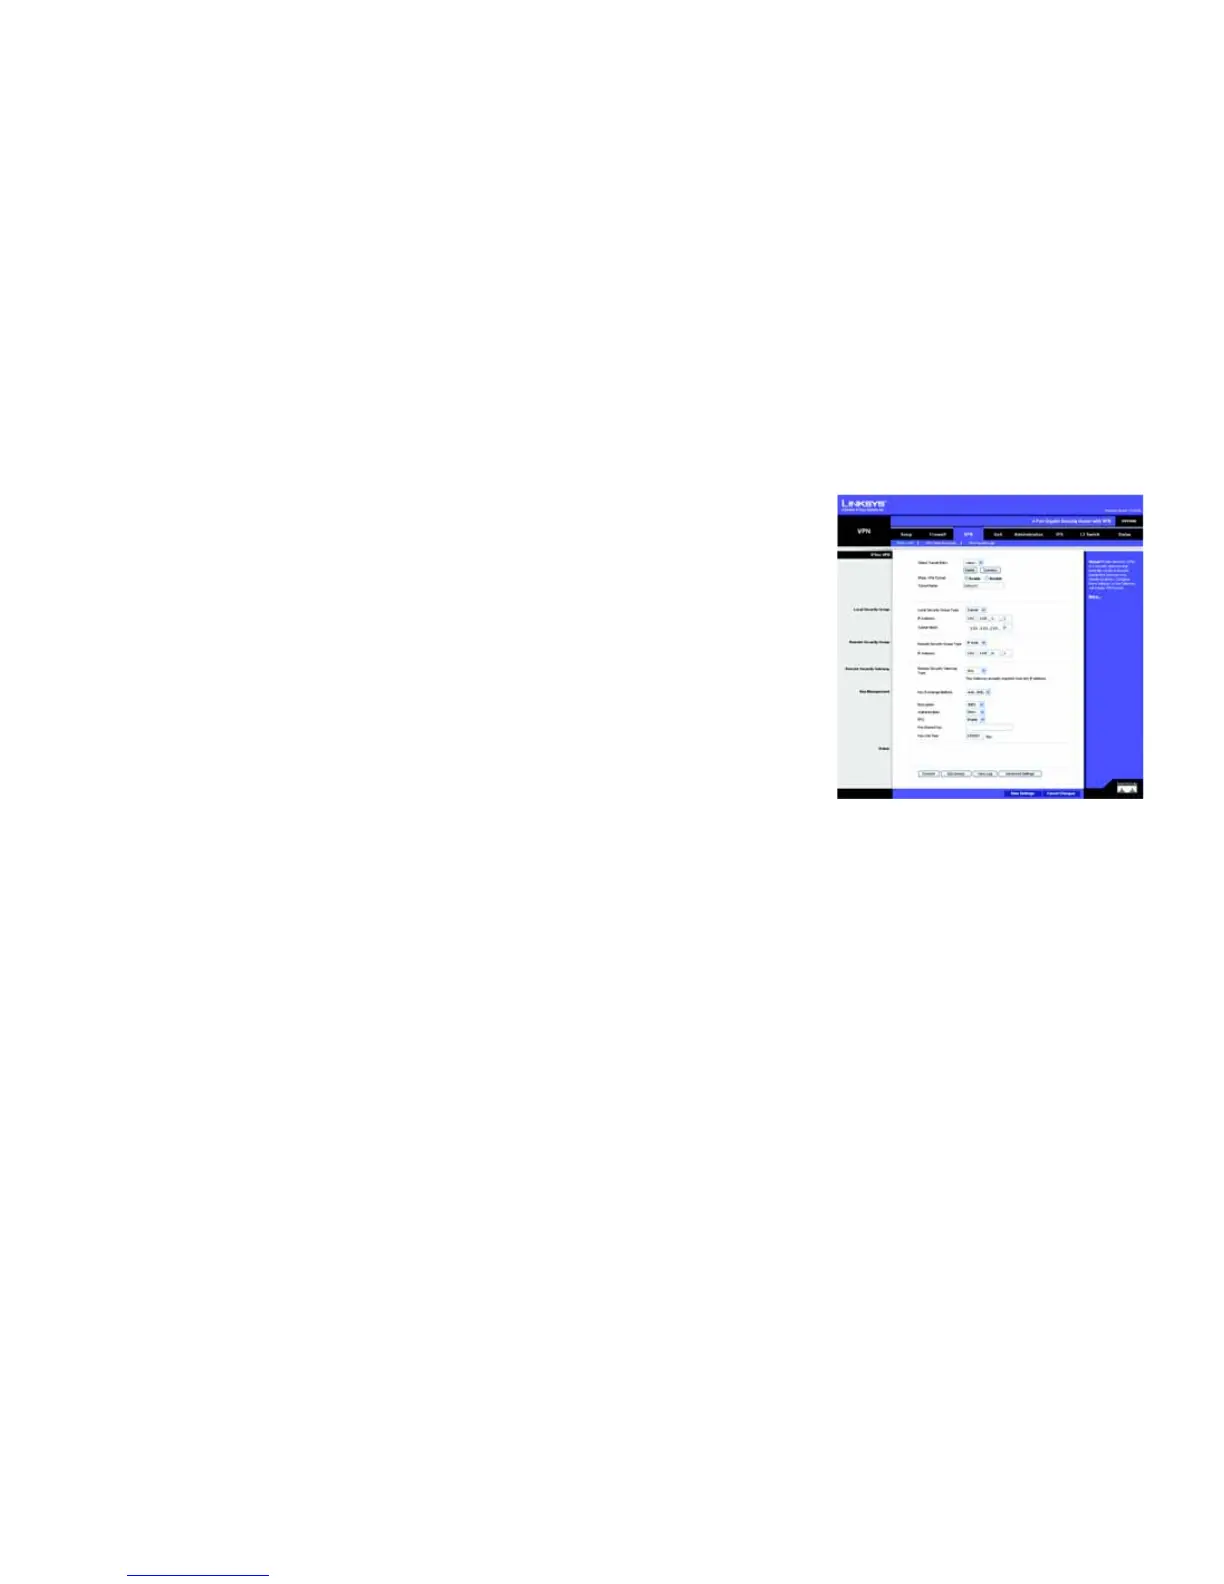
Step 5: Create a Tunnel Through the Web-Based Utility
1. Open your web browser, and enter 192.168.1.1 in the Address field. Press the Enter key.
2. When the User name and Password fields appear, enter the default user name and password, admin. Press
the Enter key.
3. From the Setup tab, click the VPN tab.
4. From the VPN tab, select the tunnel you wish to create in the Select Tunnel Entry drop-down box. Then click
Enabled. Enter the name of the tunnel in the Tunnel Name field. This is to allow you to identify multiple
tunnels and does not have to match the name used at the other end of the tunnel.
5. Enter the IP Address and Subnet Mask of the local VPN Router in the Local Secure Group fields. To allow
access to the entire IP subnet, enter 0 for the last set of IP Addresses (e.g. 192.168.1.0).
6. Enter the IP Address and Subnet Mask of the VPN device at the other end of the tunnel (the remote VPN Router
or device with which you wish to communicate) in the Remote Security Router fields.
7. Select from two types of authentication: MD5 and SHA1 (SHA1 is recommended because it is more secure).
As with encryption, either of these may be selected, provided that the VPN device at the other end of the
tunnel is using the same type of authentication. Or, both ends of the tunnel may choose to Disable
authentication.
8. Select the Key Management. Select Auto (IKE) and enter a series of numbers or letters in the Pre-shared Key
field. Select PFS (Perfect Forward Secrecy) to ensure that the initial key exchange and IKE proposals are
secure. You may use any combination of up to 128 numbers or letters in this field. No special characters or
spaces are allowed. In the Key Lifetime field, you may optionally select to have the key expire at the end of a
time period you designate. Enter the number of seconds you’d like the key to be useful, or leave it blank for
the key to last indefinitely.
9. Click the Save Settings button to save these changes.
Your tunnel should now be established.
Figure C-28: VPN Tab
 Loading...