USER MANUAL SMARTneo // PAGE 14
6 ASSEMBLY
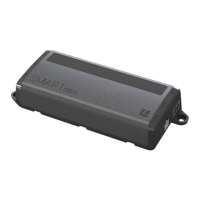
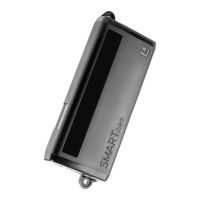
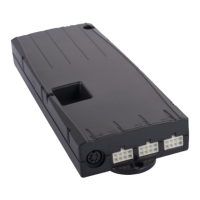
Mount the SMARTneo motor control on the underside of the table top. For assembly you need the following
tools and materials:
• 1 cross screwdriver
• 1 pencil
• 1 drilling machine (for predrilling)
• matching screws (not included in the delivery)
NOTICE
Assembly of the system is described in the corresponding custo-
mer manual.
Unplugging mains cable
During installation of the system, the motor control unit‘s power
supply cable must be disconnected from the mains plug.
Acclimation of the product
Before mounting and commissioning the SMARTneo, make sure
that the product acclimatizes to the temperature and humidity
values specied in the data sheet for operation.
To mount the SMARTneo motor control, proceed as follows:
NOTICE
We recommend mounting with the aid of the drilling template.
If you do not want to use the drilling template, please follow the
instructions in detail.
1. Position the motor control in the desired position on the table top.
2. Mark the drill holes with a pencil.
3. Pre-drill these 2 drill holes.
4. Attach the SMART to the pre-drilled locations with 2 screws.
5. Tighten the screws.