Connecting the Camera3
5. Click Add. The Status indicator turns green to show the camera is successfully connected.
6. Click OK to save changes.
NOTE
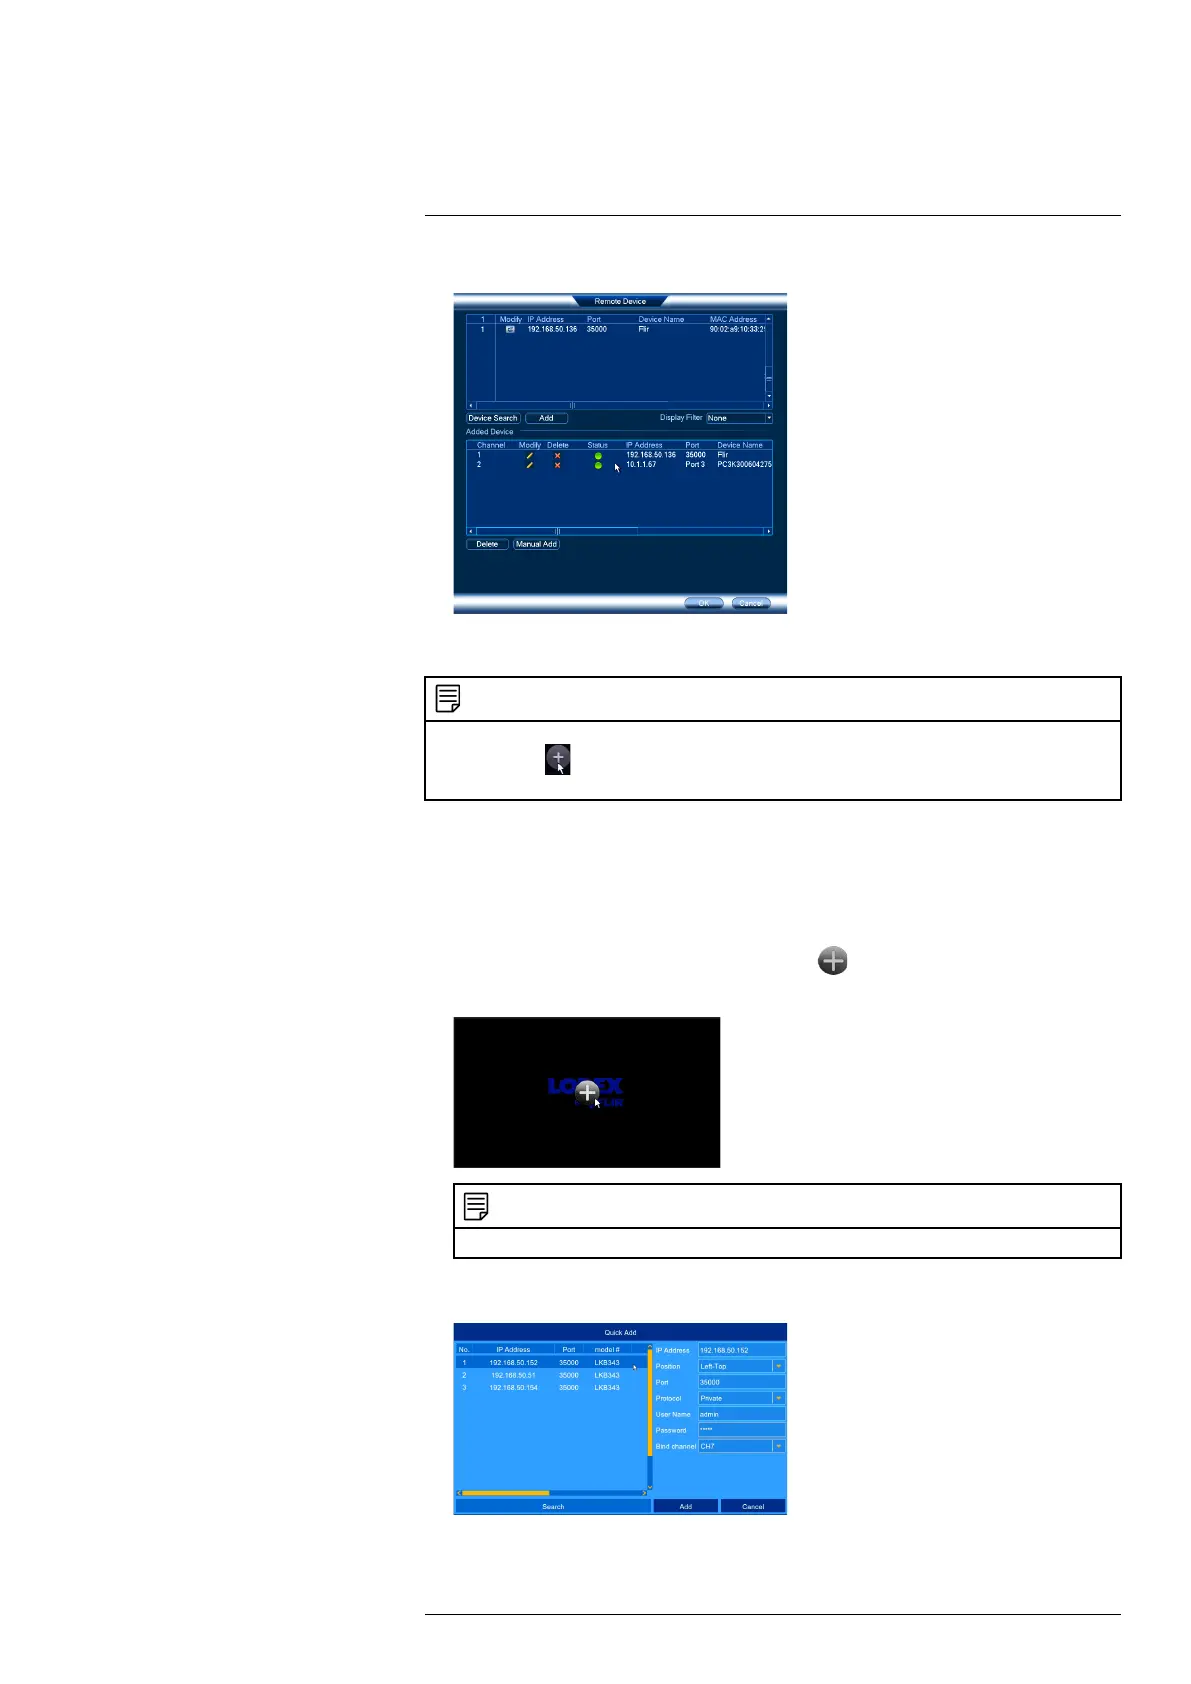
You can also add a camera to a specific channel by hovering the mouse over an empty channel in split-screen
view and clicking
. Click Device Search and double-click the camera you would like to add. Right click to
exit.
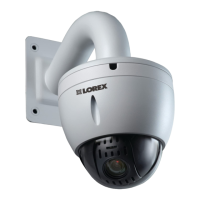
3.4 Adding the PTZ camera to the LNK Series NVRs
To add the PTZ camera to the LNK Series NVRs:
The following instructions are based on the LNK7000 Series NVR. See your NVR’s instruction
manual for instructions on controlling the PTZ camera with your system.
1. From live view, hover over a blank channel. Click
in the center of the channel to add
the PTZ camera from the LAN. A Quick Add menu opens.
NOTE
If prompted, enter the system user name (default: admin) and your password.
2. Click Search. The NVR scans the network for compatible cameras. A list of compatible
cameras appear on the left-side of the screen.
#LX400075; r. 4.0/58710/58717; en-US 6
 Loading...