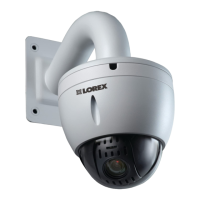
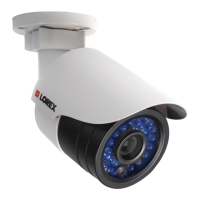
Connecting the Camera3
2. Connect the camera to a router in the same network as your NVR using the included Ethernet
cable (or an Ethernet cable of up to 300ft (91m) rated CAT5e or higher).
Step 2 of 2: Add the camera to your NVR:
• For instructions on adding the PTZ camera to the LNR / NR Series NVRs , see 3.3 Adding
the PTZ Camera to the LNR / NR Series NVRs, page 5
• For instructions on adding the PTZ camera to the LNK Series NVRs, see 3.4 Adding the PTZ
camera to the LNK Series NVRs, page 6
NOTE
For instructions on how to locate the serial and model number of your recorder, visit www.lorextechnology.com
and search for “Where is the Serial and Model Number located”.
3.3 Adding the PTZ Camera to the LNR / NR Series NVRs
To add the PTZ camera to the LNR / NR Series NVRs:
The following instructions are based on the LNR400 Series NVR. See your NVR’s instruction
manual for instructions on controlling the PTZ camera with your system.
NOTE
• Not compatible with LNR200 / LNR300 Series NVRs. For the latest list of compatible recorders, see
lorextechnology.com/compatibility.
• You must have at least one empty channel before attempting to add the camera to the NVR.
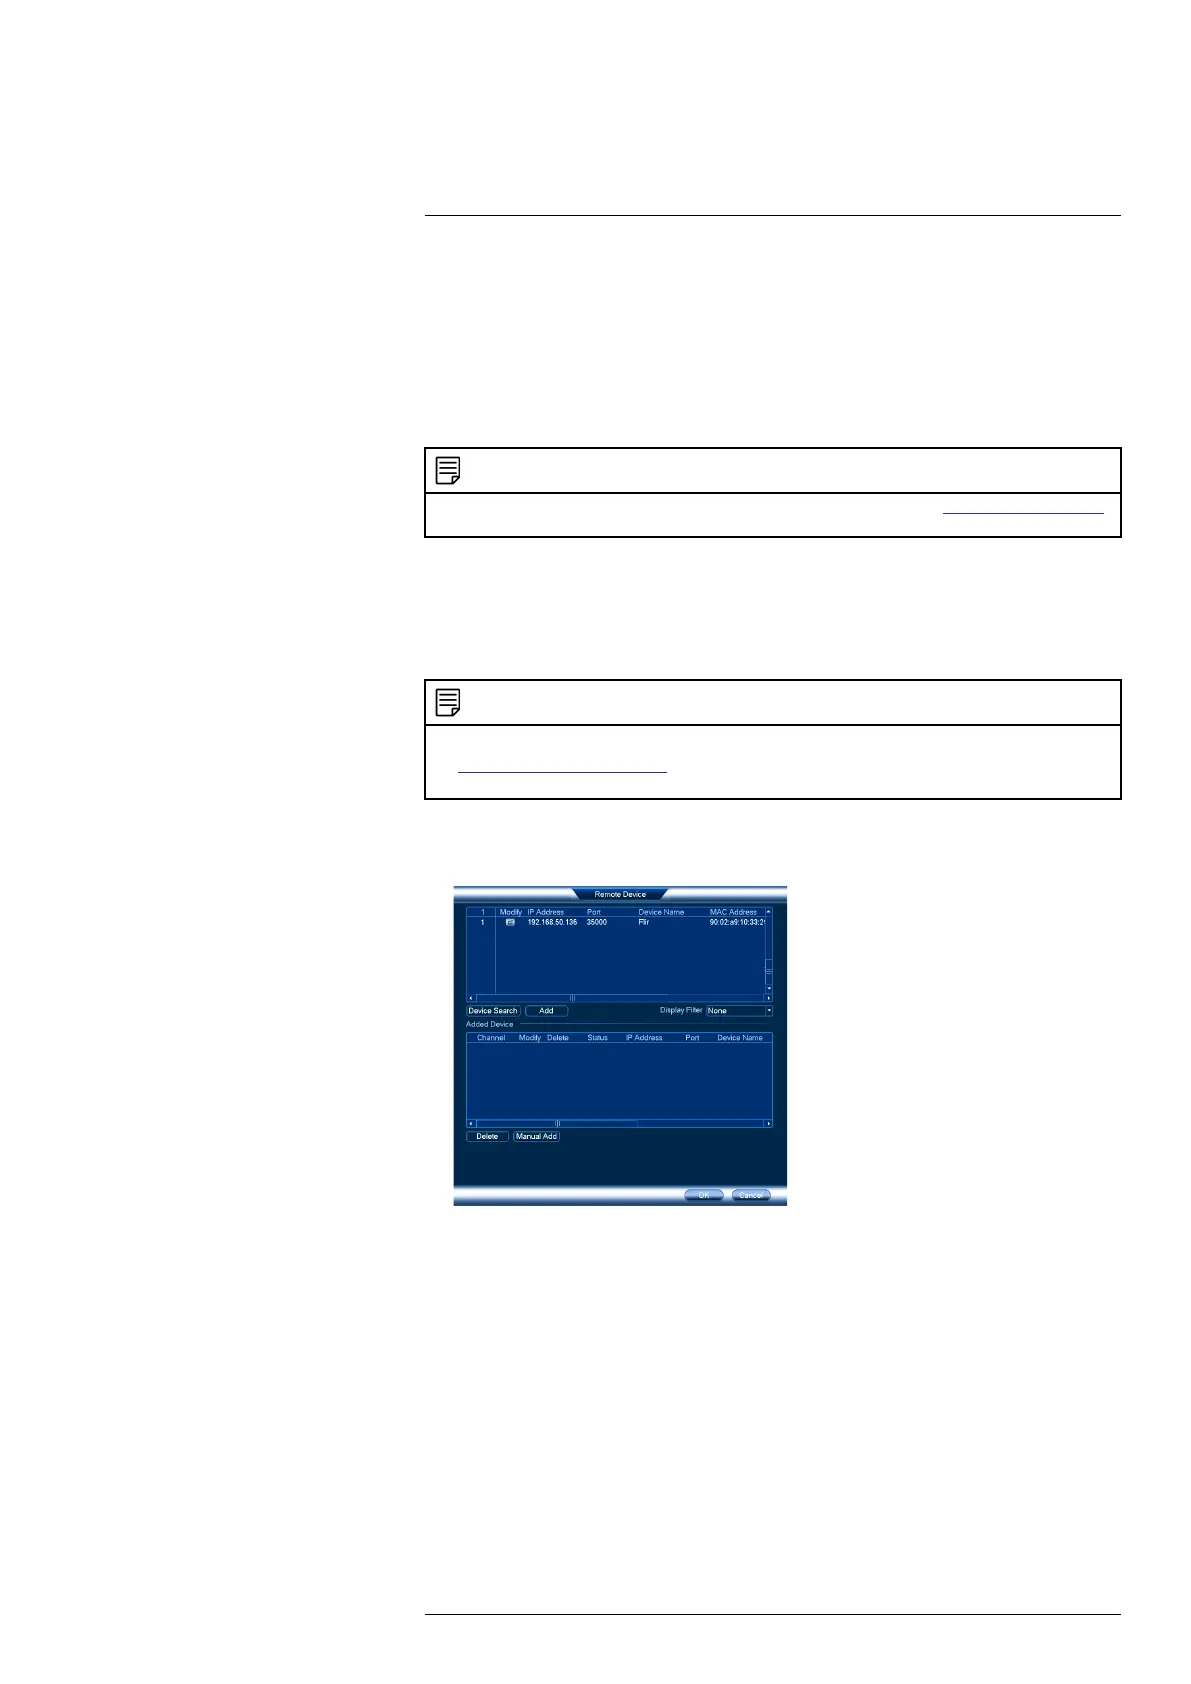
1. Right-click during live view and select Device Search.
2. Log in using the admin account (default user name: admin; default password: 000000).
3. Click Device Search. The system searches the network for compatible cameras.
4. Check the camera(s) you would like to add.
#LX400075; r. 4.0/58710/58717; en-US 5
 Loading...