23
Programming the MkII Truck Timer
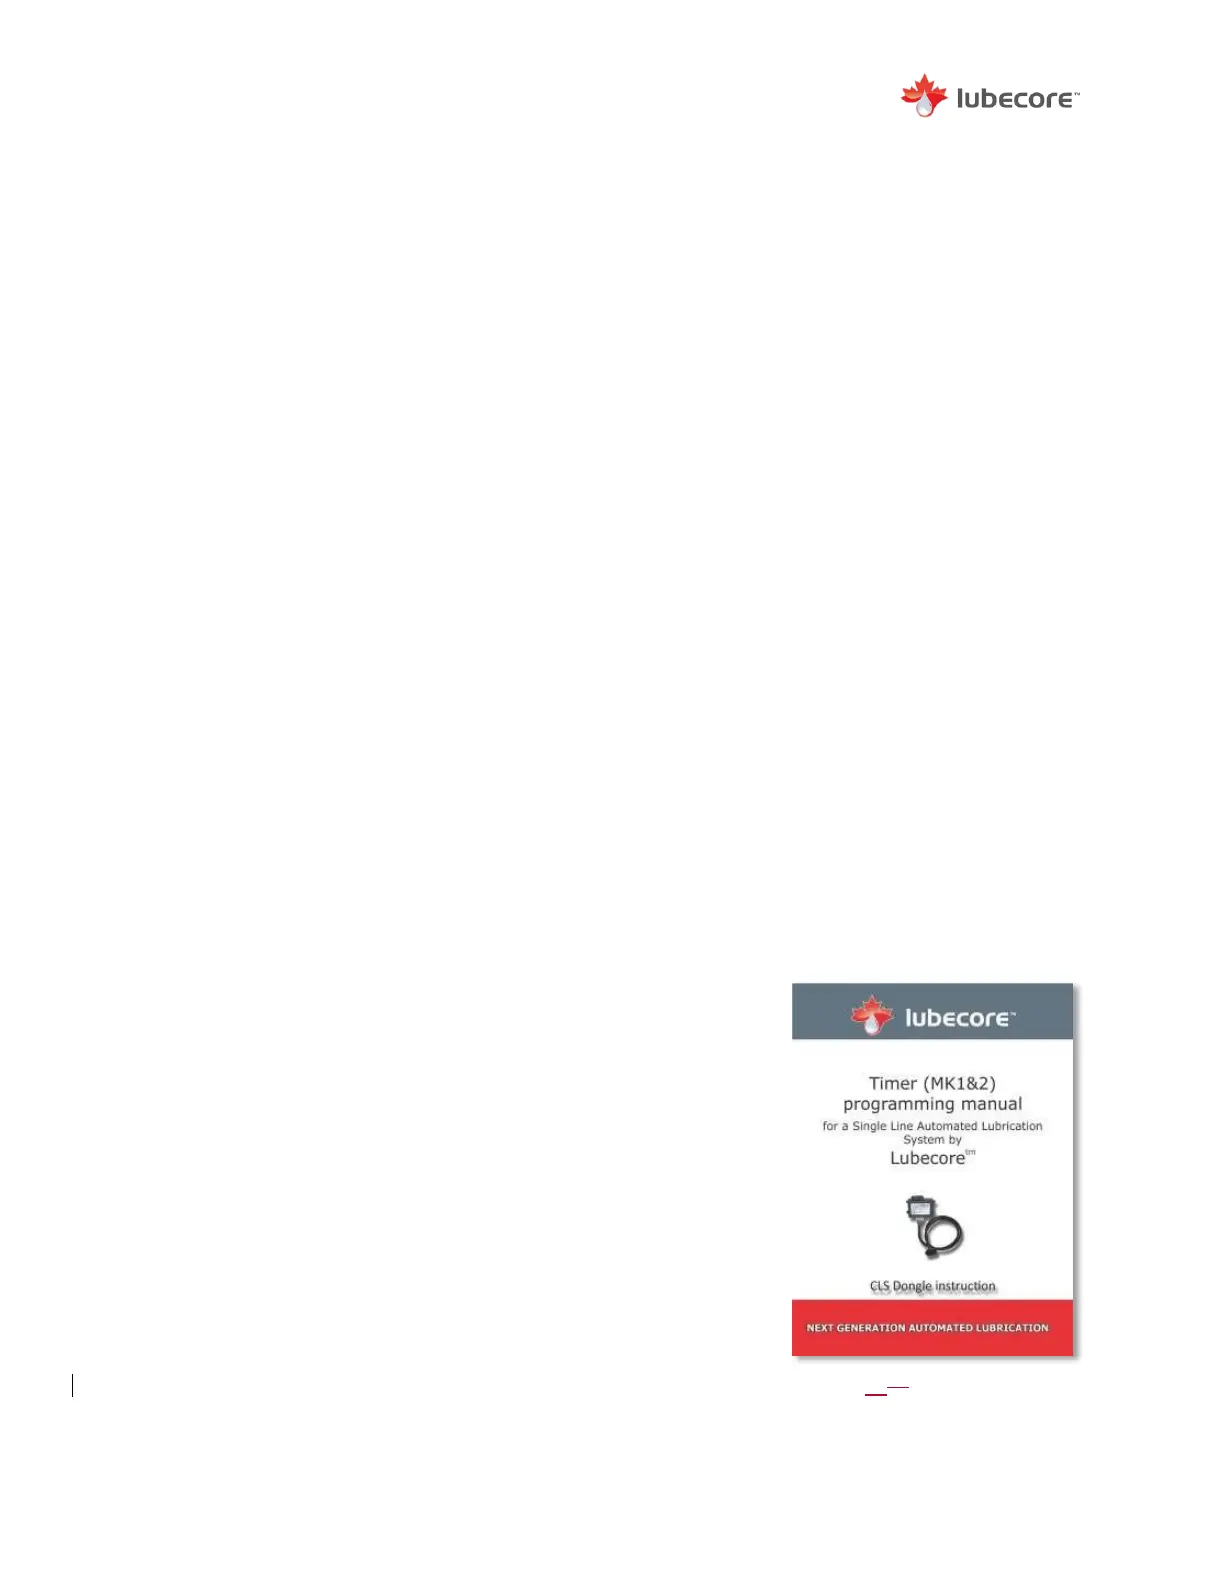
The timer can be programmed using a CLS Dongle Timer Interface Unit and a computer running
Microsoft™ Windows™ with USB capability. For a more in-depth explanation on how to use the
Dongle, please see the Timer Programming manual.
Using the CLS Dongle Timer Interface Unit, the timer can both be programmed and reviewed for
lubrication system performance. The primary goal of programming the timer is to set the values
for the “pause” and “working” phases, as described in the General Operation section.
To program the timer:
1) Connect the timer to the Dongle Timer Interface Unit.
2) Ensure the timer has power by turning the ignition switch to the auxiliary position.
3) Start the timer programming software and plug in the USB cable to the computer.
4) In the menu bar, select “open connection” from the drop-down menu.
5) In the report tab of the program, click “refresh” to display current timer values.
6) Go to tab 3, “Parameters”.
7) In the left screen under “pause time”, use the up and down arrows to set the desired
values for hours and minutes.
8) In the left screen under “working time”, use the up and down arrows to set the desired
value for minutes.
9) In the bottom of the left screen, click “set” to send and save the values to the timer. Go
to the “report” tab, click “refresh”, and return to tab 3 to verify that the values are set
correctly.
10) Turn off the ignition switch and computer, and remove the Dongle device.
11) Verify the functionality of the ALS system by performing a test cycle. Do this either by
pressing the red test switch in the timer cover or pressing the Smart Switch, if present,
with the ignition in the auxiliary position.
The timer is now programmed and ready for use.
Figure 1921
Timer Programming Manual