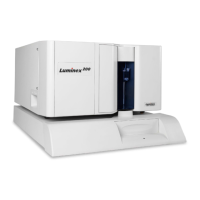
Luminex 200 Installation Manual
17
• Ensure that the sheath fluid box is at least three feet below
the Luminex SD system, otherwise it will overfill.
• Attach the power cord to the input module on the back of the
Luminex SD system. Connect the CANBUS (short) cable to
P1 on the back of the SD and to P2 on the back of the
analyzer. Plug the power cord into the power outlet. See
Figure 15.
Figure 15. Back of SD System, P1 Port
4. Turn on the power to the Luminex SD system. It will
automatically prime, and stop when the reservoir is 2/3 full.
5. Open the center access door on the Luminex 200 analyzer. Use a
screwdriver to turn the regulator fully clockwise, about three to
six full turns. The regulator must be fully closed to work
properly. It is important to make sure that you turn it as far as it
will go. Do not force the regulator past the fully closed position.
Regulator is under arrow as Figure 16 shows.
Figure 16. Luminex 200 Analyzer Regulator Adjustment

 Loading...