D8B Manual • Chapter 4 • page 101
Installation of I/O Cards
IMPORTANT: Shut off power to the
Digital 8•Bus’ Remote CPU before
installing or removing cards.
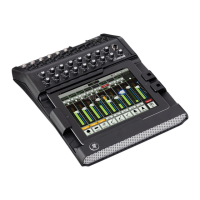
1. Using a #2 Philips screwdriver, unscrew the blank
cover plate corresponding to the I/O card slot you
want to fill.
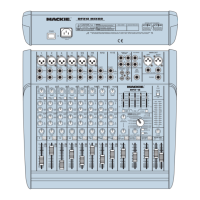
2. Holding the I/O card so that the components on
the green circuit board face to the left (see
diagram), line up the card so the top and bottom
edges fit into the white guide slots. Do not touch
any of the circuit board components or solder joints.
3. Be sure to push the card in all the way—until the
front of the I/O card is flush with the back panel of
the D8B. This may require a good, solid push, so
don’t be shy.
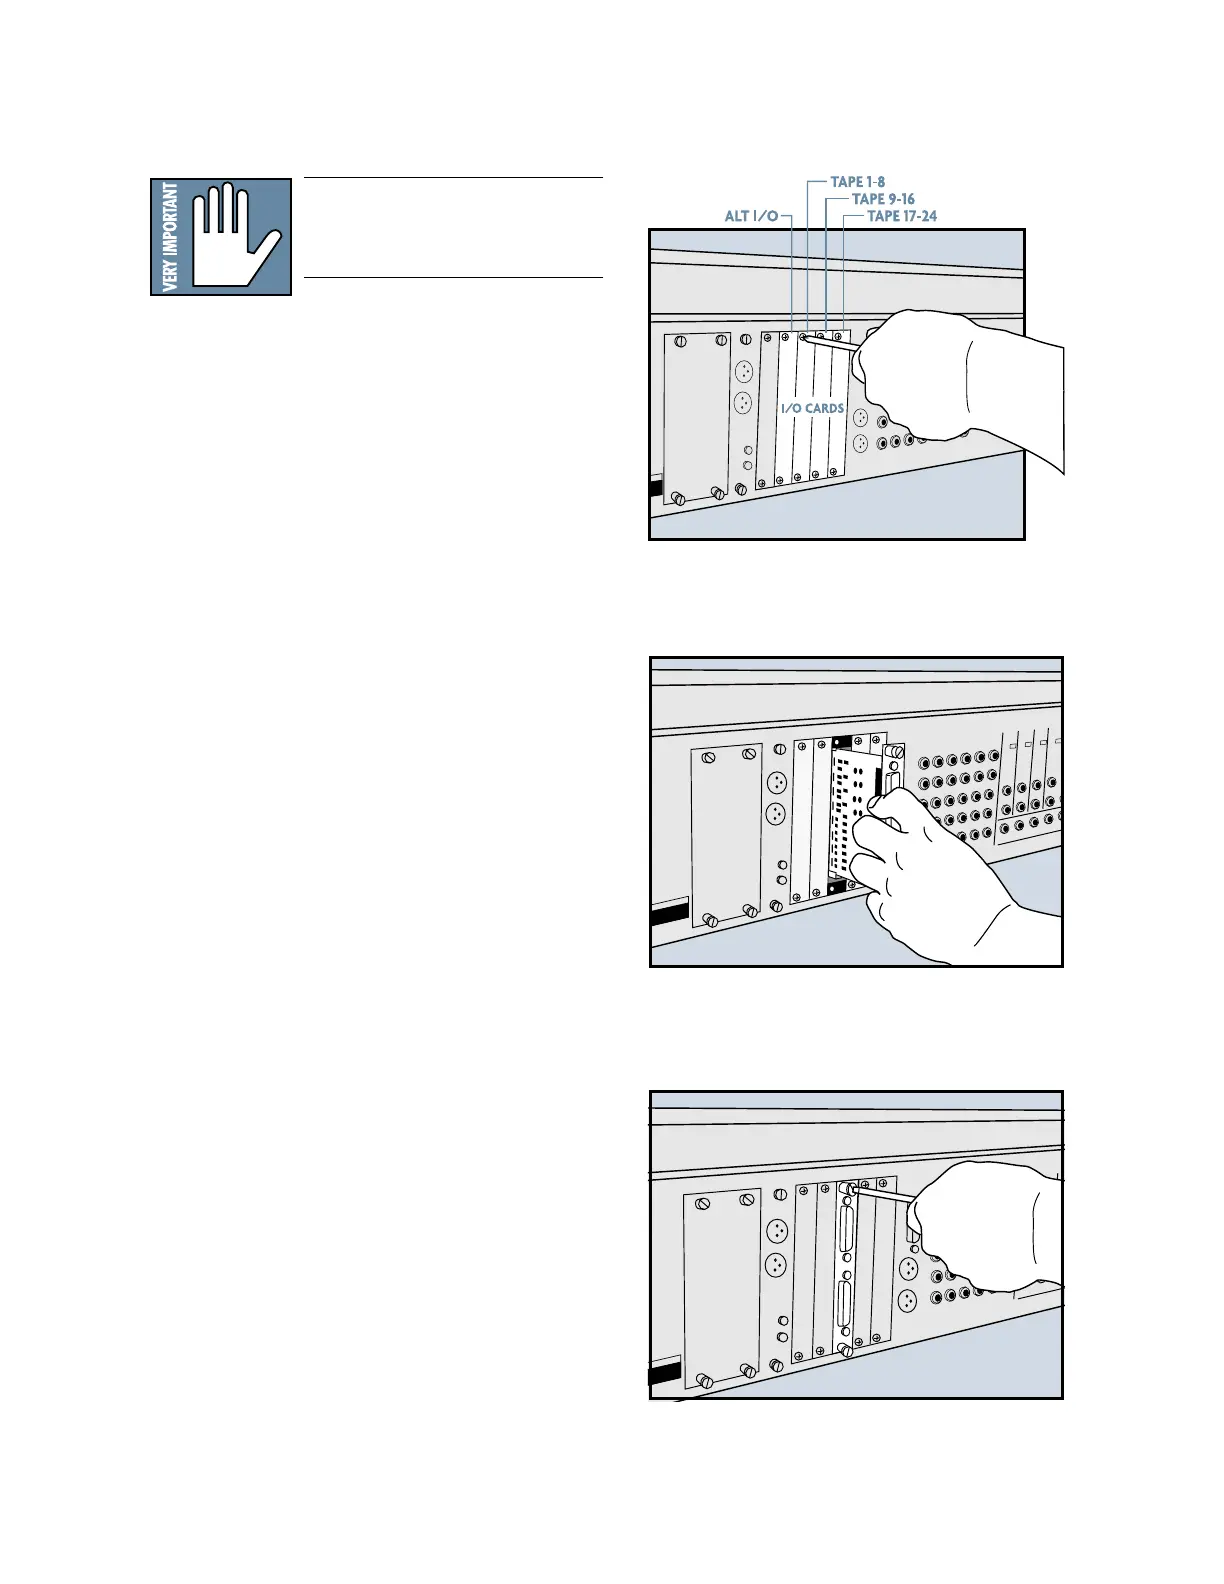
4. Tighten the spring-loaded screws on the
I/O card securely using a slotted screwdriver. DO
NOT OVERTIGHTEN THE SCREWS, or you run
the risk of stripping the threads in the D8B.
Tighten Screws on Tape I/O Card
Installing a Tape I/O Card
Remove Cover Plate for Tape I/O Card
 Loading...