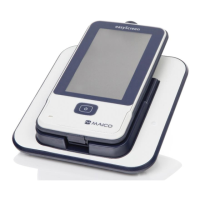
4.4.2 Select Test Screen
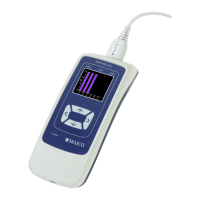
Option: Extra software license for high frequency probe
Keypad operation
Top middle button brings you to the Setup screen.
Top right button selects the protocol of your choice and brings you to the Test screen.
Right and Left buttons will bring you to respectively the top or bottom of the protocol list.
Up and
Down buttons make you move up or down one protocol.
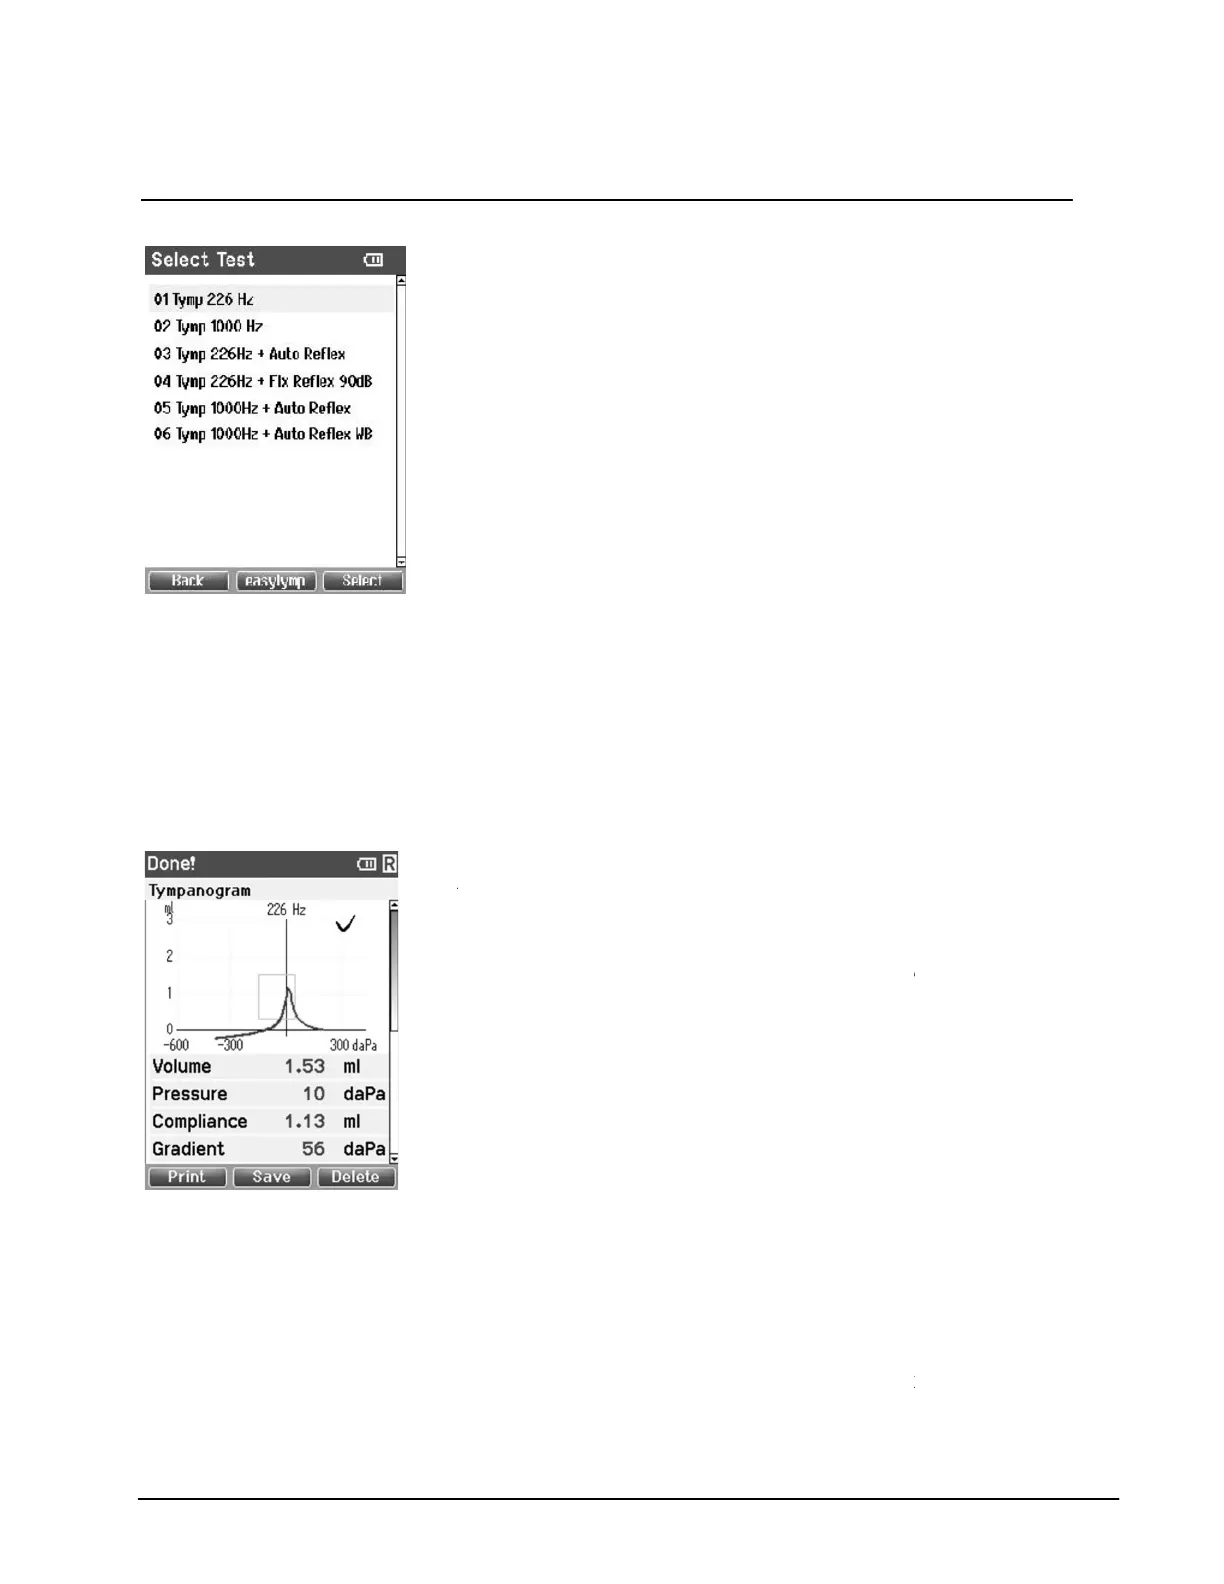
4.4.3 Done
From here, measurements of both ears can be reviewed,
printed and/or saved. Of course, you can also
new measurement in the Test screen from here.
Operating from this screen:
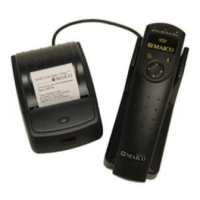
Print:
Top left button will result in printing the test results of the left and right ear. Note that
there should be a connection to the printer by placing
Save:
Top middle button will bring you to the
saved. After saving data
working memory and return
you save the data or retrieve you
17
Opens
screen with available test protocols
Option: Extra software license for high frequency probe
: Leads to the easyTymp® Setup
: Select a test protocol and return to the test screen
:
Top middle button brings you to the Setup screen.
Top right button selects the protocol of your choice and brings you to the Test screen.
Right and Left buttons will bring you to respectively the top or bottom of the protocol list.
Down buttons make you move up or down one protocol.
will automatically go to the Done screen when
From here, measurements of both ears can be reviewed,
printed and/or saved. Of course, you can also
new measurement in the Test screen from here.
Top left button will result in printing the test results of the left and right ear. Note that
there should be a connection to the printer by placing
the easyTymp®
Top middle button will bring you to the
Patient Screen from where
prepares itself for a new measurement by clearing its
to the Test screen. You
can either choose to print data before
you save the data or retrieve you
r
saved recording from the session list and print afterwards
screen with available test protocols
.
Option: Extra software license for high frequency probe
: Select a test protocol and return to the test screen
Top right button selects the protocol of your choice and brings you to the Test screen.
Right and Left buttons will bring you to respectively the top or bottom of the protocol list.
will automatically go to the Done screen when
From here, measurements of both ears can be reviewed,
printed and/or saved. Of course, you can also
directly start a
new measurement in the Test screen from here.
Top left button will result in printing the test results of the left and right ear. Note that
data can be
prepares itself for a new measurement by clearing its
can either choose to print data before
saved recording from the session list and print afterwards
.
 Loading...