Operating Instructions
23
7.2 Quick-Print to PDF or to the default PC printer
Open the
Print Results
application
by double clicking on the
application icon.
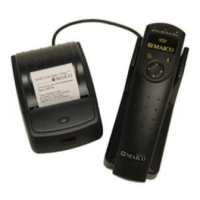
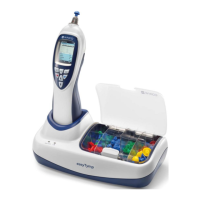
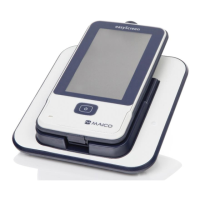
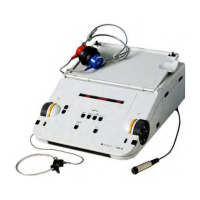
Place the ERO•SCAN Pro gently in
the cradle.
Transfer of test data will occur
automatically when the instrument
is placed in the cradle.
This application will print to a PDF
file or print to the default PC
printer.
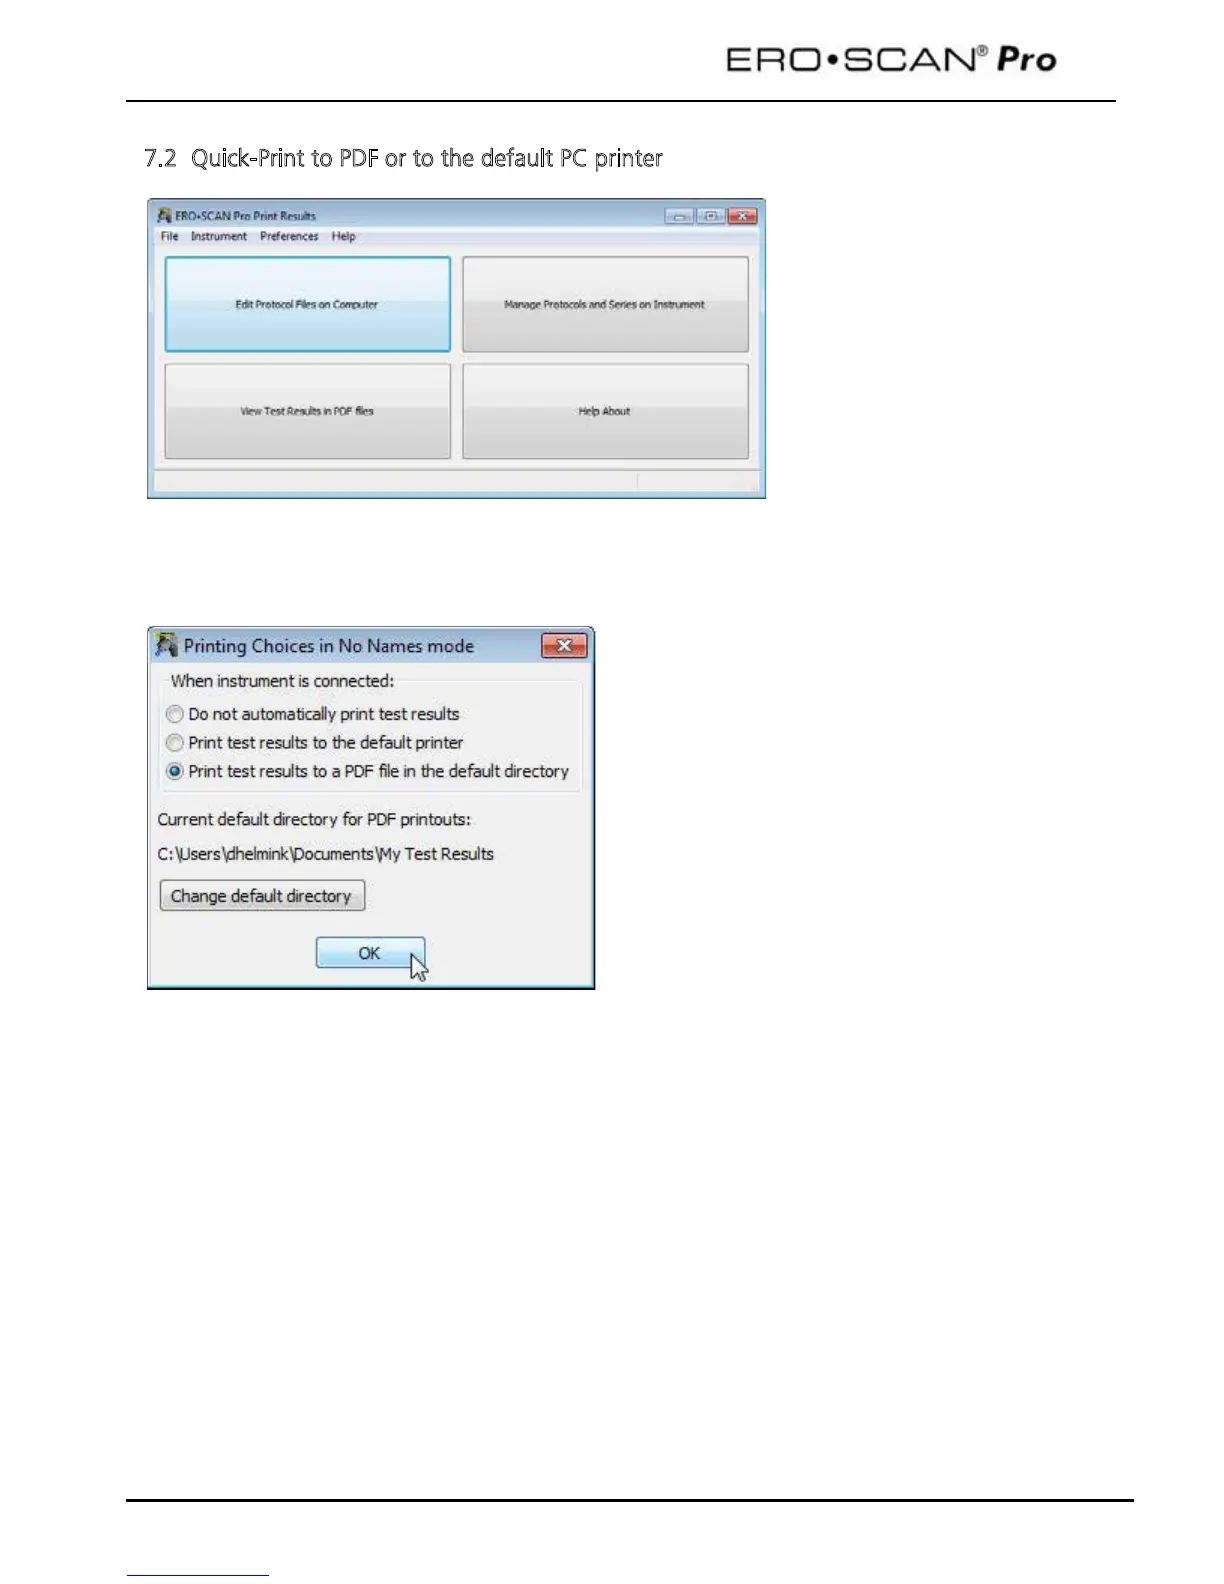
The first time test data is transferred to the
application you will be prompted to establish your
printing preferences. You can also set your
preferences by selecting
Preferences
Printing Test Results
from the menu.
Do not automatically print test results
: no action
will be taken when he instrument in placed in the
cradle
Print test results to the default printer
results will be sent to the default PC printer and
and an 8.5 x 11 page will be printed. There will
be no electronic copy saved.
Print test results to a PDF file in the default
directory
: the test results will be sent to a PDF file
that can be named and saved for import into
electronic medical records systems or for printing
in the future.
Note: During installation of the application a folder will be created at C:\_\My Documents\My Test
Results. The default directory can be changed in the printing preferences.
 Loading...