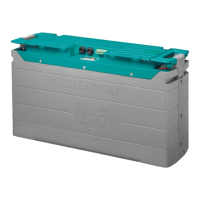
MLI Ultra 12/1250, 24/1250 – User and Installation Manual
1. Remove the DIP switch cover by loosening the four screws.
2. Use a small screwdriver to carefully change the DIP switch position.
3. Replace the DIP switch cover and fasten with the screws. Make sure that the rubber band is placed
correctly, to make it watertight.
Configuration in a MasterBus network
A display like the SmartRemote or EasyView 5, can be used to monitor the MLI Ultra. Advanced
configuration can be done in MasterAdjust, from a Windows laptop or notebook connected to the MLI
Ultra via a Mastervolt USB Interface. The following tables list the parameters as shown in MasterAdjust.
Monitoring tab
Battery state of charge in %
Time of battery use left at the actual load in hh:mm:ss
Battery voltage measured by the cell management system
Current measured by the cell management system
Positive value: charging, negative value: discharging
Internal temperature of the battery in °C
Button to close the battery switch.
Button to open the battery switch.
State of the battery switch: open / close / unknown
Note: you need to login as installer to see all following parameters.
Indication of the occurrence of a Battery Safety event
Indication of the occurrence of a Stop charge event
Indication whether MasterBus powering is on or off
This checkbox is marked when the heater is on
Closure of relay wire pair 4&5 of the auxiliary cable
Opening of relay wire pair 4&5 of the auxiliary cable.
Voltage of the individual cells
Indication of balancing of the individual cells
Temperature of cells 1, 2-3, 4-5, 6-7, 8
Indication of the occurrence of a Battery Safety event
Indication of a short circuit in the MLI Ultra
This alarm is raised when the State of charge (SoC) drops below a preset value
(10% by default)
Indicates that the State of charge drops below a preset value (0% by default)
Note: you need to login as installer to see all following parameters: