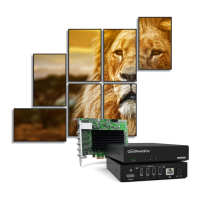
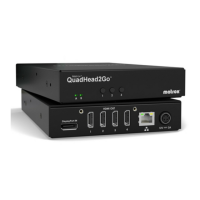
Matrox QuadHead2Go Series – User Guide 13
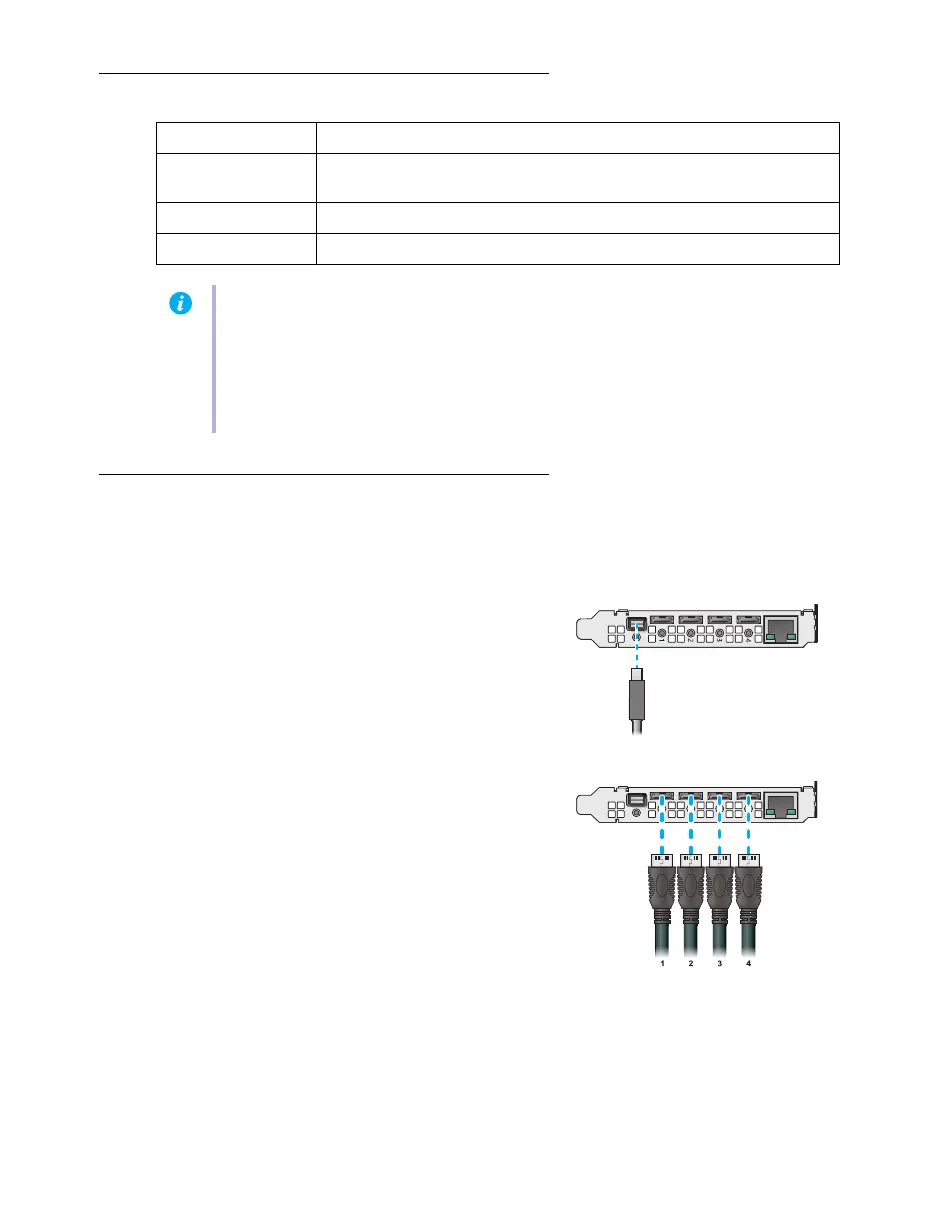
Description of supported connectors
Step-by-step connection setup
This section guides you through the step-by-step connection setup of your QuadHead2Go card. For
more information on connectors, see “Description of supported connectors”, page 13.
1 Connect your DisplayPort source
Connect your DisplayPort source to the mini
DisplayPort connector on your
QuadHead2Go card.
2 Connect your digital monitors
Connect your monitors to the mini HDMI
connectors on your QuadHead2Go card.
Connector Description
Mini DisplayPort IN Connect your mini DisplayPort cable to your Matrox card. Connect the
other end of the cable to your audio/video source.
Mini HDMI OUT Connect a digital monitor to this connector.
LAN Connect a network cable to this connector.
Note:
To connect to the bracket of your Matrox product, the overmold (or boot) of the
mini HDMI connectors must respect the maximum width (0.551 inches/14 mm) and
thickness (0.331 inches/8.4 mm) stated in the HDMI specifications.
For the mini HDMI connectors, we recommend you use certified HDMI cables that
support your maximum resolution.