26
4. REMOTE CONTROLER
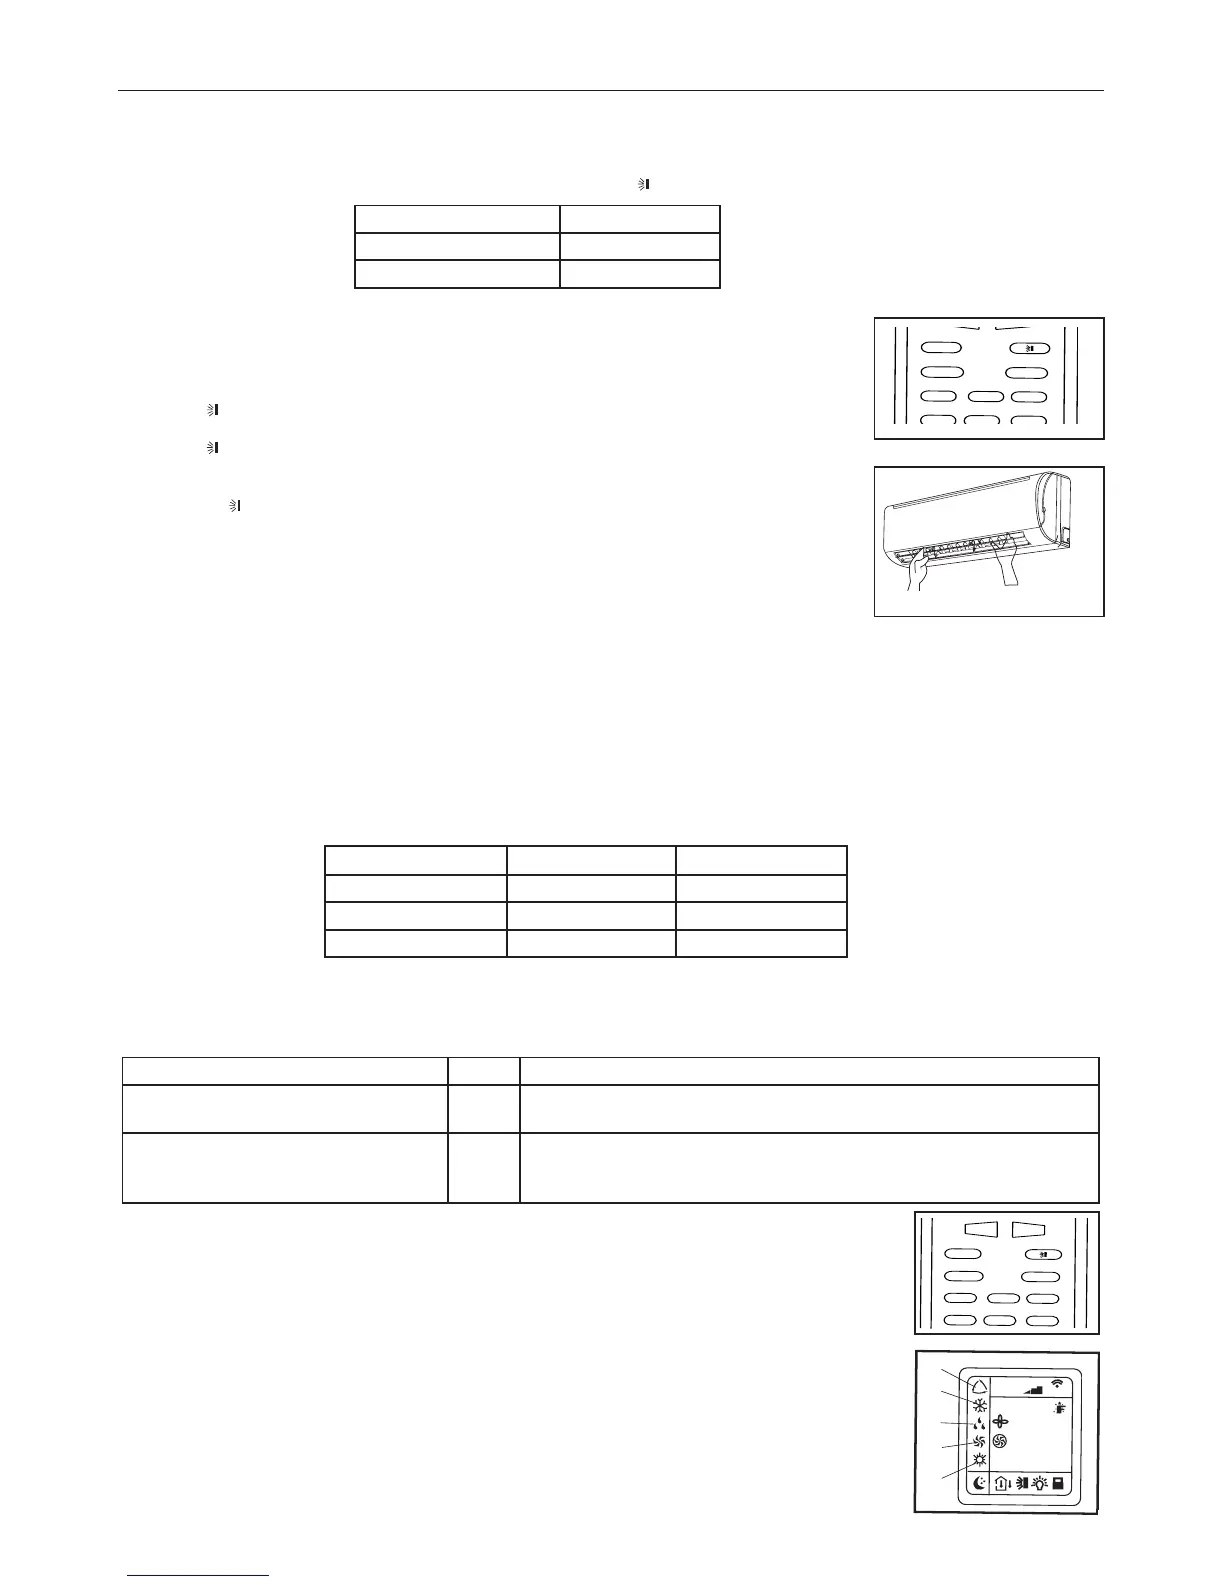
Air flow direction control
Vertical air flow automatically adjusted to a certain angle in accordance with the operation mode after turning on the unit.
Note : The direction of air flow can be also adjusted by pressing the " " button of the remote controller.
* Vertical air flow control (with the remote controller)
Using remote controller to set various angles of flow or specific angle as you like.
Swing air flow
When the appliance is powered on, the baffle will set at a preset angle.
Press the " " key to regulate the flow of air issued by the interior unit.
Press the key once and the baffle will continue to move, mixing the ambient air.
Press the " " key a second time and the baffle will lock.
Desired direction air flow
Pressing the " " button again when the louvers swing to a suitable angle as desired.
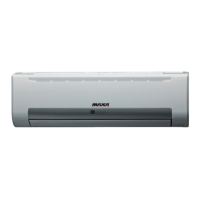
* Horizontal air flow control (with hands)
Turning the control rods of the horizontal adjustment louvers to change horizontal air flow as shown.
Note:
The shape of the unit may look different from that of the air conditioner you have selected.
- Do not turn the vertical adjustment louvers manually, otherwise malfunction may occur. If that happens, turn off the unit first and
cut off the power supply, then restore power supply again.
- It is better not to let the vertical adjustment louver tilt downward for a long time at COOLING or DRY mode to prevent condensed
water from dripping.
AUTO MODE OPERATION
During the AUTO mode, the unit selects automatically HEATING, DRYING, FAN, COOLING as function of the room temperature
Starting AUTO mode:
At first turn on the air conditioner and then select the AUTO operation by mean of the MODE key.
The automatic operating mode selection and temperature are determined by the indoor temperature, according the following table:
Note:
- In feel mode no temperature will be displayed.
- It may happen that no air is expelled from the indoor unit while it is in operation.
- The unit will not always start operating immediately after the mode has been changed.
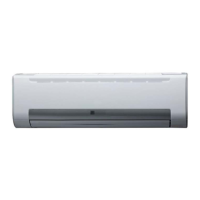
OPERATING MODE SELECTION
By pressing the "MODE" key it is possible to select the desired operating mode, as follows: AUTO -
COOL- DRY - FAN - HEAT.
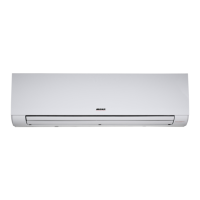
1)
AUTO Mode: this mode could be set by pressing the "MODE" key until the its indicator (1) appears
on the display. The appliance automatically sets the suitable operating mode (HEAT, DRY, FAN, COOL)
depending on room temperature.
2)
COOL Mode: this mode could be set by pressing the "MODE" key until its indicator (2) appears on the
display. The unit starts to operate if the set temperature is lower than that of the room.
3) DRY Mode: this mode could be set by pressing the "MODE" key until its own indicator (3) appears on
the display. The unit will start to operate in the cooling mode decreasing quickly the room temperature till
reaching the set temperature.
Condensation may form on the delivery port if the "DRY" function is used for a long period of time.
4) FAN Mode: this mode is set by pressing the "MODE" key until its own indicator (4) appears on the
display and the unit get the air automatically circulating in the room.
5) HEAT Mode: this mode is set by pressing the "MODE" key until its own indicator (5) appears on the
display. The unit stars to operate if the set temperature is higher than that of the room.
Control rods of horizontal
adjustment louvers
E
Indoor temperature
Operating mode
Temp. impostata
Less tan 21°C
Heating 18°C
21°C ~ 24°C
Fan only /
More than 26°C
Cooling 25°C
Your feeling
Button
Adjusting procedure
Uncomfortable because of unsuitable
air flow volume.
FAN
Indoor fan speed alternates among High, Medium and Low each time this
button is pressed.
Uncomfortable because of unsuitable
flow direction.
SWING
Press it once, the vertical adjustment louver swings to change vertical airflow
direction. Press it again, swings stops.
For horizontal airflow direction, please refer to the previous page for details.
Operation mode Direction of airflow
COOLING, DRY
Horizontal
* HEATING, FAN ONLY
Downward