25
How to insert the batteries
Use two new alkaline type batteries with AAA 1,5V.
(1) Slide down the cover of the battery compartment.
Remove the used batteries and insert new ones correctly.
(2) Reattach the cover by sliding it back into its position.
NOTE
- Do not use old batteries or different type batteries. Such a use may cause remote control
wrong functioning.
- If you do not use the remote control more than two weeks, remove the batteries. Damages
may be caused by possible leakages.
- Replace batteries when no "beep" is received from the indoor unit or if the transmission
indicator on the remote controller fails to light.
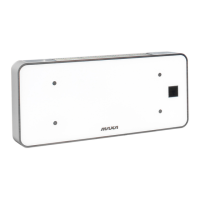
Notes for Using the Remote Controller
Put the remote controller on the frame. Fix the frame on the wall or pillar with attached
screw (to ensure the normal signal transmission).
How to use
Keep the remote controller where its signals can reach the receiver of the indoor unit.
A distance of 7m is allowed.
Operating modes
(1) Slecting mode
Each TIME MODE button is pressed, the operation mode is changed in sequence:
AUTO ( ) COOL ( ) DRY ( ) FAN ( ) HEAT ( )
(2) Fan mode
Each time the FAN button is pressed, the fan speed is changed in sequence:
Auto
Low ( ) Medium ( ) High ( )
At "FAN ONLY" mode, only "High", "Medium", and "Low" are available. At "DRY" mode,
Fan speed is set at "Low" automatically, "FAN" button is ineffective in this case.
(3) Setting temperature
- Press the button ''+'' once to raise the setting temperature by 1°C.
- Press the button ''-" once to decrease the setting temperature by 1°C.
(4) Turning on
Press the ON/OFF button, when the appliance receives the signal, the OPERATION
indicator of the indoor unit lights up.
Notes:
- Changing modes during operation, sometimes the unit does not response at once
Wait 3 minutes.
- During heating operation, air flow is not discharged at the beginning. After 2 or 5
minutes, the air flow will be discharged until temperature of indoor heat exchanger rises.
- Wait 3 minutes before restarting the appliance.
4. REMOTE CONTROLER