PRM-7000 / 8000 / 9000 Users Guide | 13
5. Navigating the Menu System
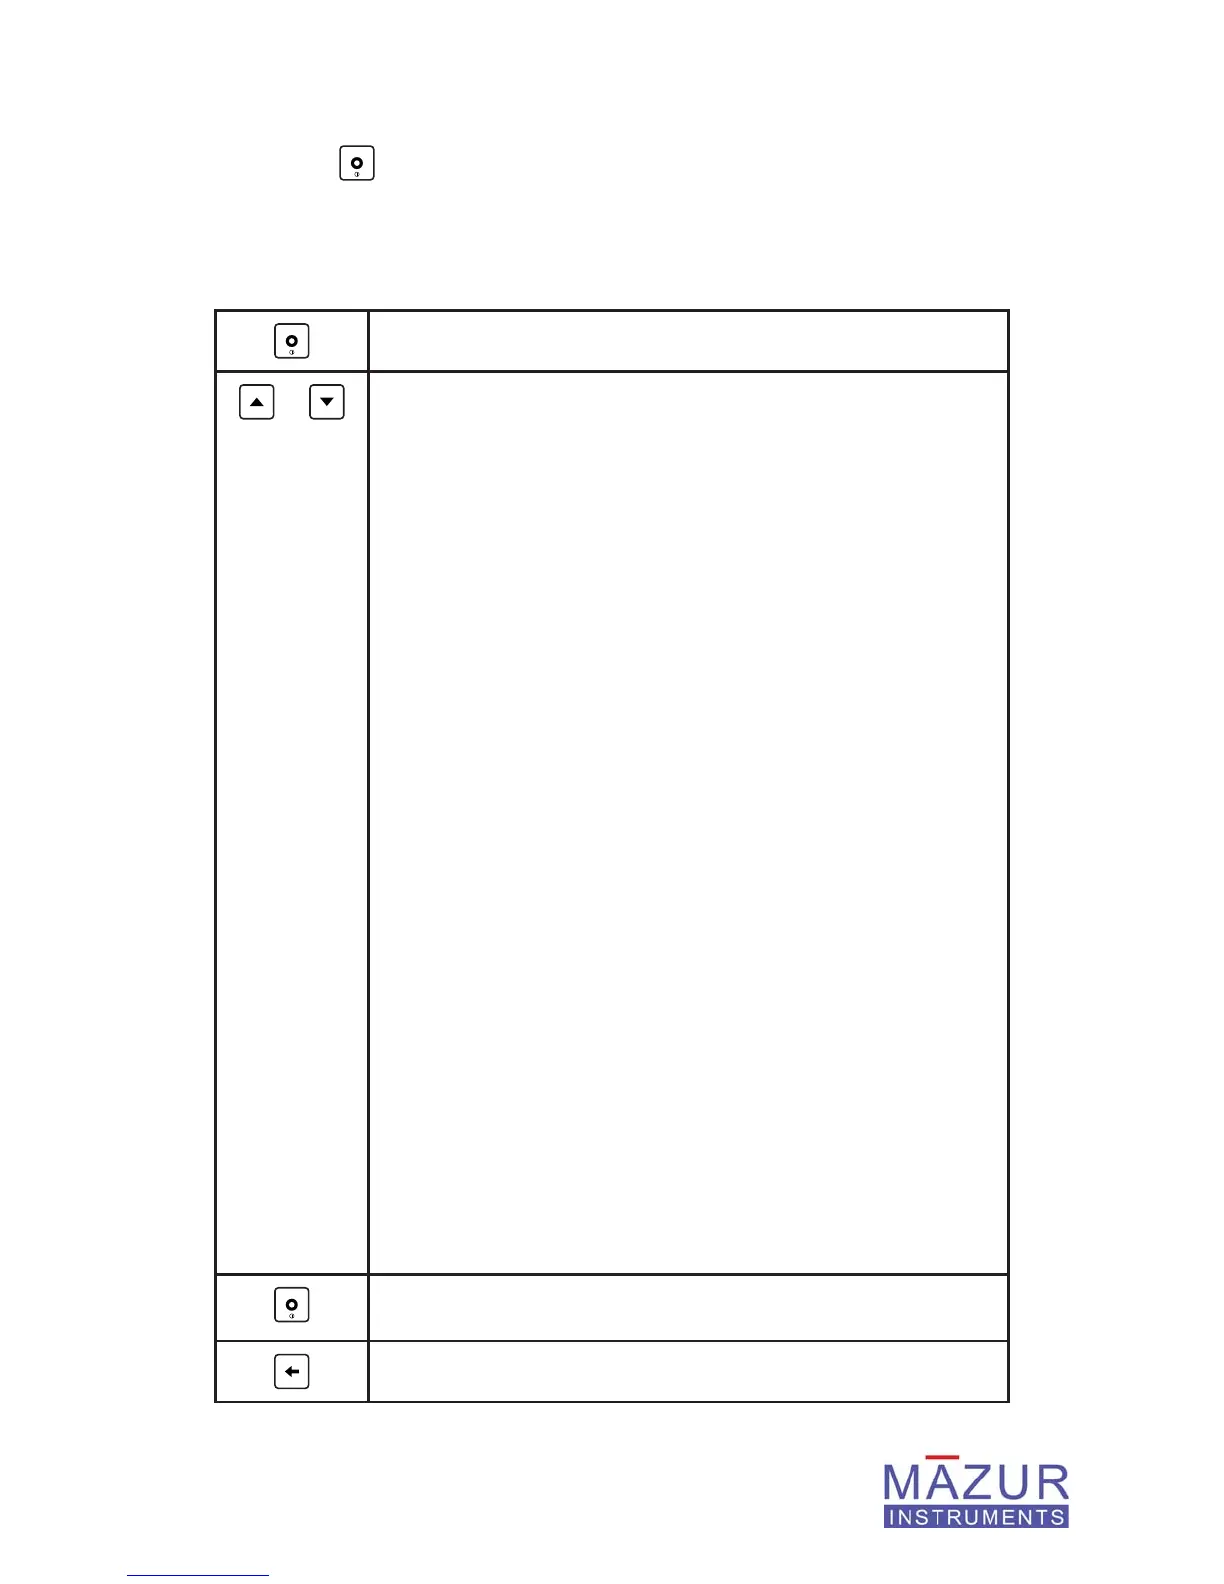
Pressing the key from the Home Screen activates the Main Menu. From the Main
Menu, users can navigate through the menus as indicated in the table below. Each sub-
menu will be discussed in the sections that follow.
Select Main Menu
or
Move up or down through the sub-menus:
1. Timed Measure
This function allows users to take measurements over a de-
fi ned amount of time. This is useful for detecting small amounts
of contamination.
2. Set Units
Users can select either μR/hr, mR/hr, μSv/hr, CPS or CPM
measurement units.
3. Settings
This sub-menu allows the user to customize the behavior of
the PRM Instrument. Settings include those associated with
the beeper, LED, dose-rate alarm, time/date, power settings as
well as the control over the averaging performed at low dose
rates.
4. Utilities
This sub-menu includes functions to reset the measurement
counters (Average, Minimum, Maximum, Total and Elapsed
Time), perform a hardware reset, power down the device, load
the factory calibration values, display the voltage of the battery
and perform the calibration procedure.
5. Ext Audio/Data
This sub-menu is used to control the behavior of the audio/
data jack. The jack can output audio at three selectable
volume levels, provide a pulse output compatible with third
party software or output a serial data stream (optional cable
required) on the minute for data collection using a PC.
6. Data Logging
This sub-menu provides functions to control data logging to
the internal logging memory in the PRM Instrument.
7. Language
This allows the user to set the language to English or Japa-
nese
Select the desired sub-menu. Repeat the process for navigating
through the sub-menus
Return to previous menu