14
©2019 Maxxsonics USA, Inc.
AMPLIFIER MOUNTING
AMPLIFIER PREPARATION AND MOUNTING (2013-2018 Models)
Before installing the dual amplier plate with the amplier(s) in position, you must prepare the mounting area
in the vehicle to accept the plate.
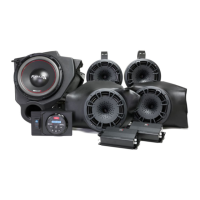
NOTE - These instructions assume both ampliers and all speakers are present in a full Stage 5 System. If
not all components are present in your system, this makes upgrading much easier.
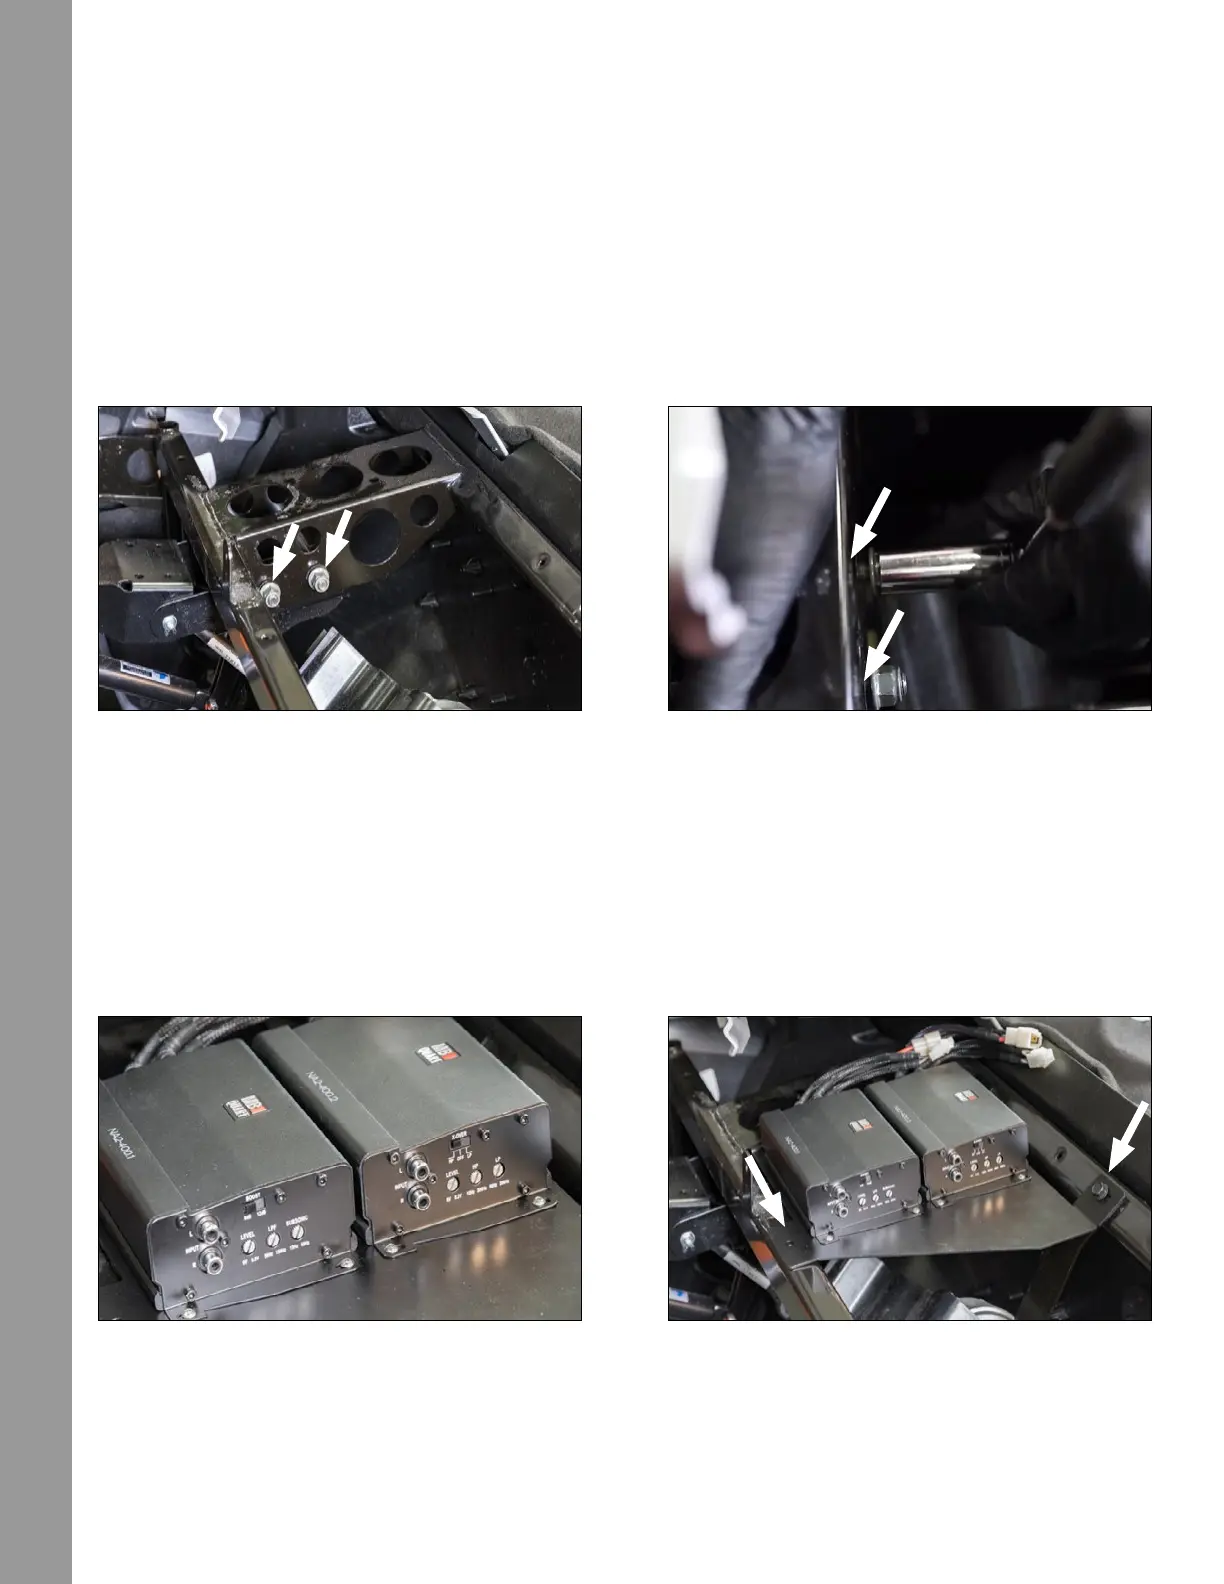
STEP 1 – LOOSEN STEERING COLUMN NUTS
Loosen the 16mm nuts that secure the steering column to the support frame shown in Figure 10-1a. These
nuts are very hard to loosen. Be careful. Do not remove these steering column nuts, only loosen to create
an 1/8 inch gap between the nut and the frame shown in Figure 10-1b. You will not re-tighten these nuts until
the installation of the whole system is nalized, tested and the vehicle is ready for reassembly.
STEP 2 – AMPLIFIER MOUNTING
Mount your amplier(s) on the dual amplier plate as shown in FIG 10-2 (below). This conguration is critical
to make sure you can access your ne tune adjustments for crossover and bass boost.
STEP 3 – MOUNTING PLATE INSTALLATION
With the ampliers mounted to the plate, slide it into position with the double groove portion of the bracket
sliding between the steering column support shown in 10.1b (above) and the 16mm nuts and washers. Do
not tighten down yet. On the front edge you will secure the plate with the 10mm bolt you removed from the
dash pocket which will also hold the bracket then will ultimately support the new dash pocket with the source
unit. The nished plate should look like Figure 10-3.
You will tighten the 16mm nuts and washers next to the steering column once reassembly of the vehicle
begins. This allows easy removal of the amplier plate for troubleshooting (if necessary).
NOTE - The dual amplier harness is designed and laid out to perfectly connect power and speaker
connections on the driver’s side of the ampliers while the RCA audio connections are on the passenger
side of the RZR.
Figure 10-1a Figure 10-2b
1/8” Gap
1/8” Gap
Figure 10-2 Figure 10-3
10mm