5 - 6
Maintenance
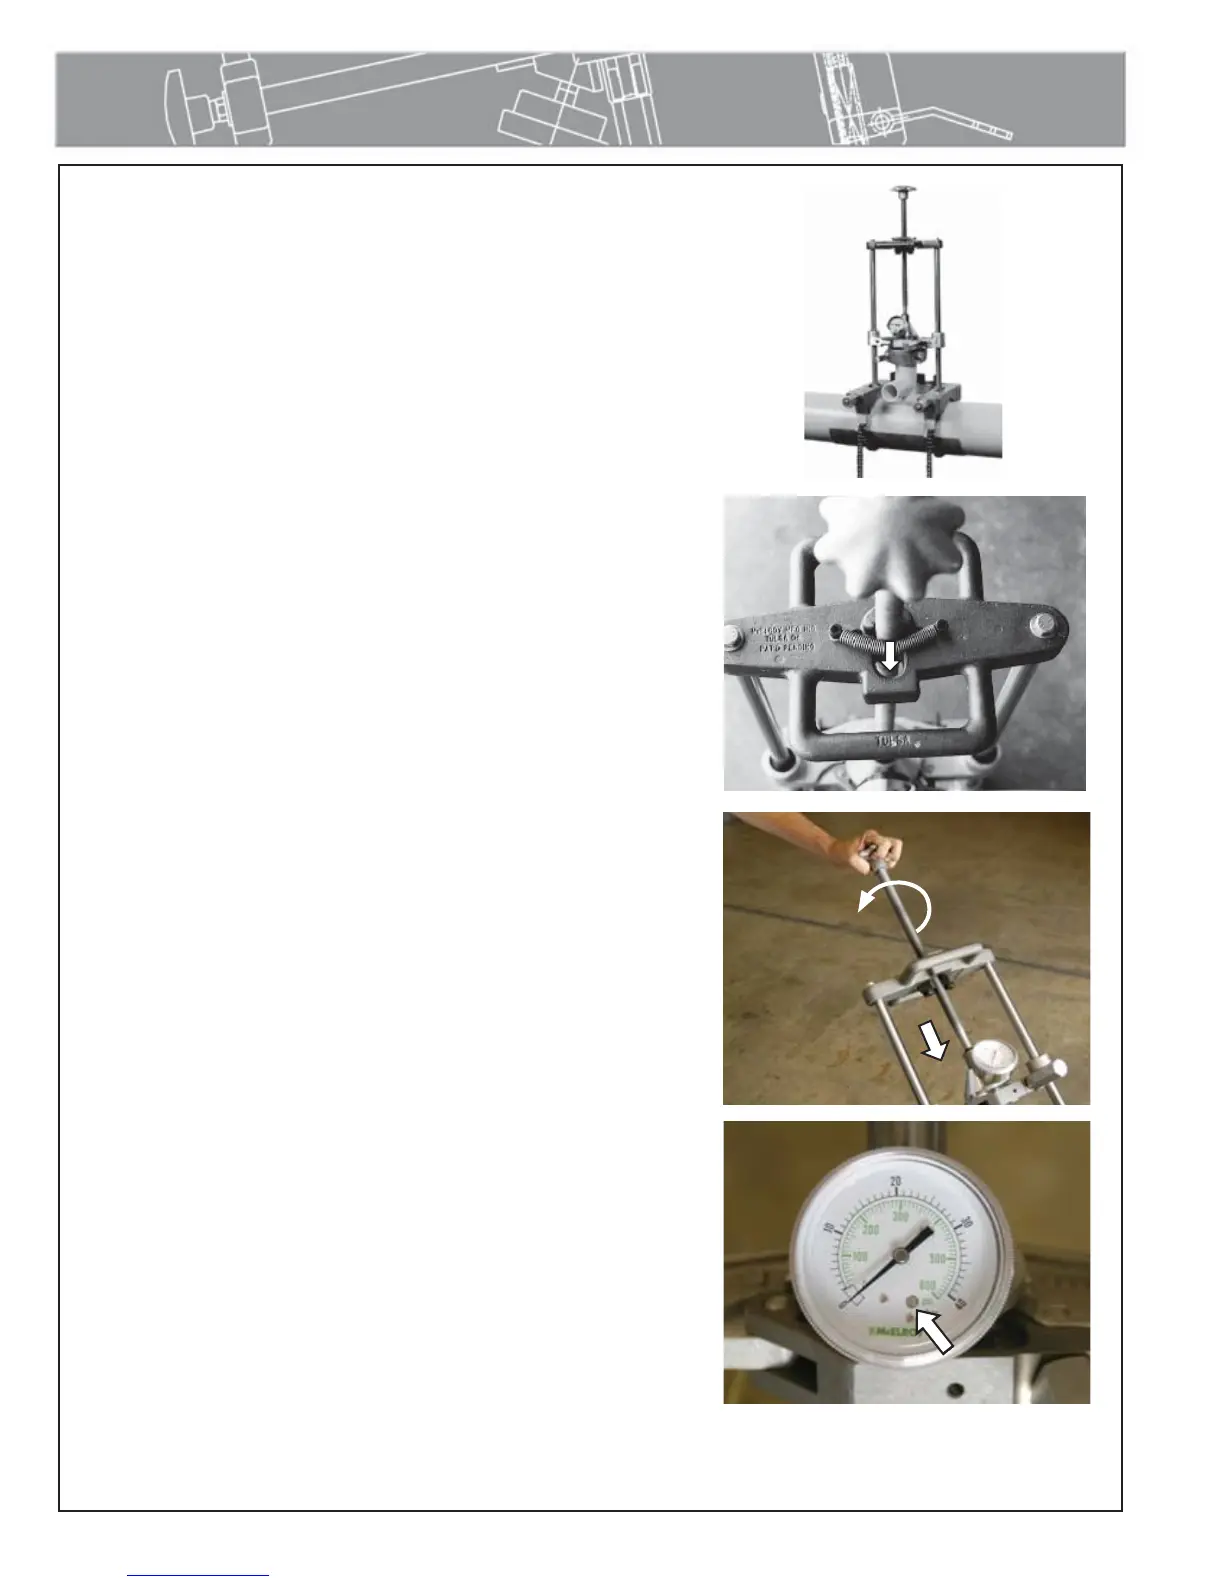
Checking Installation
When the gauge is installed, return the Sidewinder to the vertical
position.
Disengage drive screw from threads and lower the saddle fitting
onto the pipe.
Turn the drive screw to move the piston down.
The gauge should indicate pressure within a half turn of the drive
screw knob. If more than a half turn is made with the knob and no
pressure is indicated, the gauge needs to be removed and more
fluid added. Always tilt the Sidewinder back when adding fluid.
Fluid needs to be added until pressure is indicated within the first
half turn of the drive screw knob.
Check the gauge to ensure that it reads zero when no force
is being applied with the drive screw. If the gauge does not
read zero, the load cell may be overfilled or the gauge may be
damaged. If the gauge indicates pressure when the piston is all
the way out, then too much fluid was added and some needs to
be removed.
IMPORTANT: If the gauge pointer is below the zero box area when
no pressure is applied, use the external adjustment screw to move the
pointer to the center of the box area as shown.
NOTICE: Applying excess pressure will permanently damage the
gauge. Never apply pressure that is greater than the maximum
indication on the pressure gauge.
TX01596-3-17-99
PH00783-5-9-96
PH00831-5-3-96
PH03044-5-27-05
PH03045-5-27-05