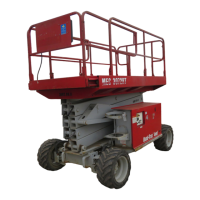
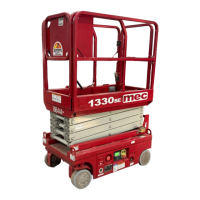
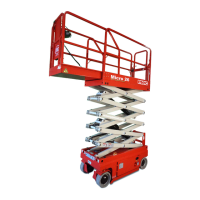
March 2008 "3072RT / 3772RT / 3772RT HD" Service & Parts Manual - ANSI Specifications
Page 1-8
Front Wheel Motors (DT-701)
Housing and Shaft Disassembly
1. Remove all shaft related components from the shaft. Secure the motor housing in a vise.
• Remove the retaining ring from the grove in the pilot of the housing.
• Remove the spacer from the housing.
• Remove the shaft from the housing.
• Remove the bearing, thrust bearing, and two (2) thrust washers from the shaft.
2. Being careful not to drop bearing rollers,
• pry out the shaft seal, backup seal, and dust seal from the bearing assembly.
NOTE: It is not necessary to remove the metal backup ring from the bearing to service the motor.
• remove the high pressure seal from the groove in the pilot of the housing.
• discard shaft seal, backup seal and high pressure seal.
3. Clean all parts in an oil-based solvent and dry using compressed air.
Housing and Shaft Assembly
1. Apply a light coating of oil to all new seals prior to installation.
• Install the high pressure seal into the groove in the pilot of the housing.
2. Place the shaft on a clean, flat surface with the output end facing up.
• Place the first thrust washer, thrust bearing and second thrust washer over the shaft.
• Using plastic installation sleeve, place the shaft seal over the shaft with the lip facing
down.
• Repeat for the backup seal, making sure the lip faces down.
• If the metal backup ring came out in
Step 2
above, place it over the shaft with the large
O.D. facing down.
• Lightly grease the bearing and place it over the shaft with the large O.D. facing down.
• Use an arbor press to carefully press the bearing down to press the seal assembly into
the bearing.
3. Place the shaft assembly into the housing.
• Place the dust seal over the shaft with the lip facing up.
• Place the bearing spacer and retaining snap ring over the shaft.
NOTE: It may be necessary to lightly tap the snap ring and bearing spacer to allow the retaining
ring to seat properly.
• Replace all shaft related components (i.e. keys, wire rings, nuts).
Motor Section Disassembly
1. Make a “V” shaped set of alignment marks on the endcover and housing to aid in the
reassembly process.
• Clamp the motor housing in a vise with the shaft facing down.
2. Remove the seven (7) bolts that hold the motor assembly together.
• Carefully remove the endcover -
be aware that the piston and spring may fall out
.