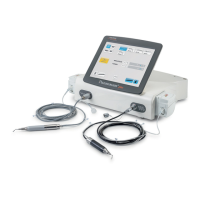
12
piezo smart - manual of use and maintenance
13
piezo smart - manual of use and maintenance
A C
B
Fig. 5
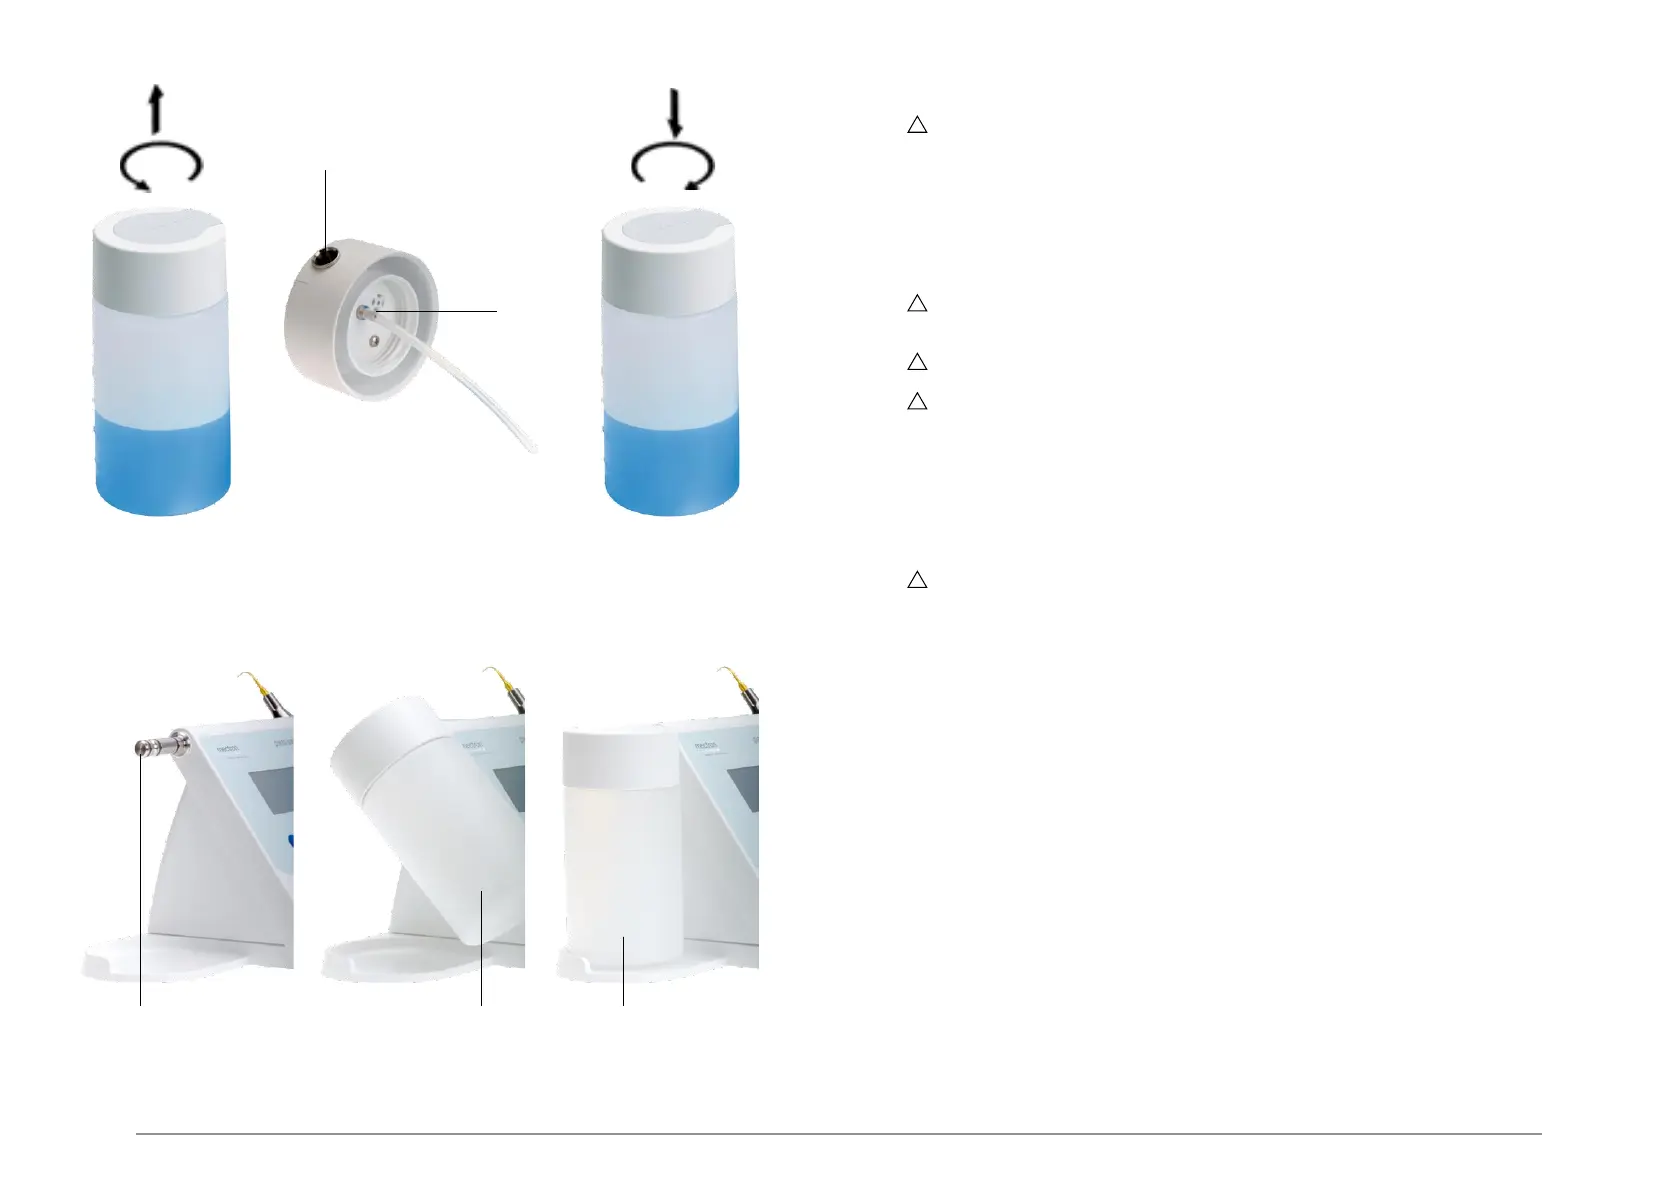
04.4 Preparing the bottle
WARNING: Each bottle can contain up to a maximum of 300 ml.
1 Unscrew the cap from the bottle (Fig.5 - Ref.A);
2 Fill the bottle with the required liquid;
3 Check that the tube on the back of the cap is connected (Fig.5 - Ref.B);
4 Screw the cap onto the bottle (Fig.5 - Ref.C).
04.5 Installing the bottle on the equipment
WARNING: Make sure that the connection on the bottle is clean and not clogged
(Fig.5 - Ref.D).
WARNING: Make sure that the connection for the bottle on the device is clean (Fig.6 - Ref.E).
WARNING: Make sure that the O-rings on the connection are not damaged (Fig.6 - Ref.E).
1 Holding the bottle at an angle of 45° (Fig.6 - Ref.F), fit it onto the device (Fig.6 - Ref.E) by
means of the coupling on the cap (Fig.5 - Ref.D);
2 Fit the bottle snugly onto the coupling;
3 Turn the bottle downwards into a vertical position (Fig.6 - Ref.F).
04.6 Removing the bottle from the device
WARNING: Do not turn the bottle upside down as the cap is not watertight.
Leaking physiological solution or aggressive liquid may damage surfaces.
1 Turn the bottle upwards until it is tilted by 45° (Fig.6 - Ref.F);
2 Pull off the bottle;
3 To preserve the liquid better, replace the cap fitted with a coupling with another cap that has no
coupling.
Fig. 6
D
E F G