1-833-454-0864
11
DANGER
Property damage, bodily harm, severe burns, and death could result from failure to follow these
safety steps. These steps should be performed after the grill has been assembled and prior to
each use. DO NOT operate this grill until you have read and understand ALL of the warnings and
instructions in this manual.
WARNING
Read, understand and follow all warnings and instructions contained in this manual. DO NOT skip
any of the warnings and instructions contained in the preceding sections of this manual.
THE GRILL LID must be OPEN before attempting to light a burner so that fumes do not accumulate
inside the grill, causing an explosion.
DO NOT stand with head, body, or arms over the grill when lighting.
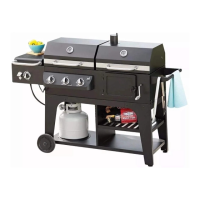
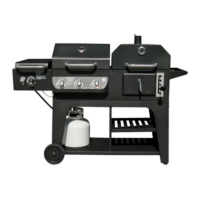
• Ensure that the grill is properly assembled.
• Inspect gas supply hose for burns, chang, kinks, and proper routing before each use. If it is evident
there is excessive abrasion or wear, or the hose is cut, it must be replaced prior to grill being used.
Contact Customer Care at 1-833-454-0864 for a replacement.
• Leak check all gas connections, hose and propane tank. See section on Checking For Gas Leaks.
• Position your grill on a level surface in a well ventilated location, a safe distance 3 ft. (0.91m) from
combustible materials, buildings and overhangs.
• Properly place empty grease cup under grease drain hole in bottom of grill to catch grease during use.
• DO NOT block ventilation areas on sides, back or cart compartment of grill.
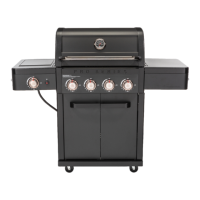
LIGHTING THE MAIN BURNERS:
1. Open lid before attempting to light burners.
2. Make sure all control knobs and LP cylinder shut-o valve are “OFF”.
3. SLOWLY, turn the LP cylinder shut-o valve counter clockwise to open.
Wait 30 seconds for pressure to stabilize.
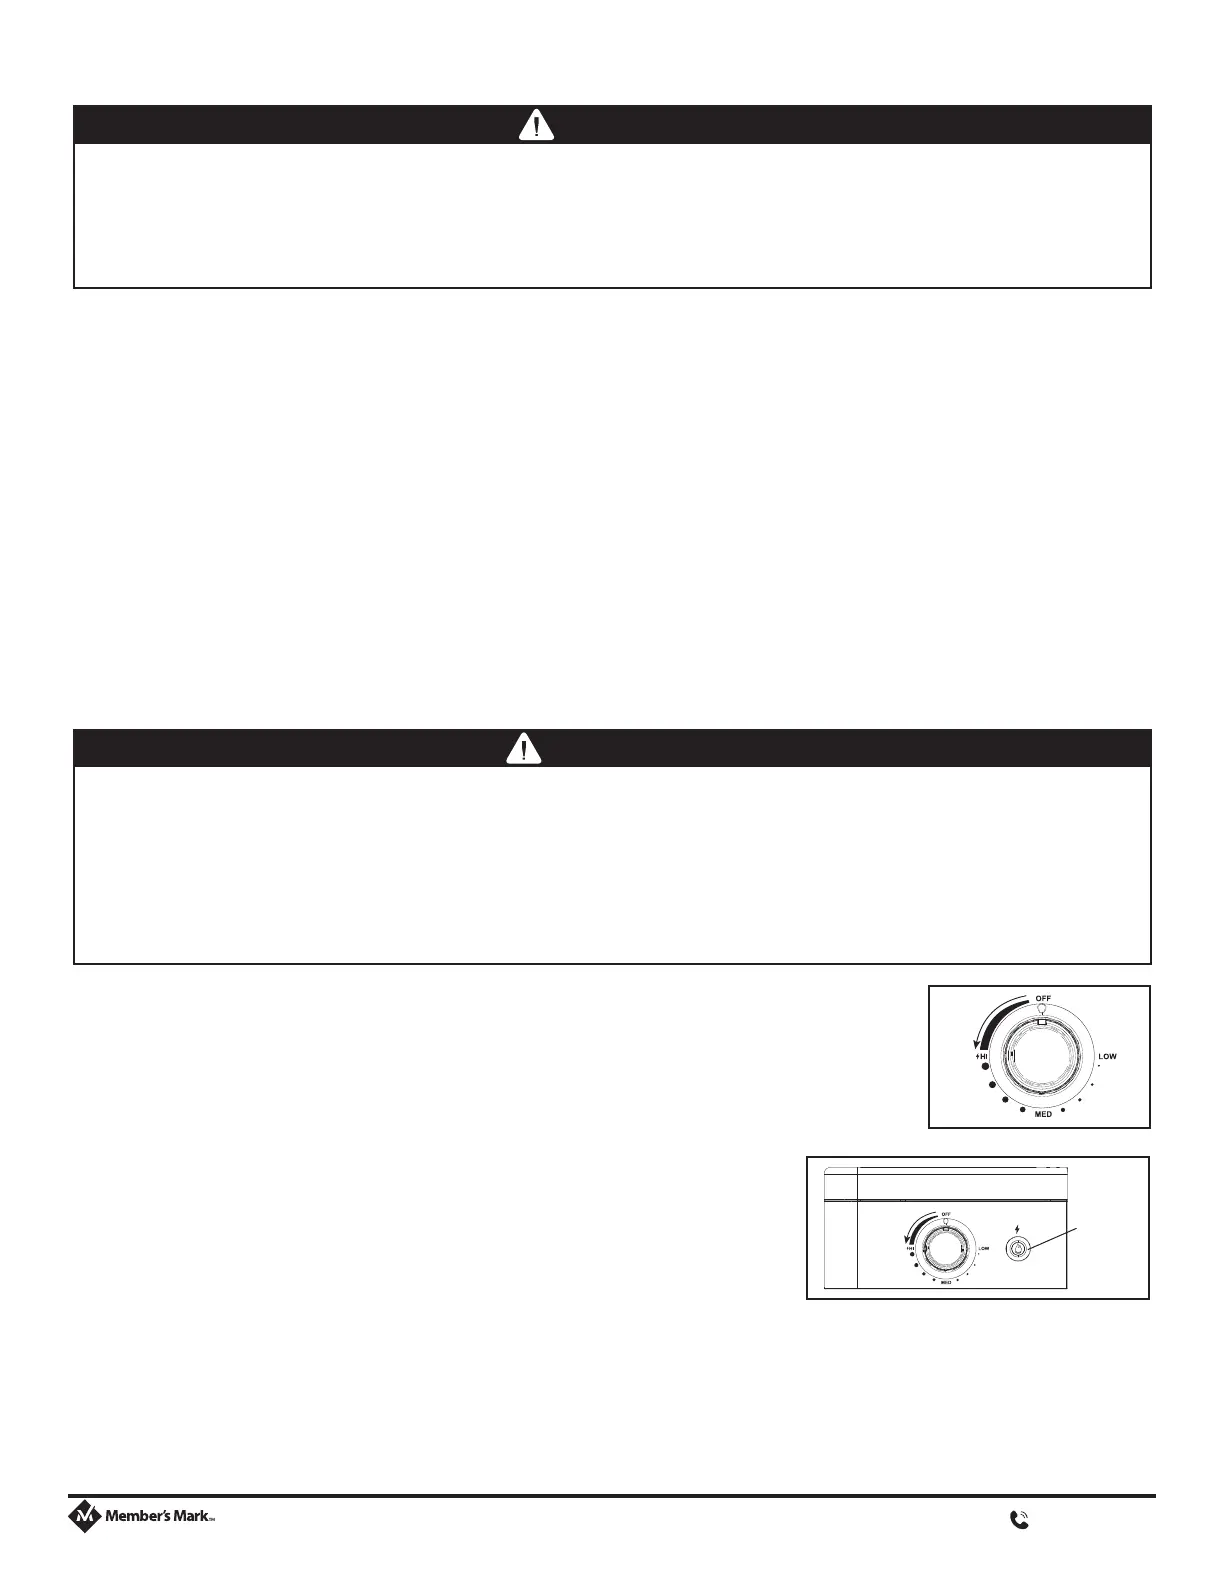
4. Select burner to be lit. Push and turn control knob to “HI” (Figure A).
Press igniter for 3-5 seconds. You will hear a clicking sound (Figure B).
NOTE: If you do not hear a clicking sound, replace your ignition battery.
5. If ignition does NOT occur in 5 seconds, turn control knob to “OFF”,
wait 5 minutes to allow gas to dissipate and repeat lighting procedure.
6. To light other burners, follow steps 4-5.
7. If burner does not ignite using igniter, see “Match Lighting the Main Burners” section.
8. To turn "OFF", turn each control knob clockwise until it locks in the “OFF” position.
This does not turn o the gas ow from the cylinder.
NOTE: If burner does not light or ame is too low, See “Troubleshooting” section of the owners manual.
PRE-START CHECK LIST:
LIGHTING INSTRUCTIONS:
IGNITER
A
B