Operator's manual – Page 87
13.5 Servicing the air lter
The interval for servicing the air filter unit depends on the
dust concentration in the air and on the speed of the engine.
Ideally the filter cartridges are only cleaned or replaced when
the service switch is activated (no later than the ordered
hours). However, every time on starting up the engine it
should be briefly brought up to its maximum speed, and then
it should be observed whether the lamp lights up, and thus
the functioning of the monitoring system is checked. If the
monitoring system does not respond it has to be assumed
that the engine can be put into operation for the whole day
without any faults within the filter system occurring.
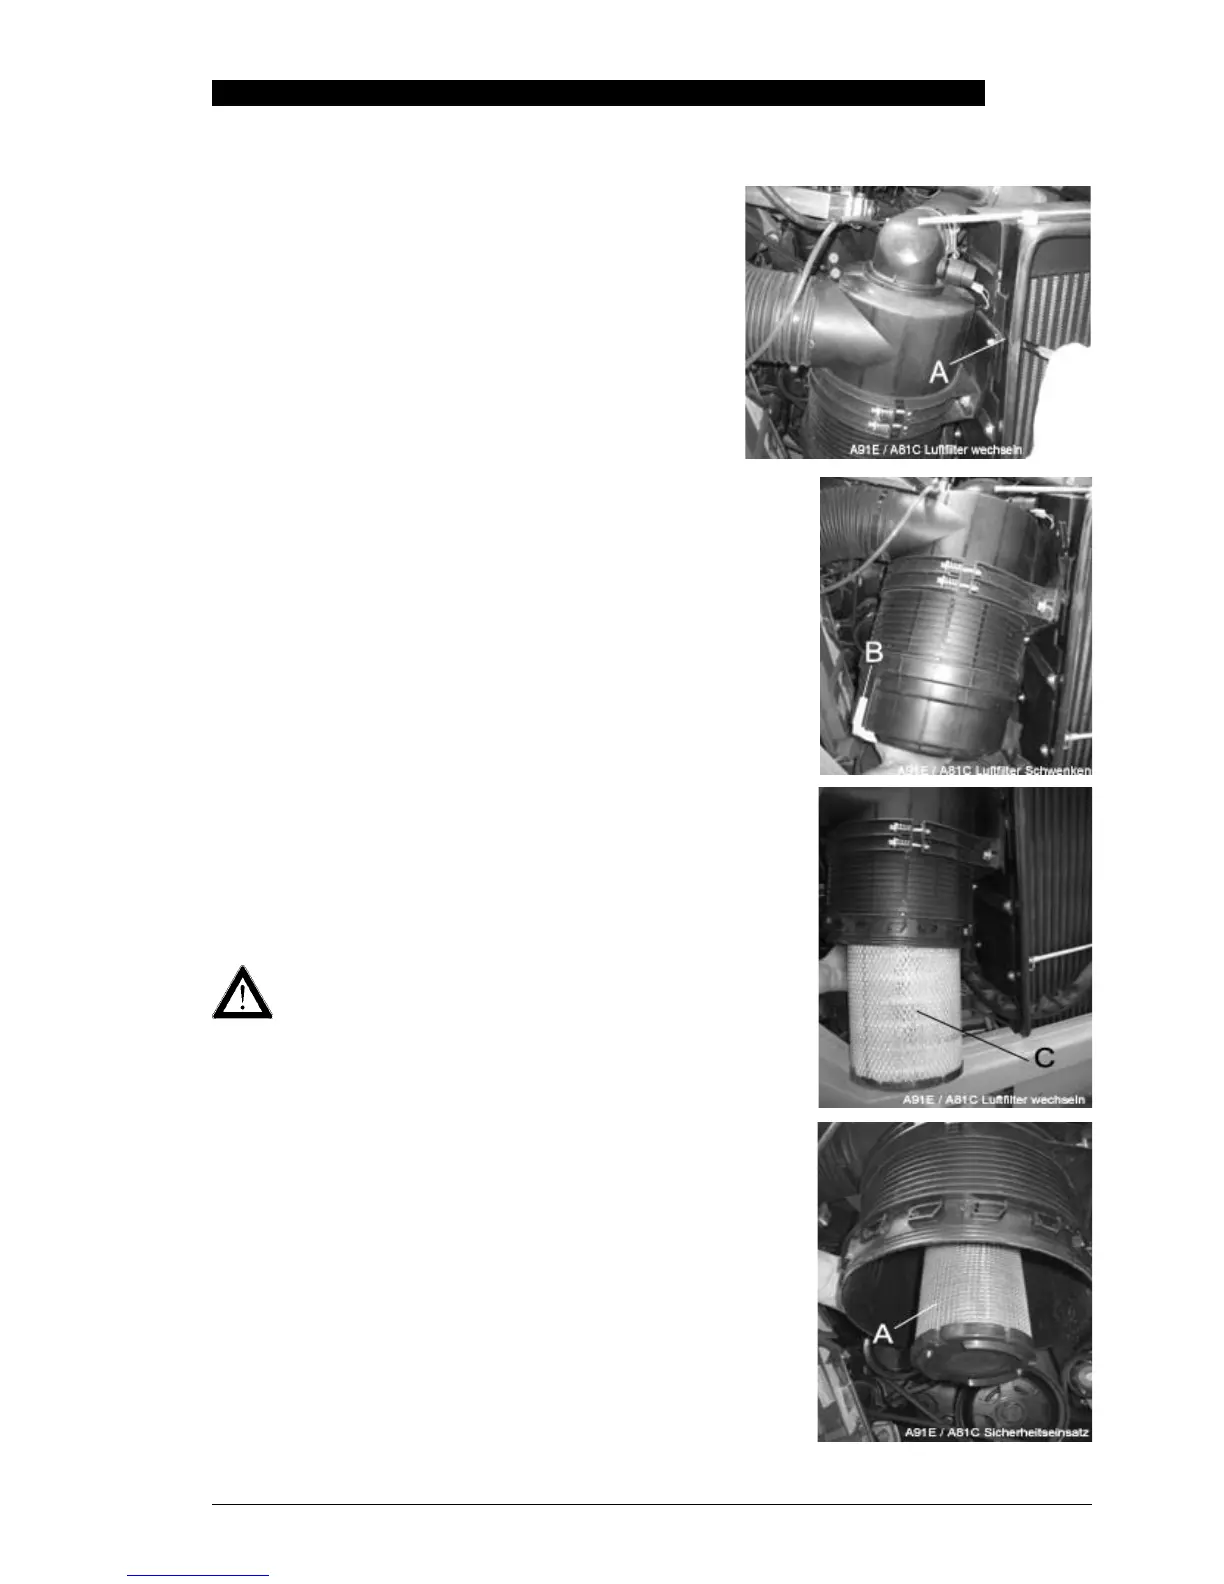
1 Remove the fixing screw (A).
2 Swivel the air filter forwards.
3 Unlock the dust collector / dust cap (B) of the air filter, rotate to
the left and remove.
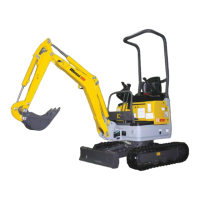
4 Carefully move the filter end (C) back and fro to break the seal.
5 Pull the filter (C) from the outlet pipe and out of the housing.
6 Thoroughly clean inside the filter housing and the outlet bore.
7 To replace the main filter insert (A), carefully pull out the filter
insert. Replace the main filter insert immediately with a new insert
to prevent dust penetrating the air intake system.
8 Fit the new or the cleaned preliminary filter insert. Place the hand
at the outer filter edge and apply pressure.
9 Refit the dust collector / dust cap of the air filter, turn to the right
and lock.
Remove the main filter insert (safety insert) (A) ONLY if you
want to replace it. Do NOT attempt to clean, wash or reuse
the main filter insert. Under normal circumstances, the
main filter insert ONLY needs to be replaced if there is a hole in the
preliminary filter insert.
Please refer to the engine manufacturer’s Operating Manual for
detailed information on replacing the air filter cartridge.