Do you have a question about the Merik Security+ 411M and is the answer not in the manual?
Steps to ensure the garage door is ready for opener installation, including balance and lock checks.
Inventory of hand tools needed for assembly and installation of the garage door opener.
Connecting the T-rail sections and attaching the chain pulley bracket.
Mounting the trolley onto the assembled T-rail for opener operation.
Securing the T-rail assembly to the main motor unit of the opener.
Routing the chain around components and attaching the protective sprocket cover.
Adjusting the chain tension for optimal opener performance and longevity.
Identifying the correct position for the header bracket based on door type and structure.
Securing the header bracket to the wall or ceiling, ensuring structural support.
Connecting the opener rail assembly to the installed header bracket.
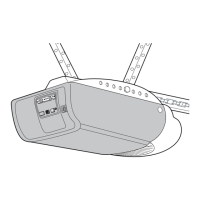
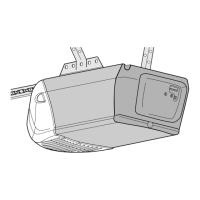
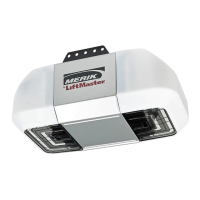
Placing and securing the motor unit and rail assembly in the correct position.
Installing the wall control, light, release rope, and handling electrical connections.
Mounting and wiring the safety reversing sensors for obstruction detection.
Attaching the bracket to the garage door panel for arm connection.
Linking the garage door arm to the opener trolley for automated operation.
Setting the full open and close positions for the garage door.
Regulating the power needed to open and close the door safely.
Verifying the door reverses upon encountering an obstruction.
Ensuring the safety reversing sensors function correctly.
Activating the opener with the hand-held remote control.
Operating the opener via the wired wall button.
Disengaging the opener to manually move the garage door.
Recommended tasks for monthly, bi-annual, and annual upkeep of the opener.
Instructions for replacing the battery in the remote control.
Troubleshooting common issues like no power, remote not working, or door not operating.
Pairing additional remote controls with the opener using the learn button.
Resetting all learned remote codes from the motor unit memory.
Setting up or modifying the PIN for keypad access.
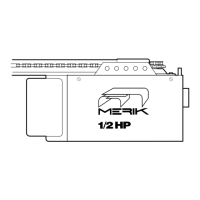
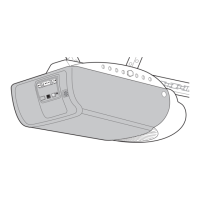
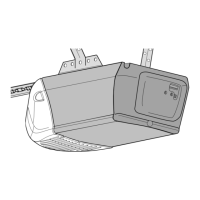
Illustrated breakdown and part numbers for the motor unit components.
Overview of additional accessories like remotes, extension brackets, and internet gateways.
Details needed when contacting for replacement parts.
Details on the product's limited warranty period and coverage.
| Brand | Merik |
|---|---|
| Model | Security+ 411M |
| Category | Garage Door Opener |
| Language | English |