MI 2087 AL2 EasiTEST Measurement instructions
16
Step 2
Compensate test leads (if they have not been compensated yet or, if already
compensated test leads have been exchanged) as follows:
q Short test leads; see the figure below.
Fig. 8: Shorted test leads
q Press the START key and release it in order to carry out regular measurement,
result (close to 0 Ω) will be displayed.
q Press the CAL key and release it, displayed result will alter to 0,00Ω and Cü
mark will appear, indicating the compensation was successfully accomplished.
Test instrument is thus ready to be used.
q In order to remove potential compensation, follow the procedure described in
this step with open test leads. “Cü” mark will disappear after finishing the
procedure, indicating the compensation has been removed.
Step 3
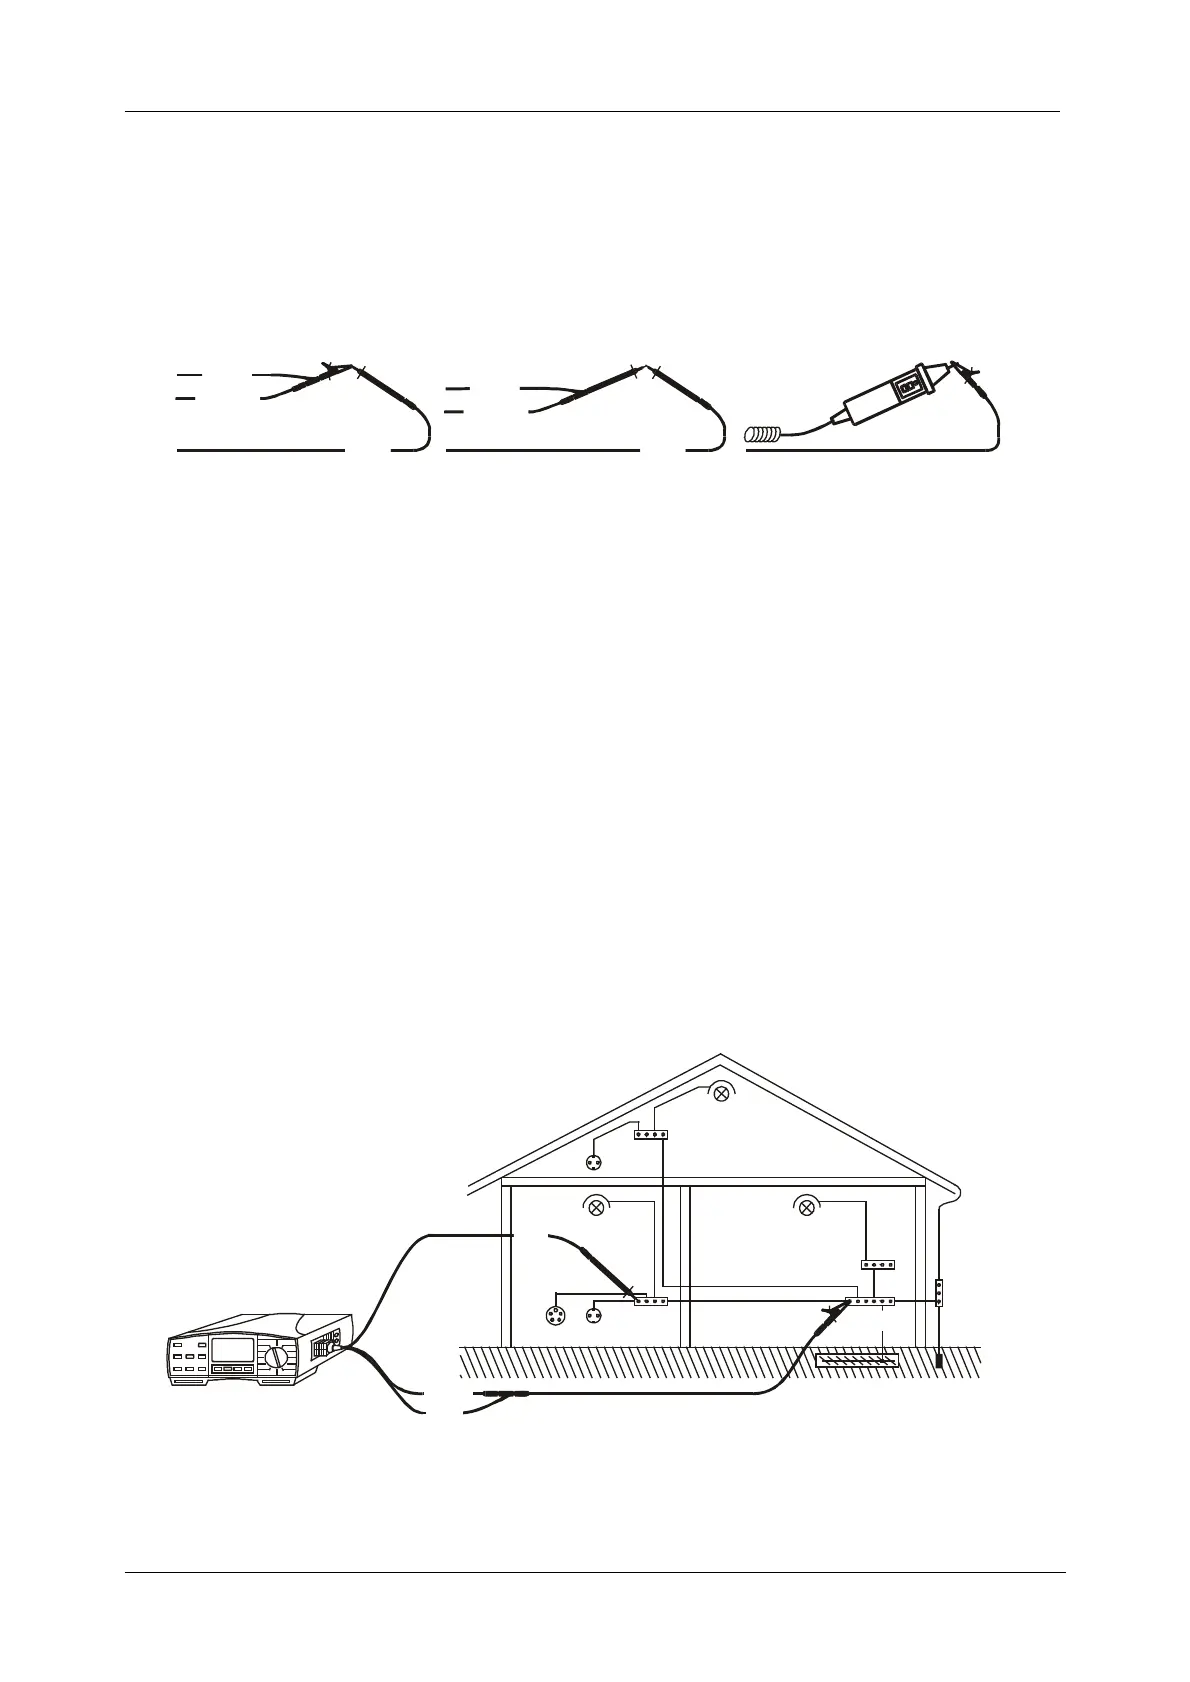
q Connect test leads to the tested object according to the figures below.
Fig. 9: Connection of Universal Test Cable and optional Probe Test Lead
(Order No. A 1012)
N/L2
PE/L3
N/L
2
PE/
L3
PCC1
PCC2
PCC3
N/L2
PE/L3
L/L1
MPEC..........Main Potential
Equilizing Collector
PCC.............Protection Conductor
Collector

 Loading...