MG-MINA/LINA/750-LFC GRID ASSEMBLY GUIDE
9
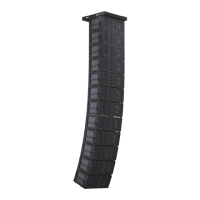
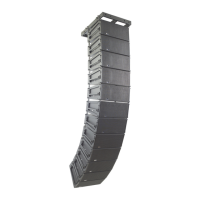
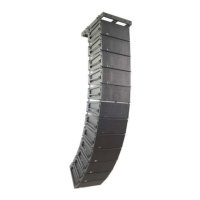
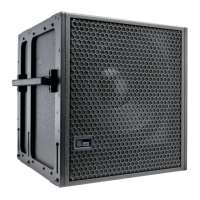
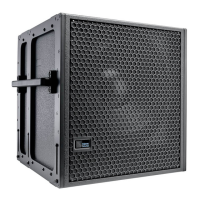
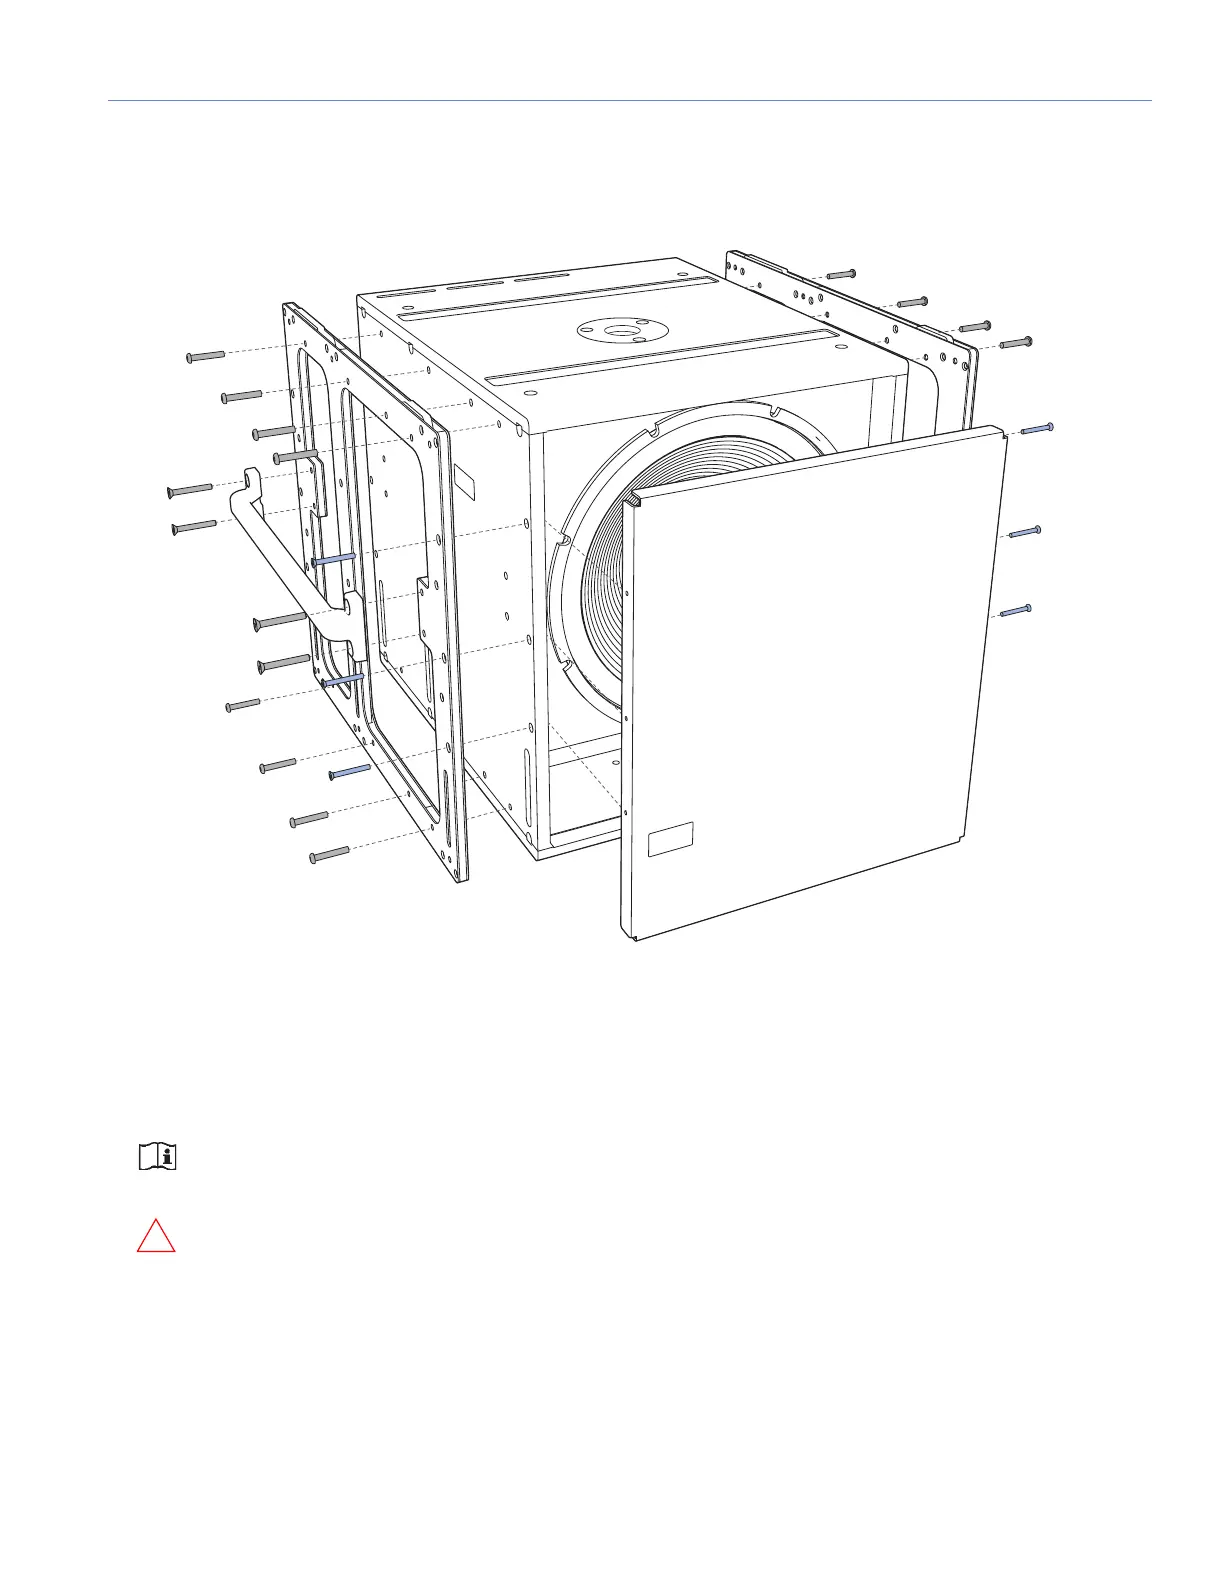
2. Attach the MRK-750 end frames and the previously removed grille frame:
• Use a torque wrench to secure the MRK-750 end frames to the cabinet with the eight 1/4-20 x 1.5-inch button head
screws (PN 101.744) (four top and four bottom). Apply one or two drops of Loctite to each of the button head screws
before installing them.
NOTE: For all-weather, outdoor installations, use the silver weather-protected button head screws
(PN 101.244).
CAUTION: Make sure the screws are securely tightened but do not over-tighten them. Approximately
40 inch-pounds of torque is recommended.
• Use a Phillips screwdriver to secure the handles to the end frames, reusing the eight 1/4-20 x 2-inch flathead screws
(four each side) removed earlier. Apply one or two drops of Loctite to each of the flathead screws before installing them.
Approximately 40 inch-pounds of torque is recommended.
• Use a Phillips screwdriver to secure the grille frame to the cabinet with the six 10-32 x 1.75-inch flathead screws (three
each side). Apply one or two drops of Loctite to each of the flathead screws before installing them.
Figure 2: Installing MRK-750 end frames and grille
 Loading...