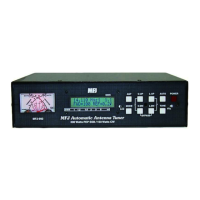
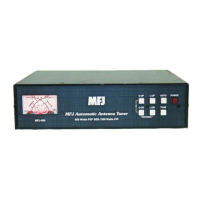
MFJ-998 Legal Limit IntelliTuner Automatic Antenna Tuner Instruction Manual
© 2007-2010 MFJ Enterprises, Inc.
29
Power-Down Circuit Test
When the 12 VDC power to the tuner is turned off, the tuner saves all settings to non-volatile memory.
The Power-Down Circuit Test checks the power down detection circuitry. It is recommended that this
test be done immediately after the regular self-test described above.
Note: The tuner must be reset to factory defaults before performing this test.
Here is the test procedure:
1. Make sure power to the tuner is off.
2. If the tuner has been reset to factory defaults, skip to step 6; otherwise continue with step 3.
3. Press and hold both the [TUNE] and [L-UP] buttons while turning the power on.
4. Release the buttons when
DEFAULTS RESET appears on the display.
5. Turn the power off.
6. Press and hold only the [L-DN] button while turning the power on.
7. If the power-down detection circuitry is okay, a repetitive message PASS will be displayed and sent
as Morse code (di-dah-dah-dit di-dah di-di-dit di-di-dit). If there is a problem, message
PD FAIL
will be displayed and sent as Morse code repetitively.
8. Turn the power off.
Relay Test
WARNING: Turn off the transmitter power or disconnect the transmitter before performing
this test; otherwise, damage to the tuner can result.
To test the relays and their control circuitry, press and hold the [C-DN] button while turning the power
on. The message
RELAY TEST will appear. Six numbers representing the relays will be shown on the
display. The [ANT], [C-UP], [L-UP], [MODE], [C-DN] and [L-DN] buttons, corresponding to the
position of the relay numbers on the display, are used to toggle each relay on and off. Press button to
engage the relay and release it to disengage the relay. Listen for relay clicks. Press the [TUNE] button to
proceed to the next group of six relays. There are 31 relays in the tuner. Repeat the above procedure to
test all the relays. Normal operation is resumed after this test.
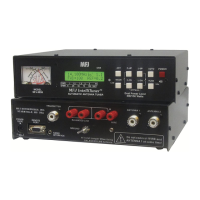
Analog Meter Calibration
To calibrate the analog meter, you will need a tuning tool or small flat blade screwdriver.
1. Turn off the power to the tuner and the transmitter.
2. Press and hold both the [C-UP] and [C-DN] buttons while turning the power on.
3. A message
CAL WATTMETER TO ZERO SCALE will display. Adjust the two zero adjustment
screws, located below the analog meter, to set both the forward and reflected needles to the 0-watt
marks.
4. Press the [TUNE] button to calibrate the needles to full scales.
5. A message
CAL WATTMETER TO FULL SCALE will display. Adjust the two trimpots, located
on the left side of the LCD display, to set the forward and reflected needles to the 300-watt and 60-
watt marks, respectively.
6. Press the [TUNE] button to end calibration and resume normal operation.