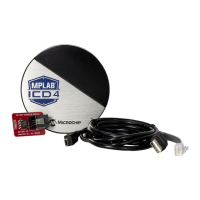
MPLAB
®
ICD 4 USER’S GUIDE
2017 Microchip Technology Inc. DS50002596A-page 27
Chapter 3. Debugger Usage
3.1 INTRODUCTION
The following topics are discussed regarding how to install and use the MPLAB ICD 4
In-Circuit Debugger.
• Installation and Setup
• Debug Tutorial
• Quick Debug/Program Reference
• Debugger Limitations
• Connecting the Target Board
• Setting Up the Target Board
• Starting and Stopping Debugging
• Viewing Processor Memory and Files
• Breakpoints and Stopwatch
3.2 INSTALLATION AND SETUP
Refer to the Help file “Getting Started with MPLAB X IDE” for details on installing the
IDE and setting up the debugger to work with it.
In summary:
1. Install MPLAB X IDE (http://www.microchip.com/mplab/mplab-x-ide).
A tutorial is available in the MPLAB X IDE online Help that is accessible from the
main menu bar Help>Tool Help Contents>MPLAB X IDE Help
.
2. Connect the MPLAB ICD 4 to the computer and allow the default USB drivers to
install. For more information on target connections, see Chapter 2. “Operation”.
3. Select which language toolsuite/compiler you want to use for development and
install it on your computer.
4. Launch MPLAB X IDE.
5. Use the New Project wizard (File>New Project
) to create a new project.
6. Use the Project Properties dialog (File>Project Properties
) to set up options.
7. Use the Project Properties dialog (File/Project Properties<Hardware Tool>
) to
select the “ICD 4” tool and set up tool options for programming.
8. Run the project (build and run) from Run>Run Project
.
Note: The debugger cannot power a target board. An external power supply
must be used. See Section 3.7.3 “Powering the Target Board”.

 Loading...