D5CUB System Board Manual
10
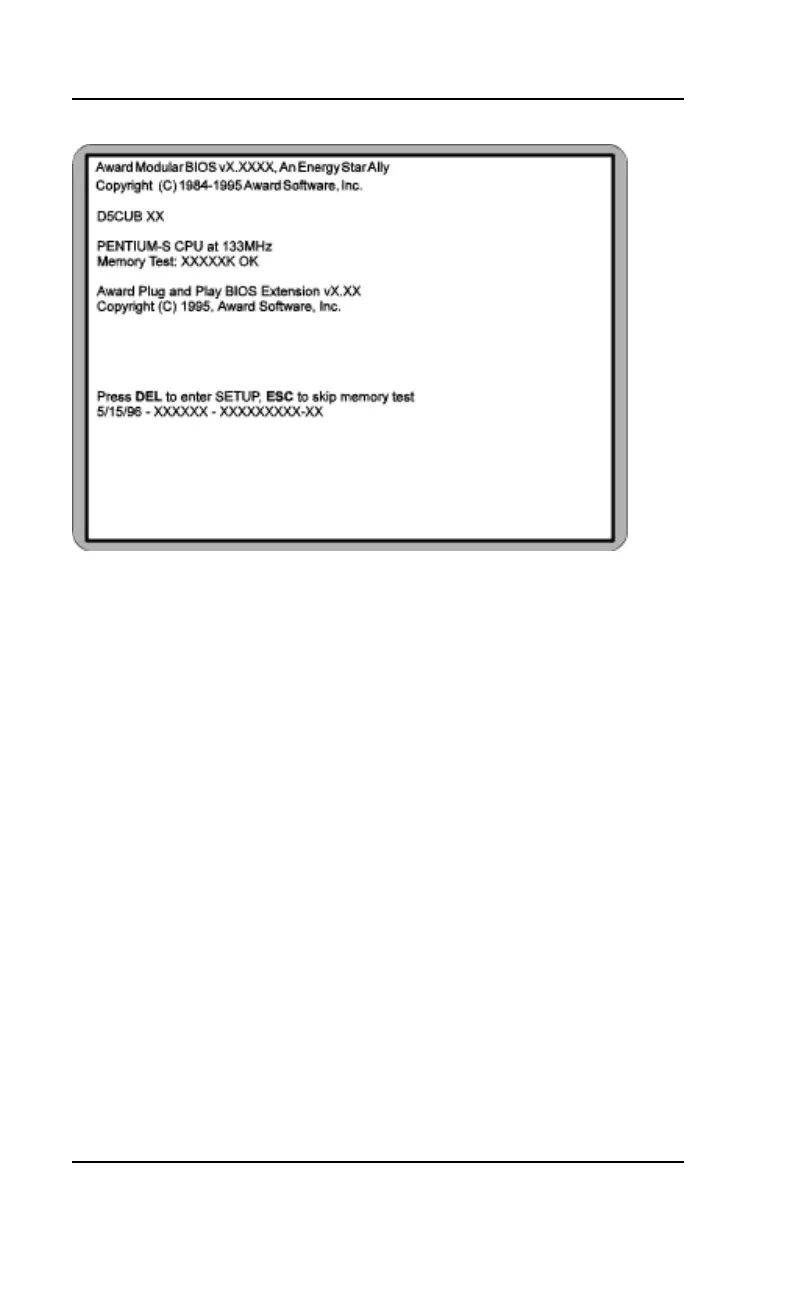
Figure 1.1: Power-Up Screen
Section 1: Quick Installation
10. If necessary, use the arrow keys to move the highlight
to STANDARD CMOS SETUP and press <Enter>.
11. Set the time and date.
12. If necessary, adjust the settings for the floppy drive(s)
and hard drive(s) to match your configuration. If you
are installing one or more IDE drives, the BIOS auto-
matically configures your drive(s) for you when the
setting in the Type column is Auto (the default set-
ting). See Chapter 4 for additional information and
additional instructions.
13.Verify that the floppy drive type(s) shown for Drive A
(and Drive B, if installed) are correct. If necessary
change the setting(s) for the floppy drive(s) using the
<Pg Up> and/or <Pg Dn> keys or the <+> and
<–> keys.