OM-236297 Page 20
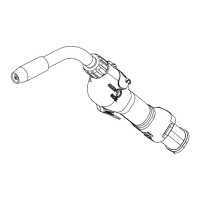
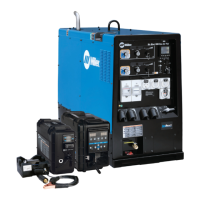
7-2. Changing Gun Contact Tip
Ref. 150 437-A
2
1
Remove nozzle
1 Nozzle
2 FasTip
Unscrew FasTip.
Install new FasTip.
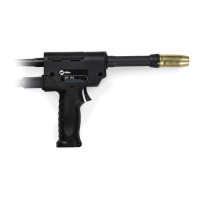
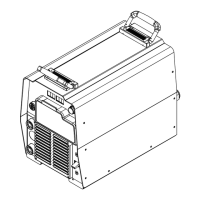
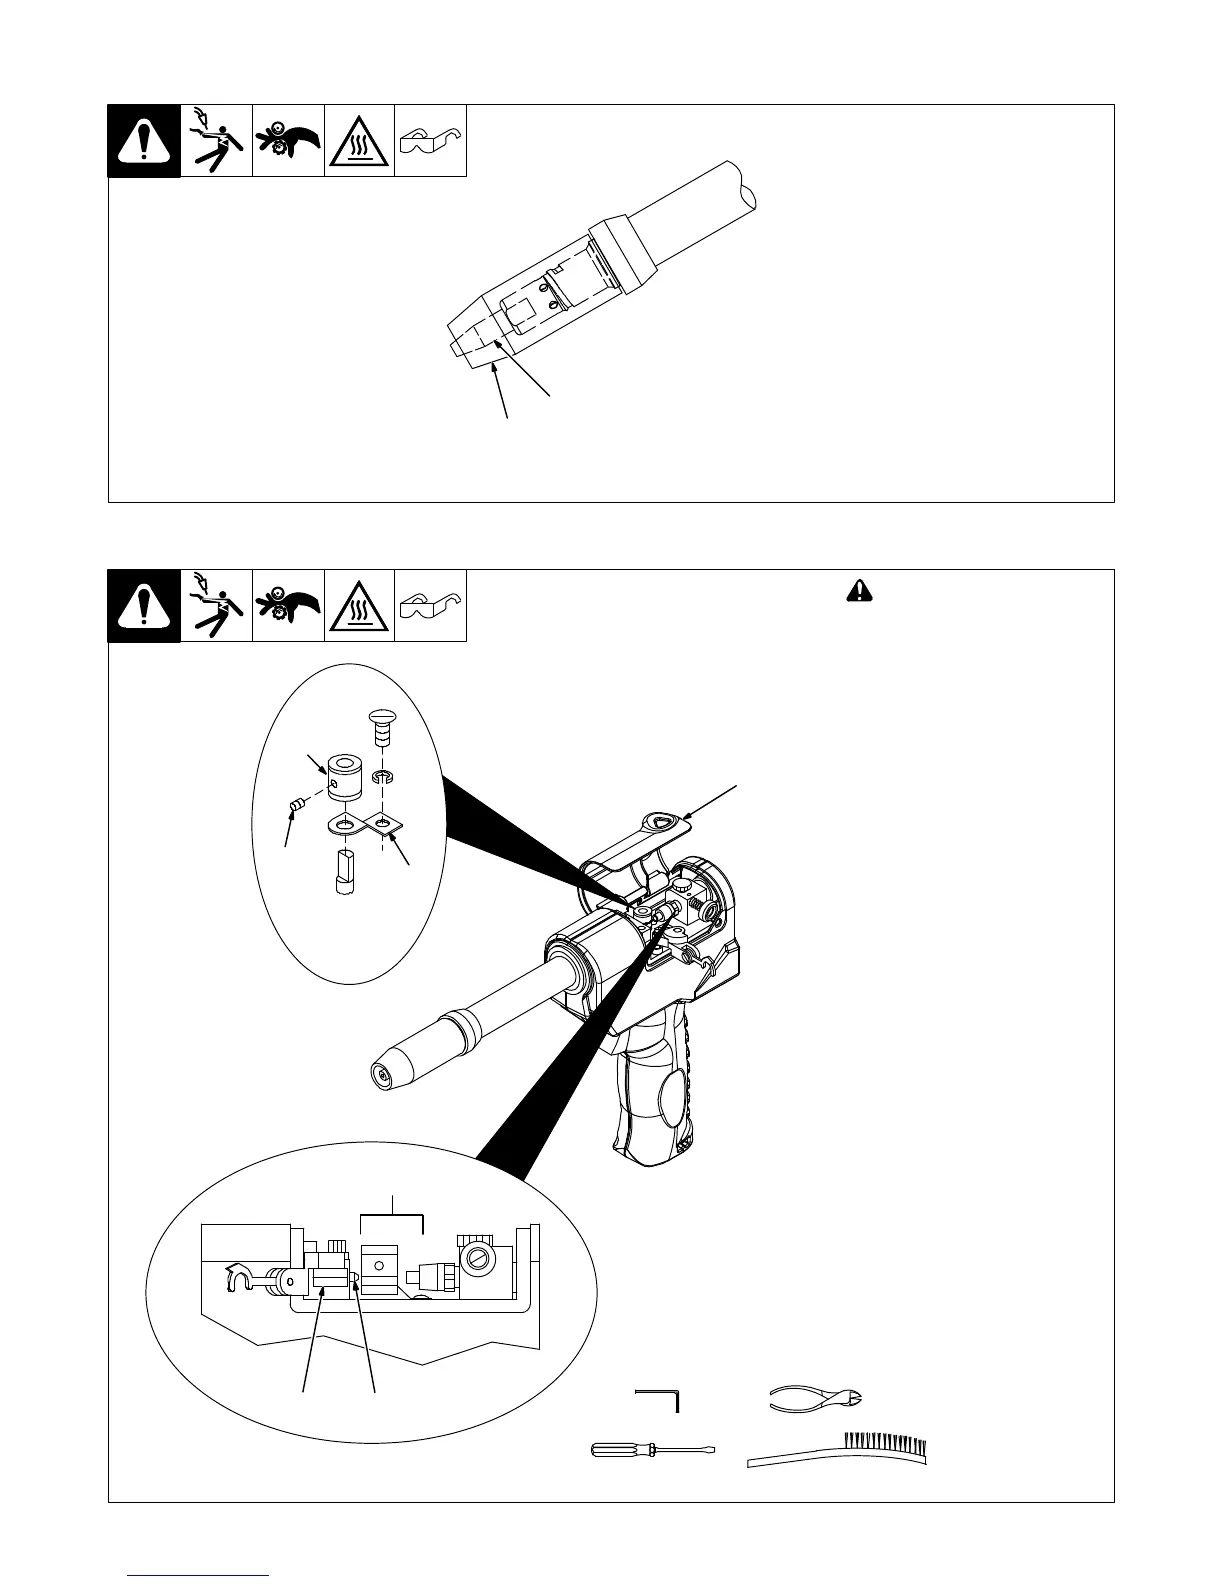
7-3. Replacing Or Cleaning Gun Drive Roll In Pistol-Grip Guns
! Turn Off wire feeder and
welding power source.
1 Top Cover
2 Pressure Roll Assembly
Cut off wire where it enters
pressure roll assembly area.
3 Setscrew
4 Current Pick-Up Tab
This tab helps prevent burnback
caused by welding arcs inside the
contact tip. This tab may be re-
moved to provide an insulated drive
roll. (If tab is removed, a smaller di-
ameter contact tip is recom-
mended. See options in Parts List.)
Lightly grease top of tab before rein-
stalling.
5 Drive Roll
Use wire brush to clean drive roll.
Install drive roll with desired groove
down, and turn drive roll so one
setscrew faces flat side of shaft.
6 Bearing
7 Liner
Line up drive roll groove with bear-
ing groove and liner opening.
Tighten setscrews.
Thread welding wire through gun,
and adjust drive roll pressure, if
necessary (see Section 5-10).
Close and secure pressure roll
assembly. Reinstall top cover.
Ref. 151 599-F / 250 982-A / 250 981-A
Tools Needed:
5/64 in.
2
67
1
5
3
4
 Loading...