12 Carry out steps of procedure 9 and 10
in repetition.
Repeat these steps of procedure until a
normal pattern is obtained.
13 Invoke the 3rd page of the ADJUST-
MENT menu.
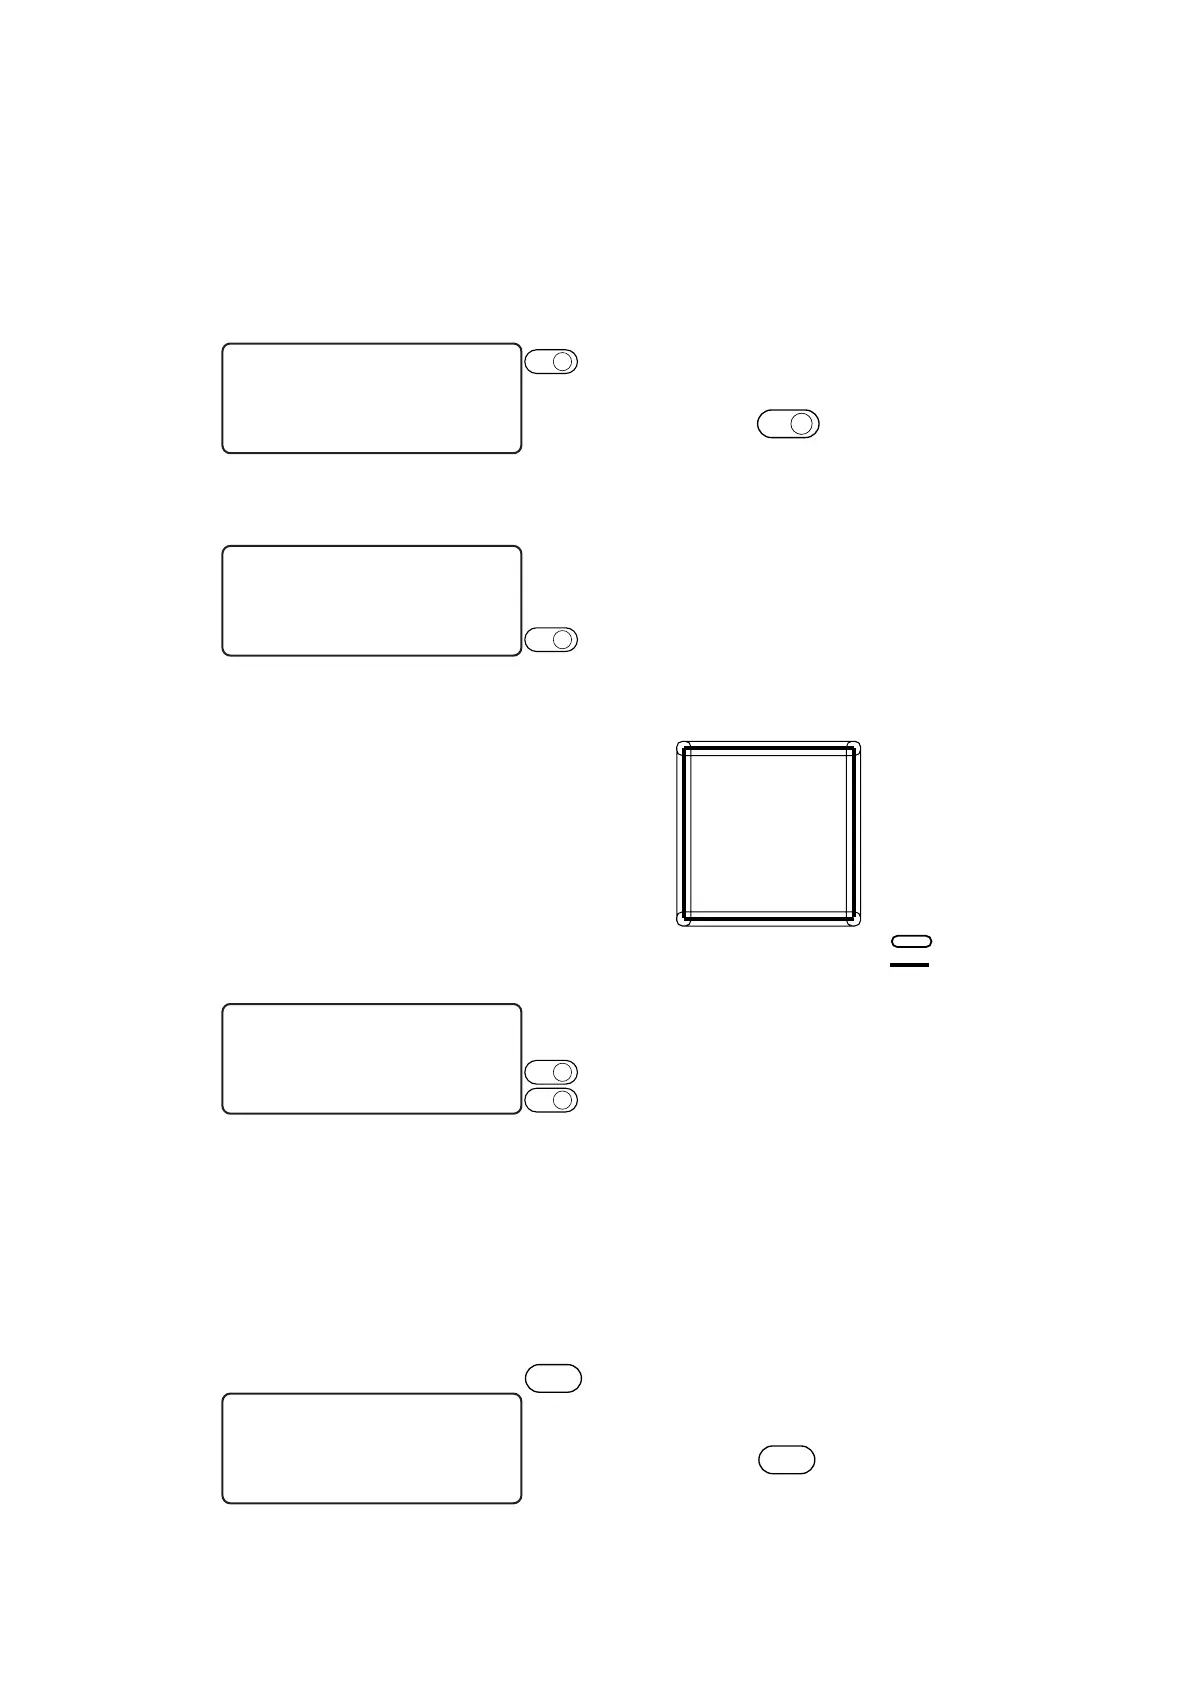
Press the
PAGE
+
key several times to in-
voke the menu for the adjustment of the
offset.
14 To check the amount of deviation, se-
lect the [TEST PATTERN].
Plot the pattern using the pen, then cut
the pattern with the tangential cutter.
15 Input a value for each item.
Input the amount of deviation in the
X-axis for the [CUTTER X].
Input the amount of deviation in the
Y-axis for the [CUTTER Y].
16 Carry out steps of procedure 13 and
14 in repetition.
Repeat these steps of procedure until a
normal pattern is obtained.
17 Enter the adjustment value.
If the adjustment value is not entered,
press the
C E
key.
Normal pattern
: Pen
: Cutter
< ADJUST > θ 2 / 3
CUTTER θ∗∗.∗∗ >
PATTERN No. ∗1 >
TEST PATTERN ———>
< ADJ > OFFSET 3 / 3
CUTTER X ∗∗.∗∗ >
CUTTER Y ∗∗.∗∗ >
TEST PATTERN ———>
< ADJ > OFFSET 3 / 3
CUTTER X ∗∗.∗∗ >
CUTTER Y ∗∗.∗∗ >
TEST PATTERN ———>
< ADJ > OFFSET 3 / 3
CUTTER X ∗∗.∗∗ >
CUTTER Y ∗∗.∗∗ >
TEST PATTERN ———>
END
F3
+
F1
+
F2
+
PAGE
+
 Loading...


