EasyManuals Logo

Mindray MX7 Service Manual

Mindray MX7
292 pages
To Next Page IconTo Next Page
To Previous Page IconTo Previous Page
Page #221 background imageLoading...
Page #221 background image
Part II General Information
Structure and Assembly/Disassembly 204
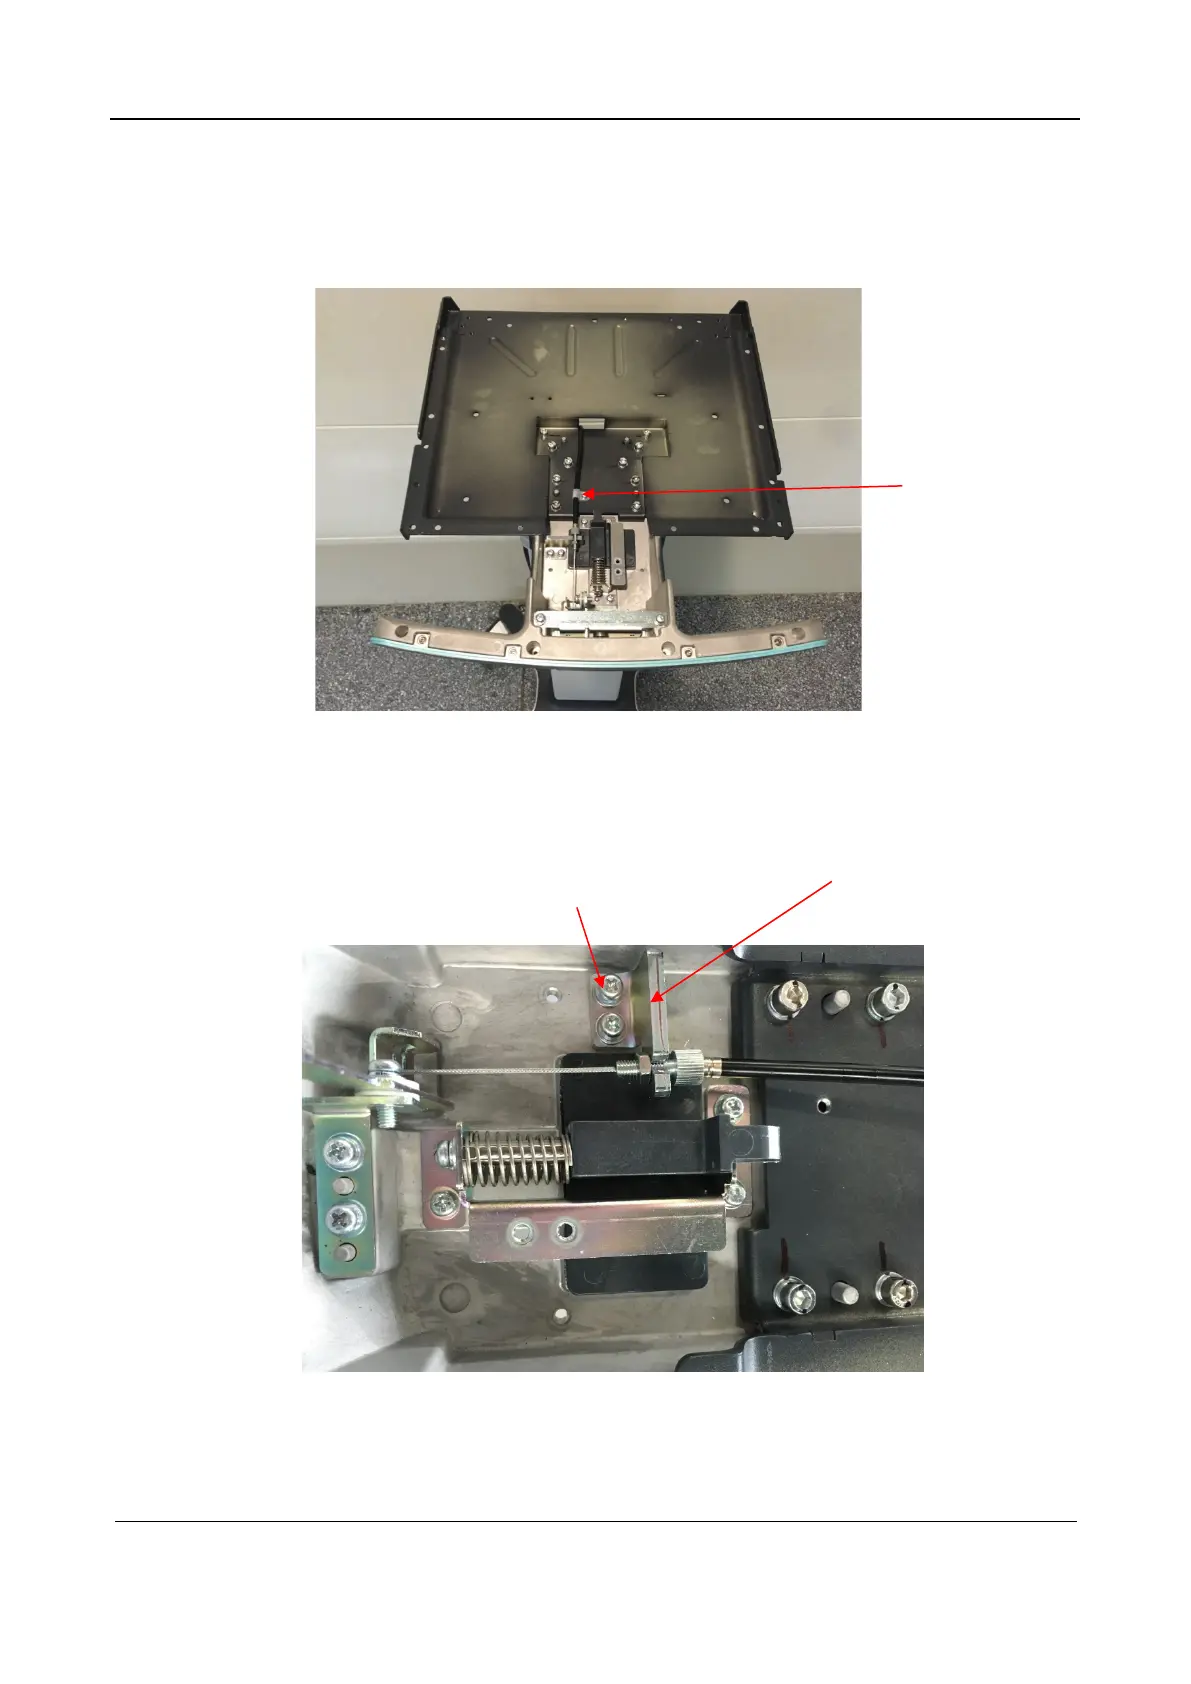
2. Remove the guy-wire on the control panel side.
a Remove the cable clip.
Remove the M4X12 cross recessed panhead screw for fastening the cable clip and take off the
cable clip.
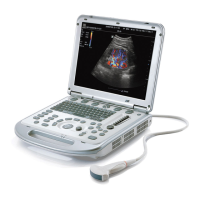
b Remove the guy-wire fixing block.
Remove the two M4X12 cross recessed panhead screws for fastening the guy-wire fixing
block, and take off the guy-wire fixing block.
c Take out the guy-wire anchor from the connecting rod.
Take out the guy-wire anchor from the connecting rod based on the trajectory indicated in the
following figure.
Cable clip (fastened
using an M4X12
cross recessed
panhead screw)
Guy-wire fixing block
M4X12 cross recessed
panhead screw (2 pcs)

Table of Contents

Other manuals for Mindray MX7

Questions and Answers:

Question and Answer IconNeed help?

Do you have a question about the Mindray MX7 and is the answer not in the manual?

Mindray MX7 Specifications

General IconGeneral
Display Size15.6 inches
Transducer Ports3
PortabilityPortable
TypeUltrasound System
Display TypeLCD
Battery Life120 min
Imaging ModesB, M, Color Doppler, Power Doppler, Pulsed Wave Doppler
ConnectivityWi-Fi, Ethernet, USB
ApplicationsVascular, Cardiology, OB/GYN, Urology
Probe Connectors3
Operating SystemWindows

Related product manuals