23
Setting the camera to record images automatically
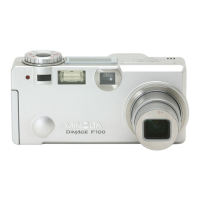
Turn the mode dial to the auto-recording mode position (1); all
camera operations are now fully automatic. The autofocus, expo-
sure, and imaging systems will work together to bring beautiful
results effortlessly.
While many of the camera’s systems in this mode are automatic,
the camera’s operation can be optimized to different subjects
very simply with the digital subject program button (p. 29). The
flash mode (p. 32) and drive mode (p. 38) can also be changed.
Image size and quality can be set on the auto-recording mode
menu (p. 44).
Exposure mode Program (fixed)
Metering mode
* Changes to the flash mode, focus area, drive mode, or exposure compensation will be reset when
the mode dial is turned to another position. The flash mode is reset to autoflash or autoflash with
red eye reduction depending on which of the two modes was set last.
1
Multi-segment (fixed)
Camera sensitivity (ISO)
Flash mode
Focus area
Focus control
Drive mode
Auto (fixed)
Autoflash (can be changed*)
Single-frame advance (can be changed
*)
Exposure compensation
Sharpness
0.0 (can be adjusted*)
Normal (fixed)
Contrast Normal (fixed)
Saturation Normal (fixed)
Color mode
White balance
Natural Color (fixed)
Auto (fixed)
Area AF & Subject Tracking AF (fixed)
Wide focus area (can be changed
*)
–
–
–
–
–
–
–
–
–
–
–
–
–
 Loading...