15
1.6 Loosen the Grubscrew with the 2.5 mm Hexagon Key (supplied) and remove
the Backplate from the unit.
1.7 Secure the Backplate to the wall using the Screws (supplied).
1.8 Fit the Concealing Plates.
Note! Apply silicone sealant to the back face of the fl ange.
Caution! It is essential at this point that the supply pipework is thoroughly
fl ushed through before connection to the unit. Failure to do so may result in
product malfunction.
1.9 Fit the Compression Nuts and Olives onto the pipework.
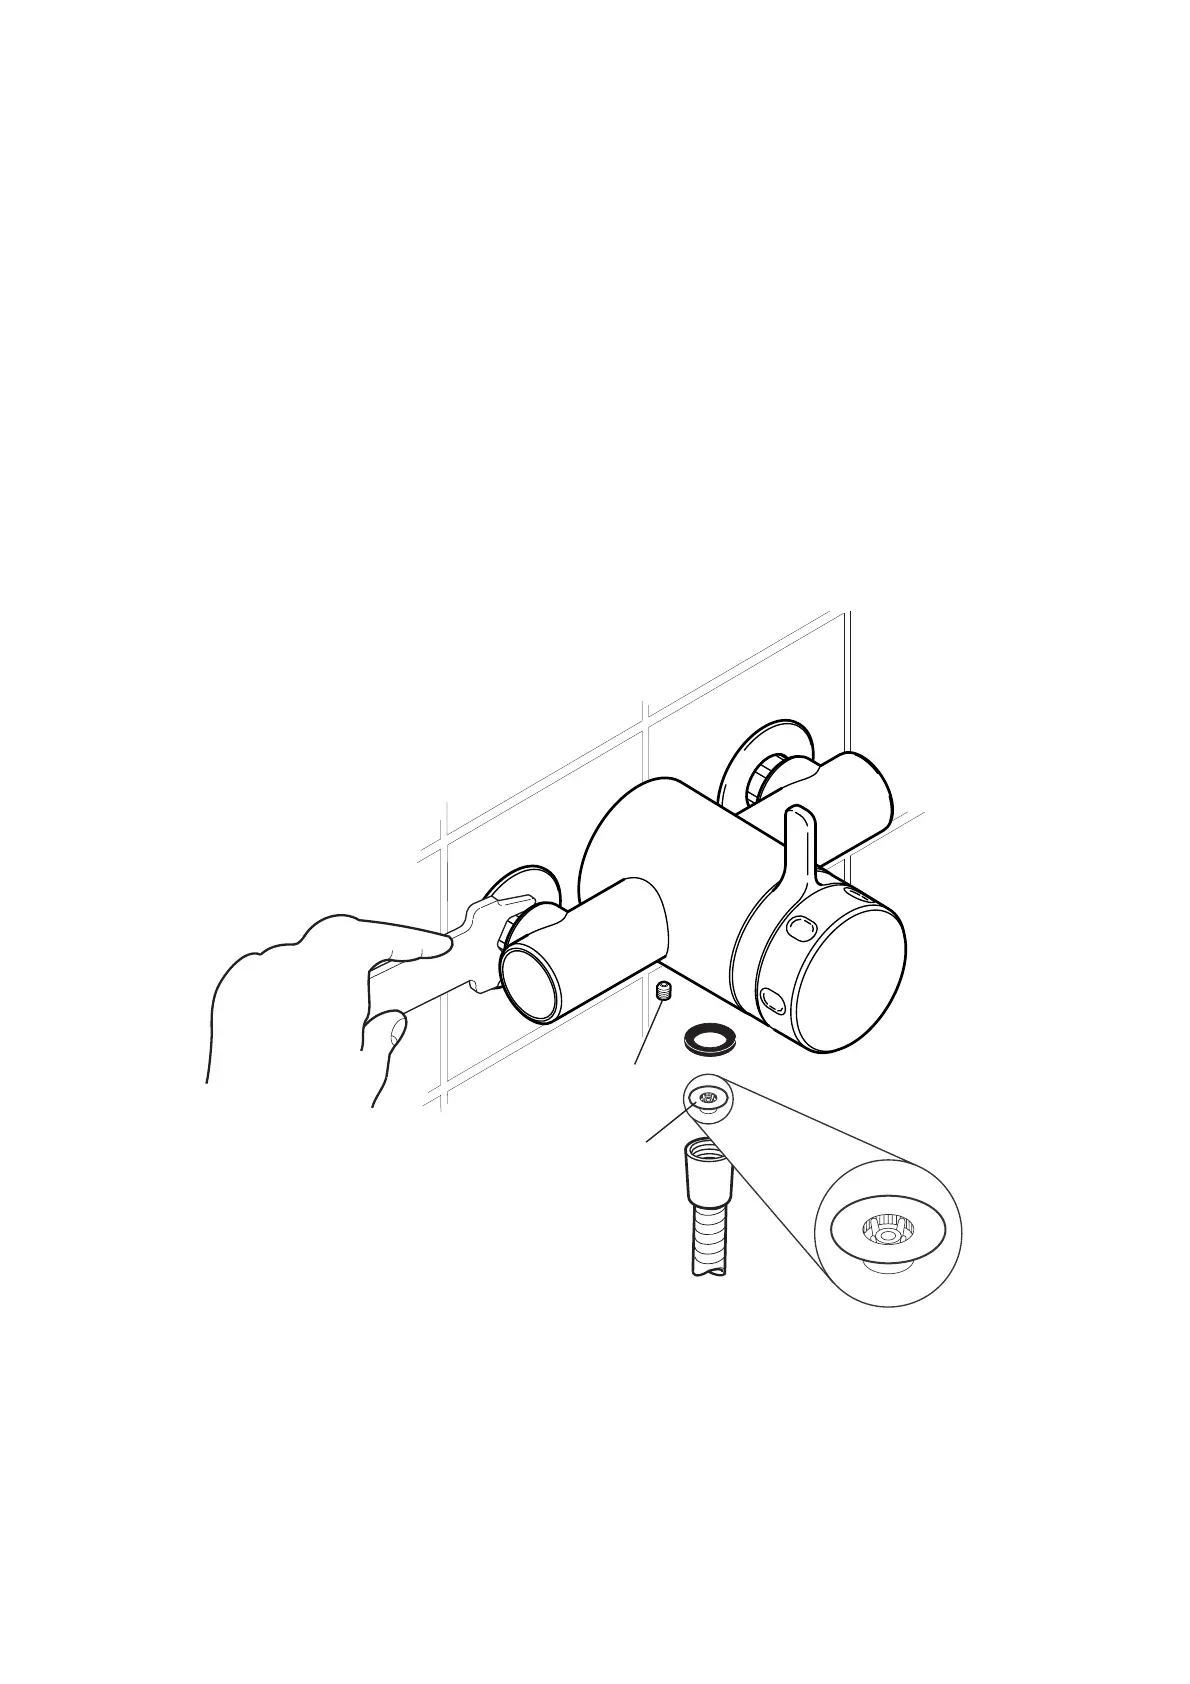
1.10 Align the unit with the pipework and fi t onto the Backplate. Minor misalignment
of the pipework can be accommodated by the inlets, which are adjustable
between 149 and 154 mm centres.
1.11 Tighten the Compression Nuts onto the Elbows with a suitable spanner.
Caution! Take care not to damage the chrome surfaces.
1.12 Tighten the Grubscrew to secure the unit to the Backplate.
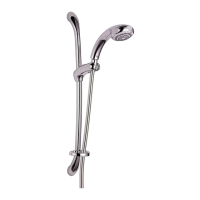
1.13 Fit the Shower Fittings. Refer to “Shower Fittings Installation and User
Guide” for instructions.
Note! For high pressure systems, a 12 litre/minute white Flow Regulator
(supplied) can be fi tted under the Hose Washer (refer to illustration).
1.14 Turn on the hot and cold water supplies and check for leaks.
1.15 Before using the Shower, refer to section: “Commissioning” for testing the
unit is operating correctly.
Flow Regulator
(for high pressure
systems)
Grubscrew
Hot
Cold


 To Next Page