28
REVERSED INLET SUPPLIES
The Mira Select Thermostatic Mixer is supplied with inlet connections Hot - Left,
Cold - Right and Bottom - Outlet as standard. If the hot and cold water supply
pipes have been reversed during installation, the Thermostatic Cartridge must be
removed and rotated 180°.
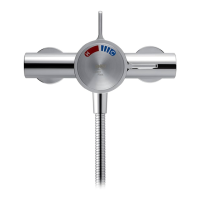
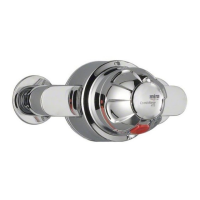
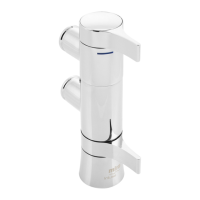
Exposed Model:
1. Isolate the hot and cold water supplies. Remove the Temperature Control Handle
with the 2.5 mm Hexagon Key and remove the Flow Control Lever.
2. Remove the Bearing, which will unlock part “A”.
3. Rotate the white section of part “A” clockwise by 90° then pull forward to remove.
Pull part “B” forward and remove to get access to the Thermostatic Cartridge.
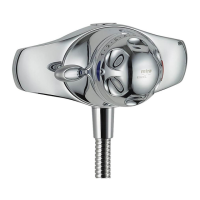
4. Locate the ‘O’ Key (supplied) onto the Cartridge Nut and turn anticlockwise. Unscrew
fully and pull the Cartridge from the unit.
5. Rotate the Cartridge 180°.
6. Make sure that the two Inlet Seals are fi tted and carefully push the Cartridge back
into the unit, aligning the lugs into the slots.
Note! Check that the Cartridge lug stamped “H” is aligned with the hot inlet
supply.
Important! Take care when fi tting the Cartridge. Damage to the Cartridge Inlet
Seals may result in dripping from the Shower Head.
7. Tighten the Nut by turning the ‘O’ Key clockwise.
8. Refi t the controls in reverse order. Make sure the shower operates correctly. Refer
to section: “Commissioning” for further details.
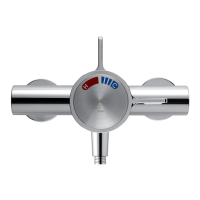
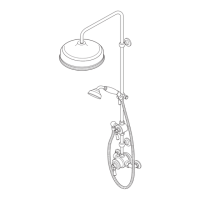
Built-in Model:
1. Isolate the hot and cold water supplies. Remove the Temperature Control Handle
with the 2.5 mm Hexagon Key. Remove the Bearing and the Flow Control Lever.
2. Carefully unclip the Concealing Plate from the Backplate.
Note! Use a suitable screwdriver in the cutout to assist separation.
3. Unscrew the two Shroud Screws and remove the Backplate. Pull red part “B” forward
and remove to get access to the Thermostatic Cartridge.
4. Locate the ‘O’ Key (supplied) onto the Cartridge Nut and turn anticlockwise. Unscrew
fully and pull the Cartridge from the unit.
5. Rotate the Cartridge 180°.
6. Make sure that the two Inlet Seals are fi tted and carefully push the Cartridge back
into the unit, aligning the lugs into the slots.
Note! Check that the Cartridge lug stamped “H” is aligned with the hot inlet
supply.
Important! Take care when fi tting the Cartridge. Damage to the Cartridge Inlet
Seals may result in dripping from the Shower Head.
7. Tighten the Nut by turning the ‘O’ Key clockwise.
8. Refi t the controls in reverse order. Make sure the shower operates correctly. Refer
to section: “Commissioning” for further details.