23
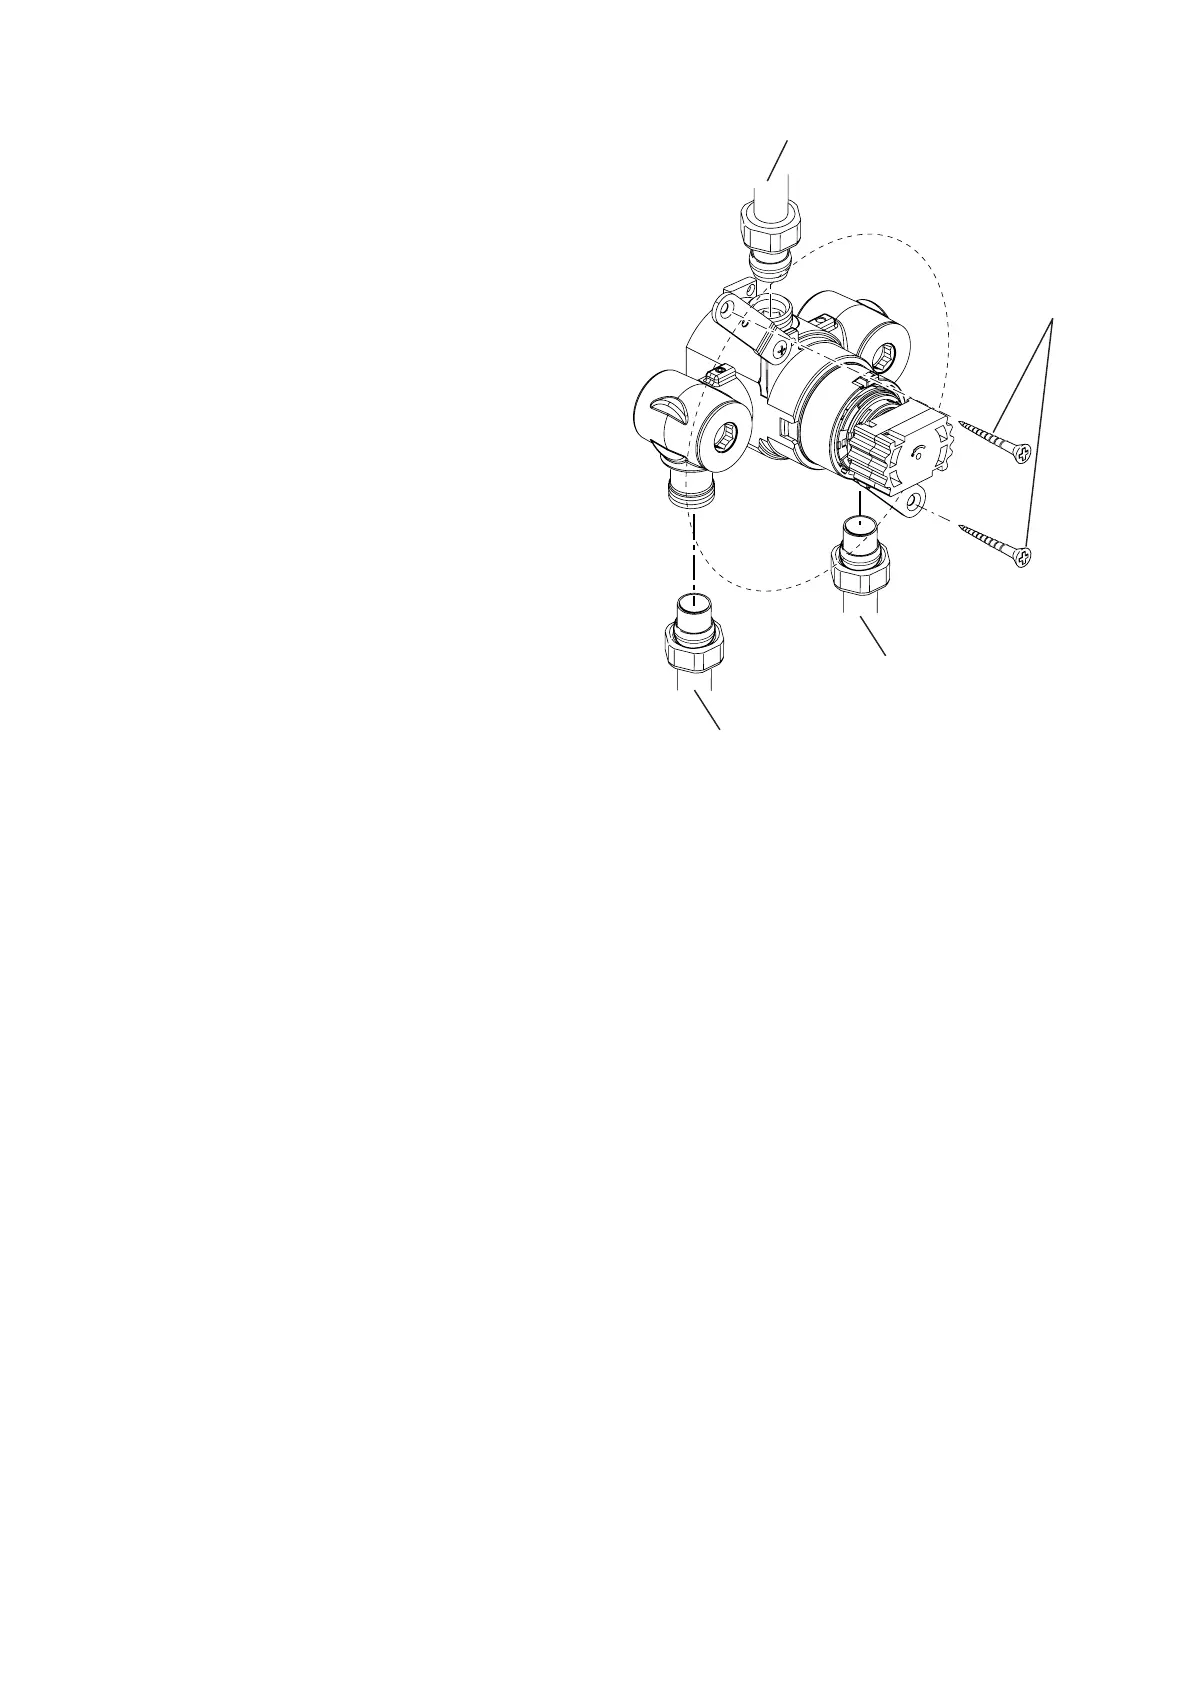
Screws
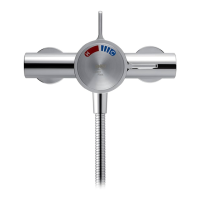
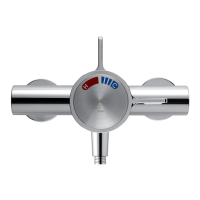
Outlet Pipe to Fittings
Hot Supply
Cold Supply
2.3 Make sure that the unit is level,
central in the hole and square to the
fi nished wall surface. This is to make
sure the chrome trim and control
handles will fi t correctly. Then mark
the positions of the Fixing Screw
holes on the wall.
2.4 For solid walls, drill two 6 mm holes
for the Wall Plugs.
2.5 Insert the Wall Plugs (supplied) and
attach the unit to the wall with the
Screws provided.
Note! For stud partition installations
alternative fi xings may be required
(not supplied) to fi x the unit to the rear
face of the wall cavity or to a timber
noggin.
2.6 Refer to section: “1. Solid Wall or
Stud Partition (Using Securing
Brackets - Mounting off Front Face
of Wall)” and follow steps 1.10 to
1.21.
 Loading...