26
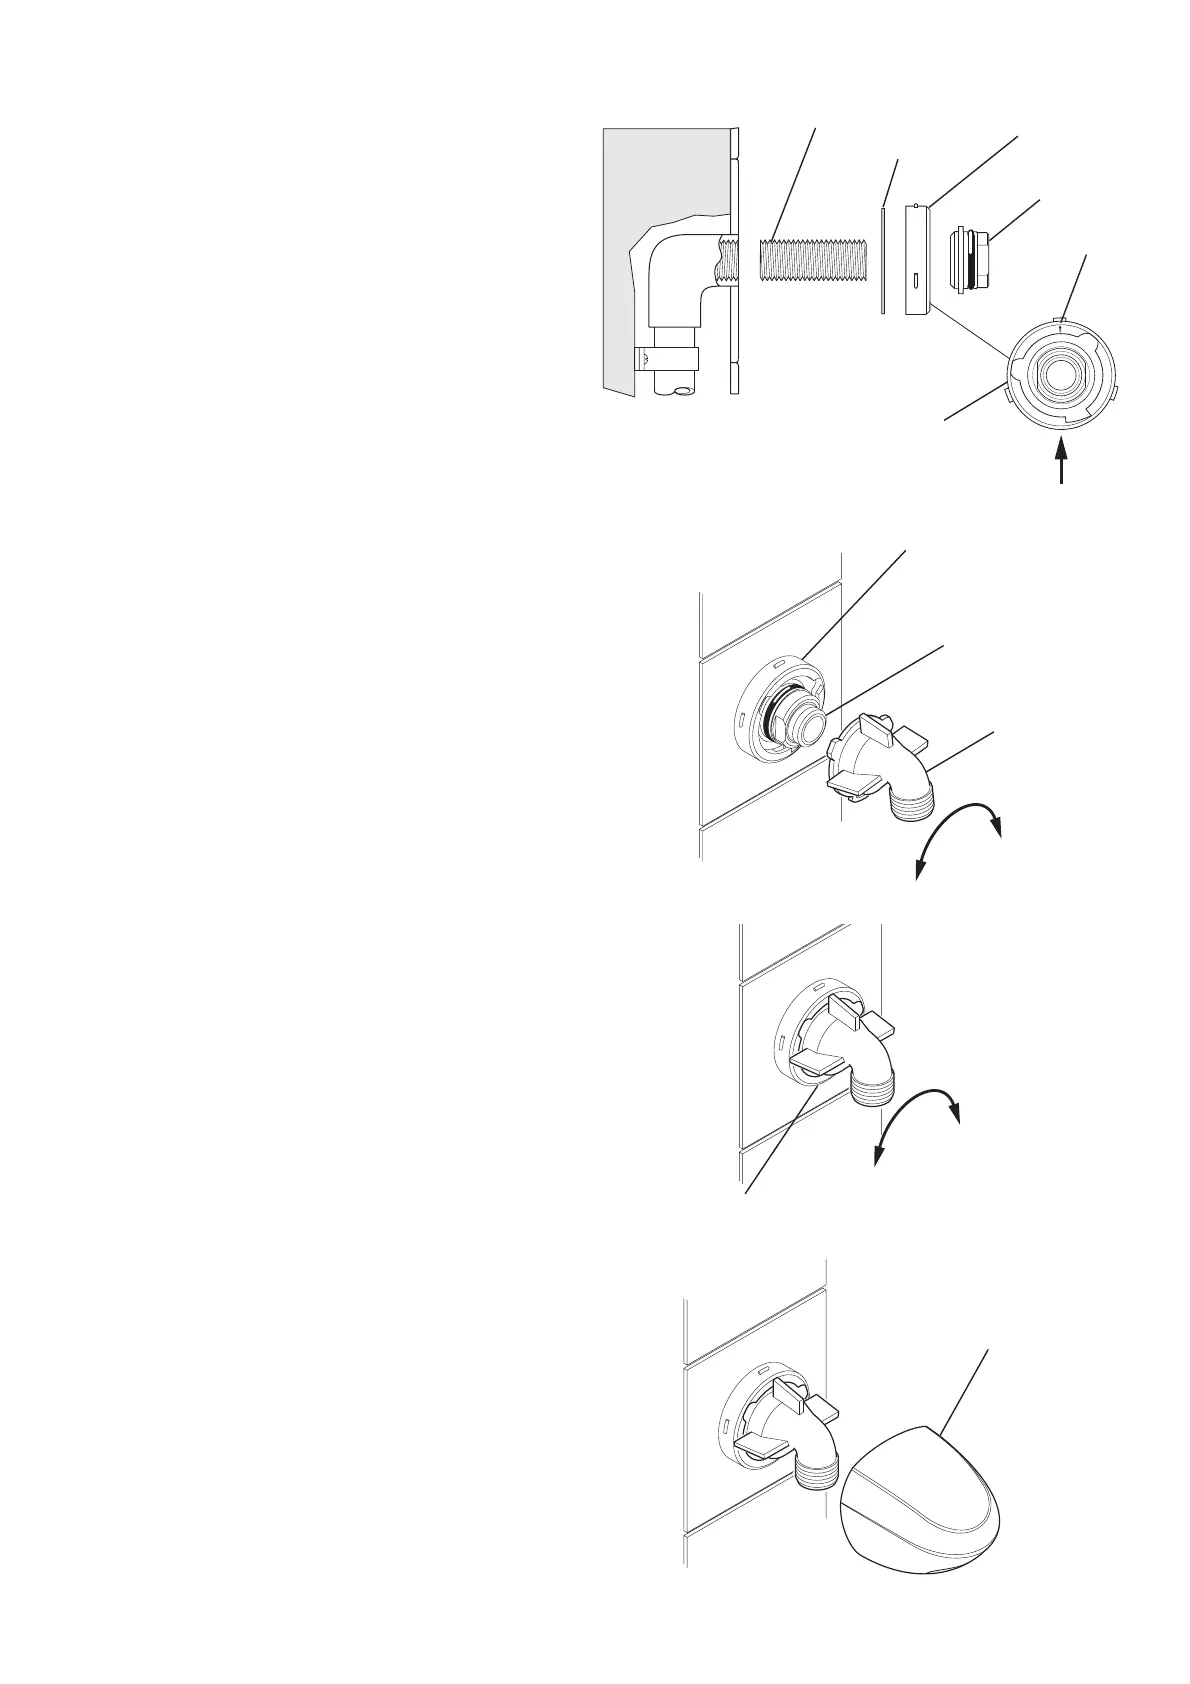
3.13 Apply liquid sealant or PTFE tape to
the exposed end of the Brass Nipple.
Screw the Mounting Bush on until the
Wallplate is loosely clamped against
the wall. Then rotate the Wallplate
and position as shown to align the
arrow and release slot. Tighten the
Mounting Bush with a 24 mm A/F
spanner.
3.14 Push the Elbow fully into the Wallplate
and rotate it clockwise. A "click" will
indicate when it is locked. To unlock,
use a small fl at blade screwdriver
and insert it into the release slot on
the underside. Then turn the Elbow
anticlockwise until it is released from
the Wallplate.
3.15 Locate the Shroud over the Elbow,
then carefully push until it "clicks" into
place securely.
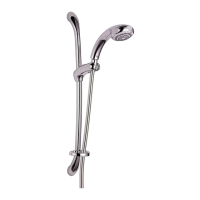
3.16 Fit the Shower Fittings. Refer to the
“Shower Fittings Installation and
User Guide” for further details.
Note! For high pressure systems, a
12 litre/minute white Flow Regulator
(supplied) can be fi tted under the
Hose Washer.
Arrow
Wallplate
Wallplate
Mounting Bush
Nipple
Foam
Seal
Mounting Bush
Wallplate
Release Slot
To Lock
To Unlock
RAC Shroud
Release Slot
Elbow


 To Next Page