80
Configuration with the CFG-300 LCD Service Tool
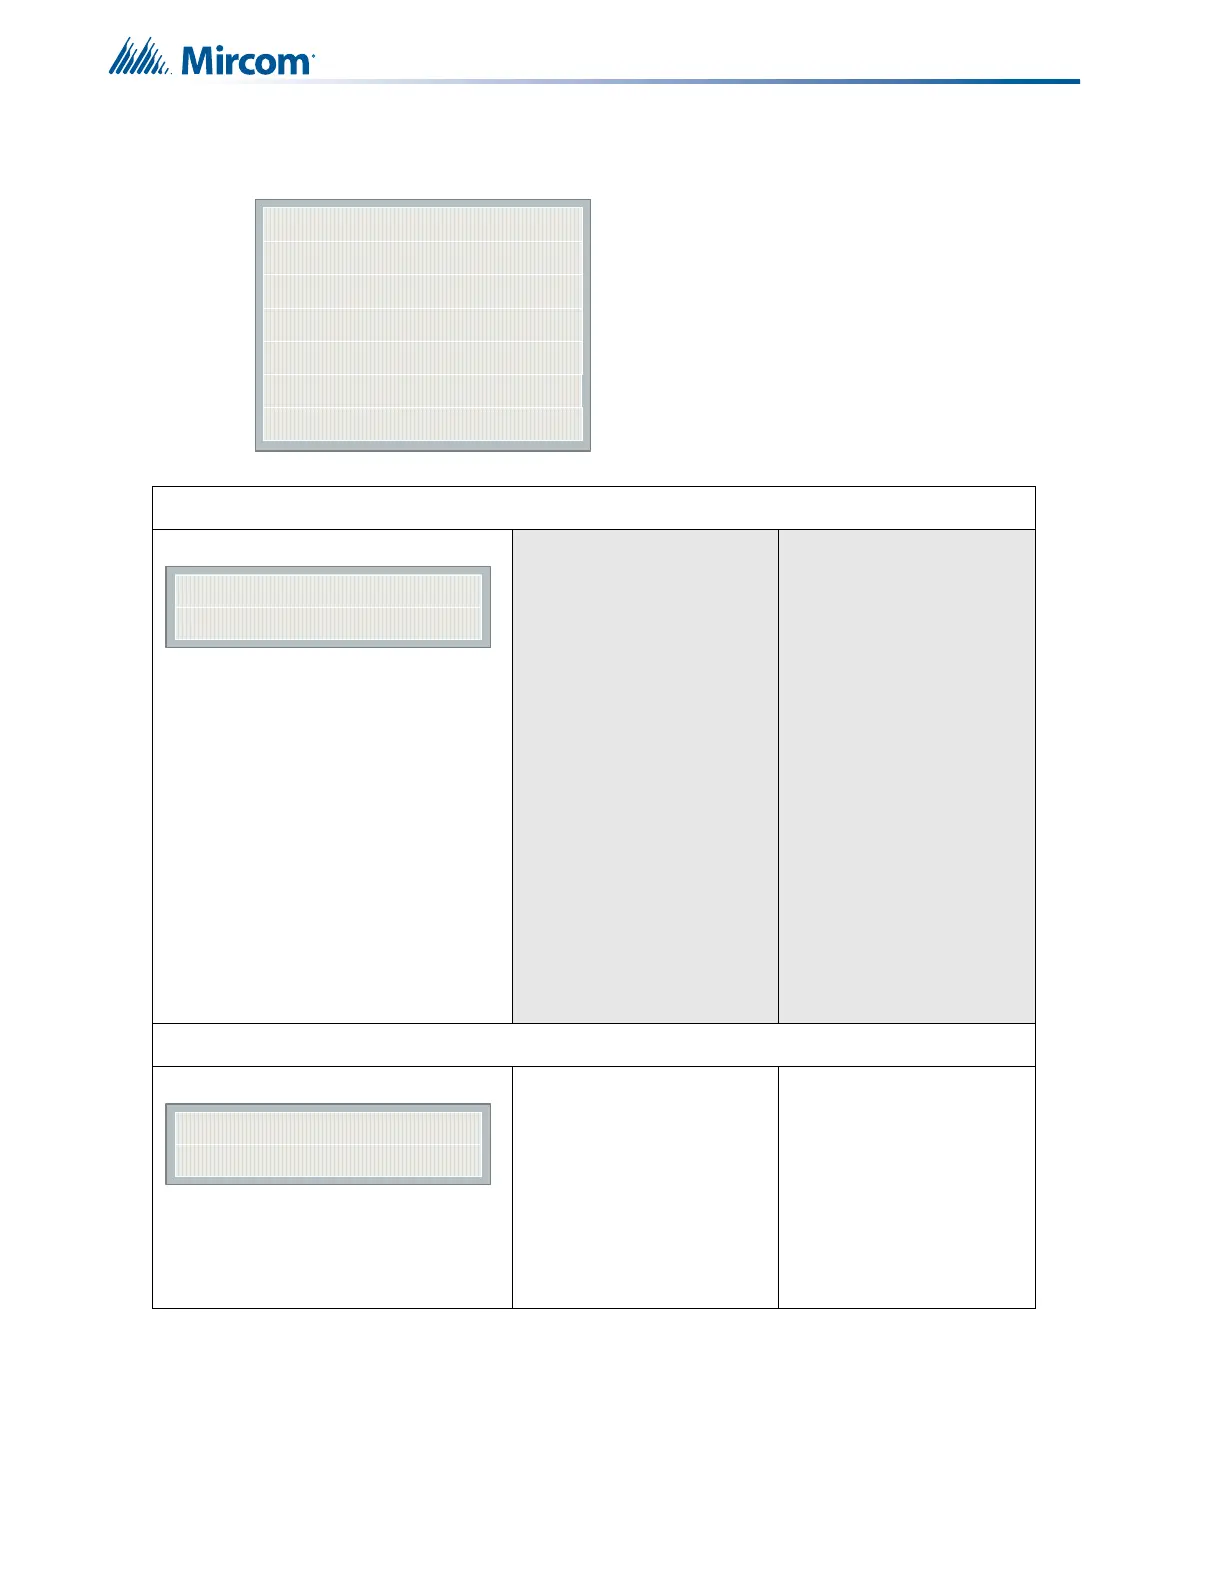
11.11.1 Command Menu/Dialer Config-->Account Info
Command Menu/Dialer Config/Account Info
1.Account# 1 Identification
123456->Default
Use this menu to set the
Account ID for the
monitoring station to which
the dialer reports events.
The maximum # of digits
allowed is six. For contact
ID, only the first four digits
are used; the last two are
truncated.
Unless you are using the
SIA protocol, the allowed
digits for the account ID are
simple digits 0 to 9 and
hexadecimal digits A to F
(the SIA protocol only
allows digits 0 to 9).
To enter hexadecimal digits,
press the INFO button. The
letter “A” appears. To scroll
through the rest of the
letters, press INFO
repeatedly. Press # to move
the cursor to the right or
press * to move it to the left.
Command Menu/Dialer Config/Account Info
2.Account#1 Telephone Number
[101]->Default
Use this menu to set the
telephone number of the
monitoring station. The
maximum # of digits allowed
is 19 including “,” and
numerals. The “,” is a 1 sec
delay. To enter “,” press the
INFO button. Press # to
move the cursor to the right
or press * to move it to the
left. An example of a typical
telephone # is 9,,12345678.
1 Account#1 ID
2 Account#1 Tel
3 Accnt#1 Format
4 Account#2 ID
- Account Info -
5 Account#2 Tel
6 Accnt#2 Format