EN-17
ENGLISH
Basic operation (continued)
How to change the settings:
With the remote control:
1. Press the ASPECT button.
• Every time the ASPECT button is pressed, the aspect mode
changes from AUTO to 16:9, to REAL, and back to AUTO.
With the FEATURE menu:
(See page 21 for menu setting.)
1. Display the FEATURE menu.
2. Select ASPECT by pressing the S or T button.
3. Select your desired aspect ratio by pressing the W or X button.
To cancel the menu:
4. Press the MENU button.
Important:
• When a 4:3 image is kept displayed for a long time before display-
ing 16:9 image, the afterimages of the black bars may appear on
the 16:9 image screen. Consult your dealer in this case.
Caution:
• After using the projector, wait one minute for the air outlet fans to
stop in normal use. Then unplug the power cord from the wall out-
let.
• The lamp can’t be lit again for one minute after turned off for safety
purpose. It will take another one minute for the STATUS indicator
to go out. If you want to turn on the projector again, wait until the
indicator goes out, and then press the POWER button.
• The air outlet fans rotate faster as the temperature around the pro-
jector rises.
• When the temperature around the projector rises high, the sign
"TEMPERATURE!!" blinks red on the screen. If the temperature
stays high, the lamp will go out automatically.
Important:
• Do not display a still picture for a long time because the afterim-
ages may persist on the screen.
Wall Screen
This function is to reproduce natural color tones when images are pro-
jected directly onto a screen or wall surface. You can select from
BEIGE, LIGHT BLUE, LIGHT GREEN, PINK, BLACK BOARD, WHITE
BOARD, and OFF, to match the color of the screen or wall to be used
for projection.
1. Display the INSTALLATION menu. (See page 22 for more details.)
2. Press the S or T button to select WALL SCREEN.
3. Press the W or X button to select the color closest to that of the
screen on which images are projected.
• When the GAMMA mode setting is changed, images may not
be displayed correctly.
• When OFF or BLACK BOARD/WHITE BOARD is selected,
the density cannot be adjusted.
• When WHITE BOARD is selected, BrilliantColor
TM
in the
Color Enhancer menu of the Image menu cannot be used.
Additionally, Theater in the Color Enhancer menu of the
Image menu has no effect and is automatically canceled
when WHITE BOARD is selected.
4. Press the ENTER button.
5. Press the W or X button to adjust the density of the selected
color.
When connecting to a laptop computer:
When this projector is connected to a laptop computer, there may be
times when images may not be projected. When it occurs, set the
computer so that it can output signals externally. The procedure varies
across computers in use. See the instruction manual of your com-
puter.
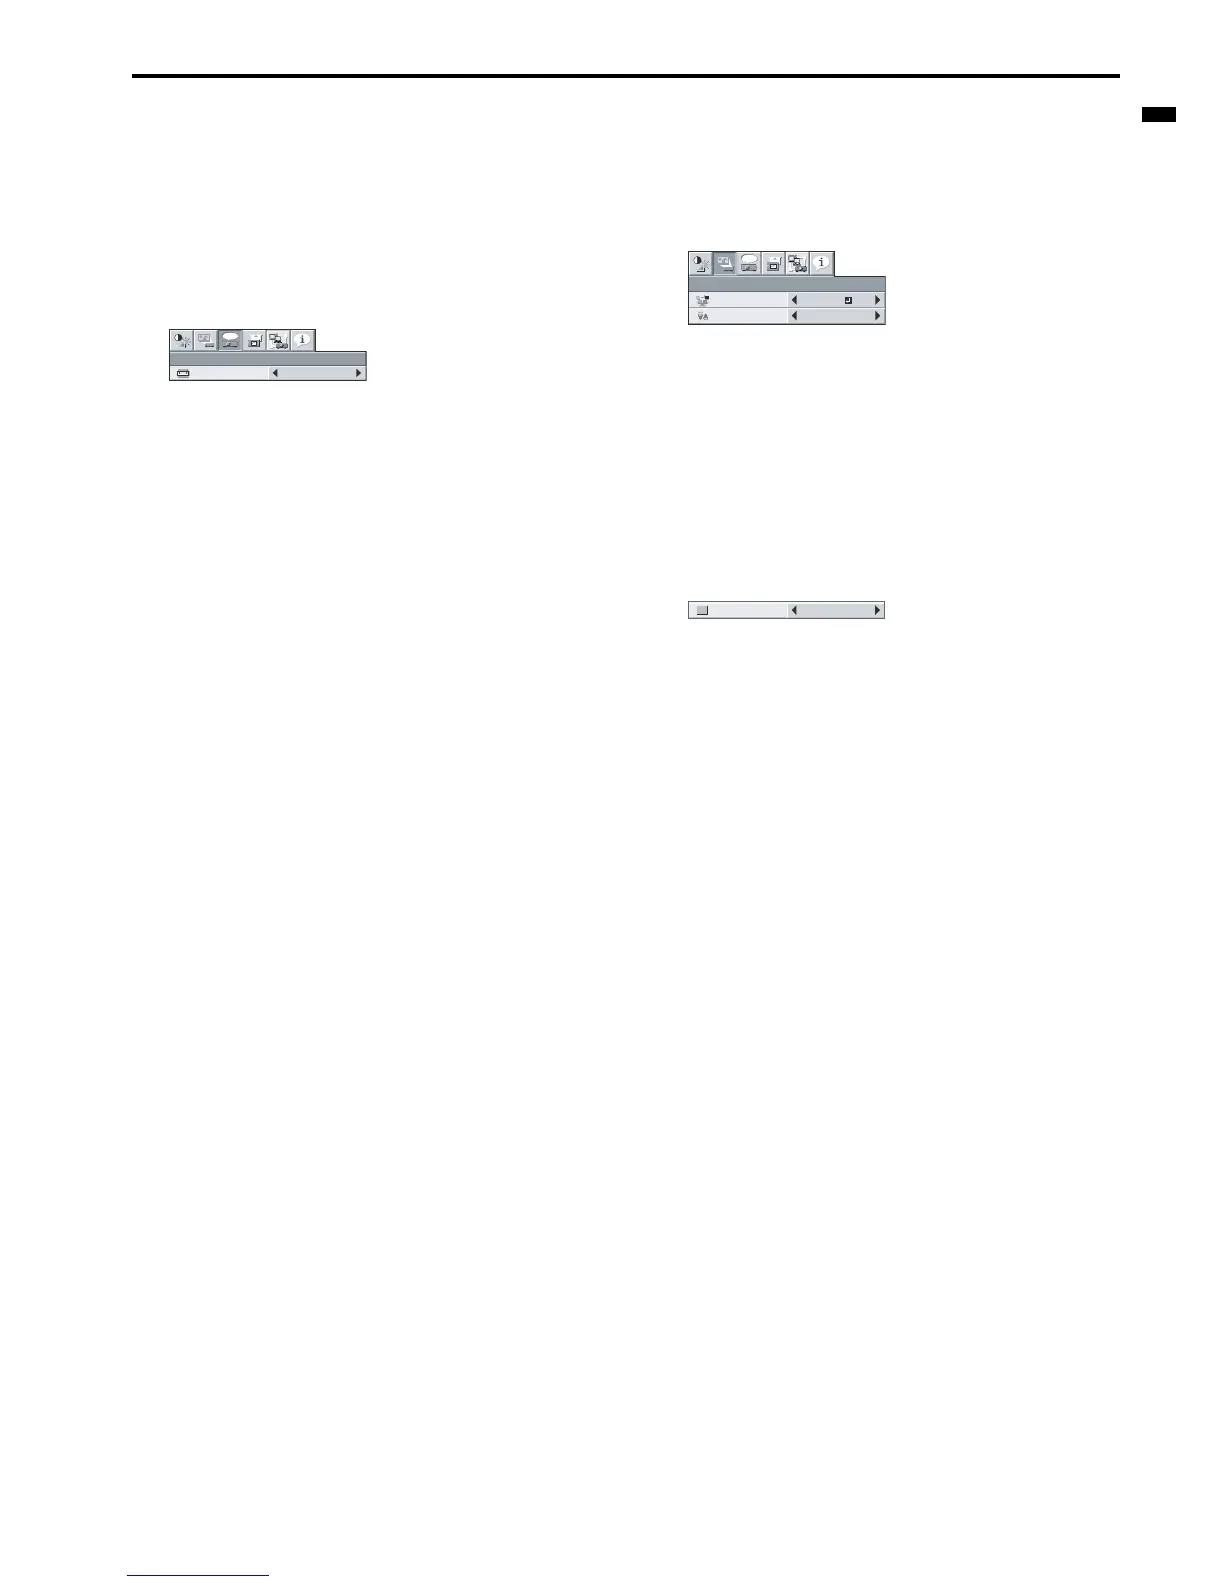
AUTO
ASPECT
FEATURE
opt.
LAMP MODE
ST
ANDARD
WALL SCREEN
BEIGE
opt.
INSTALLATION
LIGHT BLUE 1

 Loading...